2.Semester Venus
We now succesfully landed on the planet Venus, a Little more knowledged but bruised from the first Landing on Mercury. Venus symbolizes emotions of love, beauty and harmony. She creates the condition for physical contact with others. This resulted in meeting new people and trying to redefine beauty for myself.
Now, it is the time of not repeating your previous mistakes but making similar mistakes in the end .Well, sometimes you have to make a mistake twice to not repeat it.Enjoy.!
Visual Design, Screen/Interfacedesign, Programming, Interactiondesign, Prototypes, Mockups, Design Thinking, Personas
Creating A Blog
Our Task in this Project was to develop a blog for the Course mediadesign in my University. In the beginning of the Project our Course analysed Websites, which are polite or using polite tones for the user.
This was my Research on polite Websites under following characteristics:
1.Between humans: Wording and Content should be appropriate for the target Group. (only one person is approached or a group, how well one already knows each other, etc.). In particular, rudeness, ambiguity or even insults should not be used into communication by text, which lacks meaning through non-verbal signals, which makes its more difficult . So in single forums it is part of the good tone to indicate whether you are bound or single. This is how you protect yourself and others from unpleasant surprises.
2.Technology:The standards for the transmission of messages should be adhered to so that they are not mutilated or falsified on the way through many different systems and as many readers as possible appear in the form originally envisaged. This includes, for example, correctly declaring the character set or adhering to a maximum line length of 78 characters when transferring e-mails (see RFC 2822).
3.Readability
In order for messages to be read as well as possible, they should satisfy certain practices. These include correct sentence building and spelling (including case), quoting by inserting
(with "> " before each line – and without changing the wording) and omission of superfluous information (do not always quote everything!). There should also be the avouse of unnecessary
formatting (HTML messages) and the overuse of colours. A maximum line length of about 65 characters is recommended, otherwise several accrued quotes (after a longer correspondence) would exceed
the usual line length of 80 characters and the representation on text screens (or in console windows) Cluttered. The writing in caps or persistent fat writing is not only considered unpleasant,
but is usually interpreted as aggressive screaming and should therefore be omitted. In addition, it is considered intrusive and rude to string several punctuation marks in succession.
4.Security
Depending on the medium, people for whom the content is not actually intended can view a message. Accordingly, one should conceal what is not intended for third parties.
5.Legal
There are different laws for the use of foreign material such as images or texts. In the German-speaking area, copyright and quotation law must be observed. Participants should be made aware of
the applicable rules.
It became clear that many students confuse functionality with courtesy and therefore the definition of courtesy on the web is important. When it comes to courting on the web, the target group is very important to decide how to approach them and what previous Knowledge they have in the field of the Internet, in order to adapt the functionalities, texts and salutation in your website.
Design Thinking And Banner Blindness
In the subject of screen/interface design, the websites that are polite for the students were presented. There was talk of banner blindness and design thinking. Banner Blindness describes the phenomenon of online users not to perceive banner advertising after a certain period of internet use. (http://www.itwissen.info/definition/lexikon/ Banner-Blindness-banner-blindness.html ,05/09/2013, 8:24 PM) Design Thinking is a method that is designed to solve problems and develop new ideas. (http://de.wikipedia.org/wiki/Design_Thinking,05/09/2013, 8:28 PM) As a homework, the course of study should carry out a heuristic evaluation of a website.
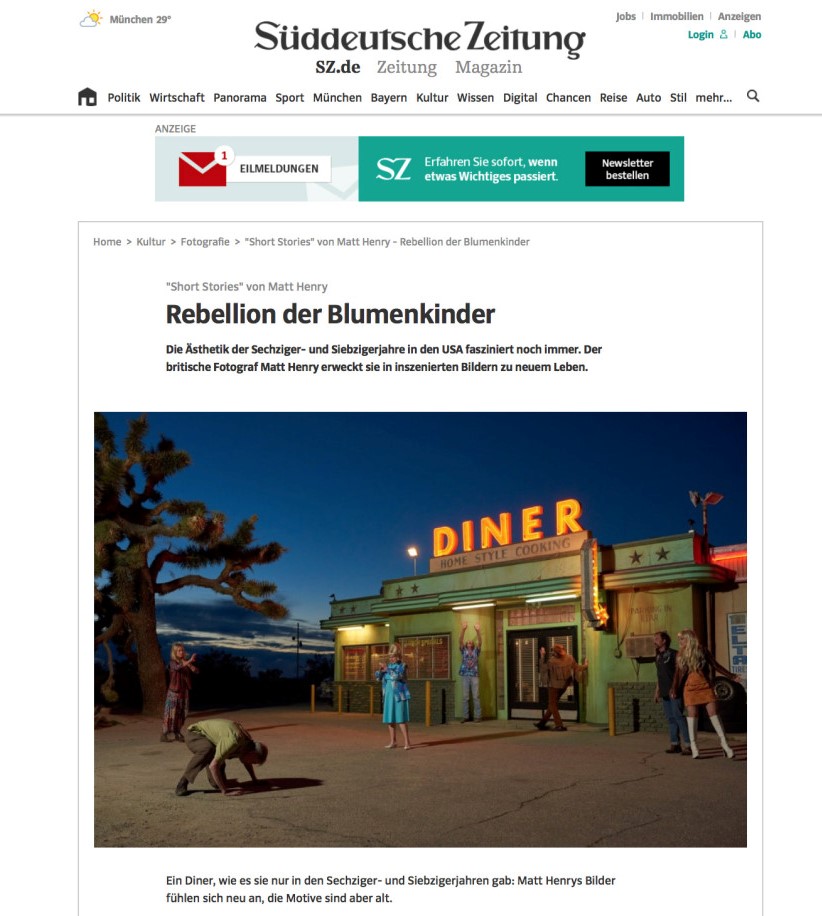
Web site name & URL :http://www.sueddeutsche.de/
-
Target-group: People with a certain level of education
-
Targeted: "What things can I do with this website?": Read news articles, search for real estate/news about the real estate market etc.,search for cars/search jobs,videos,buy goods,search tickets,ads,industries in Munich search,media professions,ausilation,study,maps,SZ-event,Forum,Themes of the SZ, Share price,guide.travel guide,games,tests, calculatore e.g. daily money calculator, service e.g. BMI calculator
- Background: appropriate,background is found across pages,highlights foreground,changes depending on mouse click color selection:very good, colors of the Backgrounds/font color do not distract from content across pagesFonts:very good,The fonts are constant, easy to read and the font size varies appropriately for headings and text use of fonts (italic, bold, underlined) is used, consistent and improves readability.
- Visibility of system status: very good,bread crumb navigation with integrated menu field language: easy to understand
-
User control and freedom: back button, password forgotten button,user forgotten button, red highlighting of the words username + password when logging inFalse, indication of incorrect entry in the password forgotten-/user forgotten-field,
-
Consistency and standards: all standards work as expected,all conventions have been adhered toRecognising instead of remembering : breadcrumb navigationAesthetics and minimalist design: important points are highlighted using font size.Help in detecting, diagnosing and fixing errors: very good
Criterias for creating an online-blog
These are the criteria: to Keep in mind when creating an online-blog
- Target definition
- Success criteria
- Stakeholders
- Requirements
- Specification
These were my key Points for the criteria:for the Blog of the Mediadesigner for our university
- Target Definition: Plattform of MHMK Students (MKD) . Exchange of ideas/projects etc.,presentation of works
- Success criteria: design, usability, language,functionality, advertising
- Stakeholders: MHMK, students of MHMK, professors, lecturers,owners,employees
- requirements: knowledge of implementation,technicians, interest in the subject,ambition,use, network, ability to Learning/Research/Reading,Creativity
- Specification: Description of the system to be developed : Blog for exchange/ideas/opinions/sharing of information,pictures,videos,presentation of projects
-System description: menu bar: home, projects,semester etc., upload, write comments,search bar
Interview
The next task was to conduct interviews with different stakeholders and target groups. The 5-Whys technique was discussed. "The 5-Why method, also known as the 5-W method or 5 Why or 5W, is
a method in the field of quality management for cause-effect determination. The aim of this application is the five "Why?" -Questions is to determine a cause of a defect or a problem."
(http://de.wikipedia.org/wiki/5-Why-Methode,02/06/2013,12.44 pm)
The following criteria should be observed
: -no yes-no questions
- no questions that make a certain answer not ask what people would do, but what you did last week/month
-Whys technique apply
- Motivation
This was my interview with a potential student of the MHMK and i.e. i.e. conducted this one on 27.04.2013. (See Annex 2)
Persona
To create the persona, I have divided the answers into categories. (See Annex 3) From these categories I developed the persona "Louise M.". (See Annex 4)
On May 23, 2013, the personas were further worked on in Sreen/ Interfacedesign and talked about the contents of the blog to be created.
On May 30, 2013, the sme Sreen/ Interfacedesign discussed how the individual personas would navigate through the blog.
This is my created persona of an MKD student of the MHMK -: Objective:Adaptation of the content/design/functions of the blog
1.Characteristics:
- Age : 21 years
- Gender: Female
- Residence: Berlin
- Marital status: single
Siblings: an older brother
Education: Study of communication sciences at the Free University in Berlin
Occupation: Assistance at a clothing company XY postive Characteristics: ambitious, teamability, detail-oriented, creative negative characteristics :i mpatient,chaotic
2.:Goals and tasks
- Interests: Fashion, Films, Music, Art-> Culture
- Hobbies: drawing, watching movies , meet ing friends
- extra-occupational activities:Swimming club special characteristics: Volunteering (homework assistance) in an association for girls between 12 up to 21 years of life
- goals: getting married, starting a family, making a lot of money, career, auxiliary organization
3: Motivation
- Role models: Father (works hard, selfless)
4: Requirements and Needs
- Source: websites, television, newspapers and blogs
- Leisure:websites in the field ,music,fashion and culture-> from self-interest,idea-finding expectations and needs for the blog :Design, User- friendliness,should have something special,easy to understand
Wireframes and Design
The necessary contents and functions of the homepage were defined in class:
- Hilight-Bild / Image Change
- log-In Button
- Imprint/Partner
- Teaser to the Posts
- Profile Pages (Students, professors, etc.)
- Dynamic Filters
- Search
With this criteria i developed first Wireframe ideas and designs
Steps in Creating the blog
When we as a Course discussed every students Wireframes and designs a function and a design element should then be selected. From these elements, wireframes should be further developed and the functions should be implented in a clickdummy in the program Axure, Rapid prototyper for interactive user interfaces of websites and applications. We built two groups of three students in homepage and Blog.
On 20.06.2013 the individual wireframes (home page/ blog entry) that were created in the program Axure were discussed in the subject Screen/Interface design. That was my design of a blog entry. The problem with my design is that the navigation was displayed with buttons and this can confuse the user.
Then three groups were formed which
- Wireframes ( i was part of that Group),
- Design
- media .
These were the wireframes created in Axure at the end of the seminar. The homework should be at least two themes (home page, blog entry) based on the wireframes in Adobe Illustrator CS6. These were my designs
Design
The designs were discussed and improved in the field of screen/interface design.Then two groups were formed :
- Design
- Navigation(Menu) (my group)
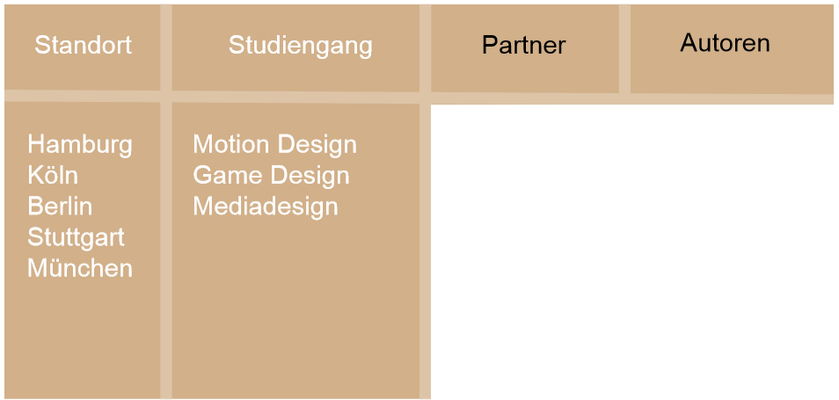
We developed the structure and content of the mega menu, which is used in the place of the drop-down menu, with the help of our lecturer Then we made this concept in Adobe Illustrator CS6. (See Appendix 7)
Internet-/Mobile Technology
In order to Program the blog, we had to Set up a Web Server with Apache, PHP and MySQL .In order to do so we had to instal Xampp and WordPress. In order to Show the Website in all different mobile devices it was important to use a design template in WordPress that is responsive.
In responsive web design, there are three themes:
1.Fluid Grid - layouts based on percentages of the current size browser window
2.Adaptive Images - images on the server that are calculated to the correct size before loading in the server.
3.Media queries - 3."Media queries are queries: The website asks how big the monitor the visitor has in front of it." (http://die-netzialisten.de/anleitung/responsive-web-design-3/ , 20.06.2013,21:05)
We selected responsive themes (pre-made bolg interfaces) and tried to redesign them according to the pre-developed wireframes.
In addition, WordPress has selected responsive themes (pre-made bolg interfaces) and tries to redesign them according to the pre-developed wireframes.
Implementation in WordPress
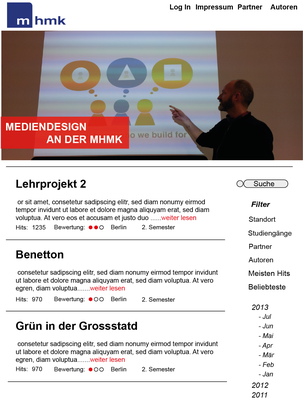
The blog was created in WordPress together with the XAMP tool. The plan was to create a classic blog, with a static header image, with blog entries with teaser texts and on the right with
categories for filtering. This type of blog is more text-heavy, which makes it less attractive for more visual blog viewers, but also has the advantage that so the blog can also be displayed on
older PCs and the visitor does not have an excess of images and effects of the essentials. distracted. (See Appendix-> Homepage Design) The main feature of the blog is to recruit new potential
students for the MHMK and give employers the chance to view the works of the students of the MHMK and then possibly attract one or the other as a new employee. Of course, other target groups will
also visit this site, such as the authors or random visitors who also need to be considered. In the following, it explains how the development of the blog was planned and what could be
implemented in the end.
So top links should be the MHMK logo, on which you could click to get to the homepage of the MHMK. Next to it, the name of the blog should be in large letters. Among them is a large static image in landscape mode. Static to keep the blog as simple as possible. It is not intended to distract effects from the blog entries and these are highly text-heavy and moving images in the header would attract too much attention. Below the image is the navigation. Consisting of authors, partners, location and study programmes. Special emphasis is placed on the authors and partners, because this will be of the greatest interest to employers, so with which big names have the students already worked and above all who has done this work? As mentioned earlier, the blog is particularly designed to "attract" employers (at our Personas Peter Professional) and these two questions will be of great interest to them. In addition, the navigation tab "Partners" is also of great interest to graduates who want to see which companies the students come into contact with. The riders location and study course should focus on the MHMK (which locations are there? How many courses are involved in the blog, etc.?) and on the other hand, it helps the visitor to find his way around the site better.
Under the navigation you can then see teaser texts of blog entries, with author, views, rating, etc. After a teaser text follows chronologically below it, quite classically as one is accustomed to from normal blogs. This has the advantage that visitors who have been to another blog page can quickly orient themselves and thus not be confused by superfluous effects and animations and leave the blog again. To the right of the teaser texts are still categories that filter the blogs by the individual categories. One should include a time list so that you can see when which posts were created. In addition, a category that displays the latest blog entries, then one that displays the most popular posts and one where the best ones are displayed. It makes a difference whether a post was often viewed or whether it was often well rated. Among the teaser texts should be a button with "continue reading" where you can then see the whole post. Each post can be customized by the layout, but everything that doesn't belong to the blog entry remains as it is on the home page except that you can leave comments under the blog post. Commenting on posts does not require registration, but to write a post you need one. In addition, a search function should be available above the categories. So much for the plan, now for implementation.
Installing theme
First you had to look for a suitable theme, which serves as a foundation. Since we had a classic version of the blog, this was too hard. We chose the Theme Clean Retina by Theme Horse because it fits pretty well on the planned blog.
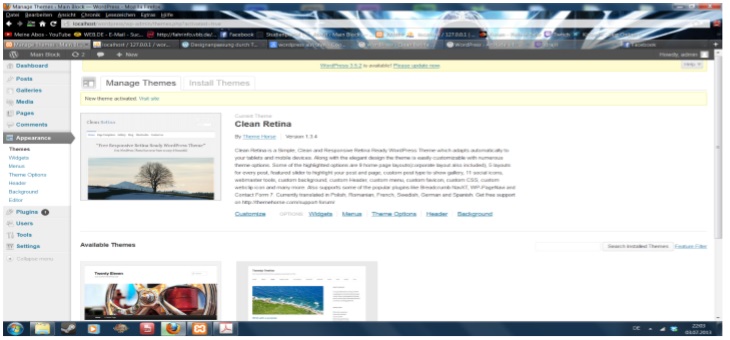
At least from the functional side. The goal is to create a blog that works in this way. What could be implemented well with this theme was the static header image.
Header - Picture
For this we took a random image from a picture collection, adjusted it of the size (984x250px) and uploaded it.
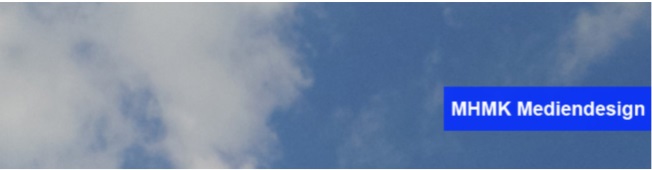
The next step was to improve the given header background. This could be set with the help of CSS under Appearance->Theme Options->Design Options->Custom CSS. Previously, the header was blue white. I put both stripes on Weis (#fffff)
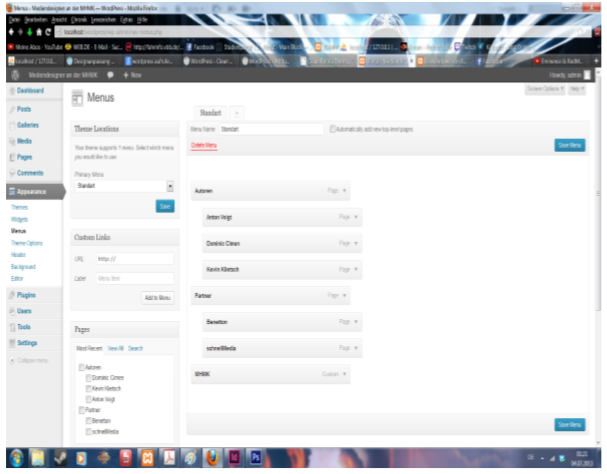
Navigation
Next, we created the navigation. To do this, you have to create "Pages" and then enter them under Appearance->Menu as a menu item with the corresponding hierarchy. This is how all navigation was created. We noticed that the navigation points "Study Programmes" and "Location" are much better suited as a filter option, so these points have been removed from the navigation and added to the categories. Instead, "MHMK" and "Imprint" were added to the navigation. Since we could not put an MHMK logo on top in this theme we have a page where it is above the MHMK and where a link to the MHMK homepage is also included. Imprint goes without saying. (here the one used by the MHMK homepage)
Now we've created the categories on the right. That worked out quite well. For these, all categories with the appropriate hierarchy (parent) had to be set up under Posts->Categories - berlin, Munich, Hamburg, etc. Then go to Appearance->Widgets where you can configure the sitebar. Categories such as Recent Posts and Archives were already in place, which was very useful and renamed the "Categories" widget to Filter and hacking in at dropdown and show hierarchy. Actually, no drop down was intended, but otherwise the theme does not indicate the hierarchy. In addition, the theme only displays the filters for which blog entries also exist. In the end, we copied blog entries in the form of documentation from the last semester into the editor. The images could be easily uploaded to the editor page under "Add Media" and then pasted into the post. At the end still tags and feature image (if need) inserted and then sent. Categories such as most popular or best are not included in this theme as you can't rate the posts. Comments can also be added to each post. The result is a blog page that works almost as it thought. What is not true is the design. The design of this blog page would deter any visitor. In addition, there is not enough content on the page and a rating system and associated filters are still missing, with design being the biggest problem.
final Product

Review of the project
In the project "Blog of Media Designers" you got a good insight into the development and production steps of a blog and that it takes a lot of preparatory work to create the blog at the end. In addition, new programs such as Axure have been learned. In addition, when creating a blog, you should try to evaluate the design and functionality of the blog by using the position of the self-created personas that are in the target group in order to make possible changes. In this project, the subject Sreen/Interfacedesign should have been allocated more teaching time, because the subject is an important submodel in this project and the project also needs a lot of time in development and implementation.
The Project was also a good way to implement what you learned Right away and moreover, it was important to divide Tasks in order to create the blog in a specific time Frame.
Photography, Lighting, Digital Editing
Green in the big city
The topic "Color Study – Green in the Big City" is about creating a photo series as a color study of at least five images. With the help of the creativity technique Brainstorming, the course
should develop first ideas.
My idea was: -traffic light situation
-" Grüner Punkt -green dot"
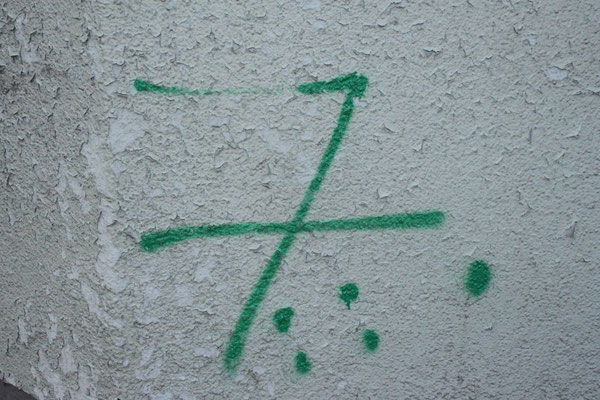
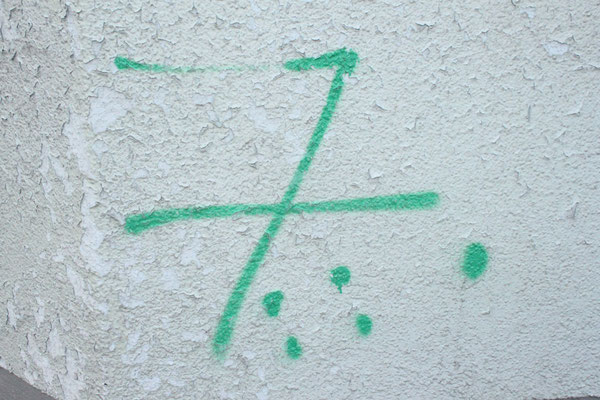
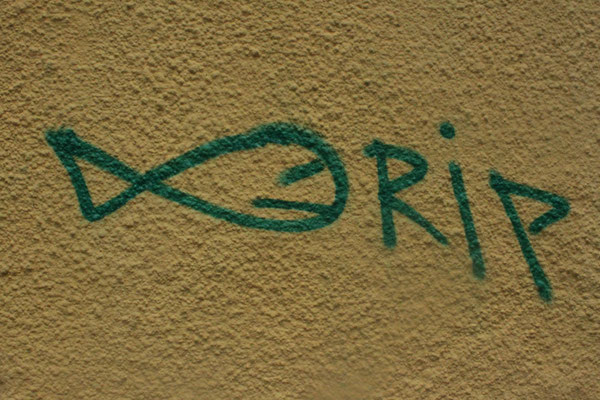
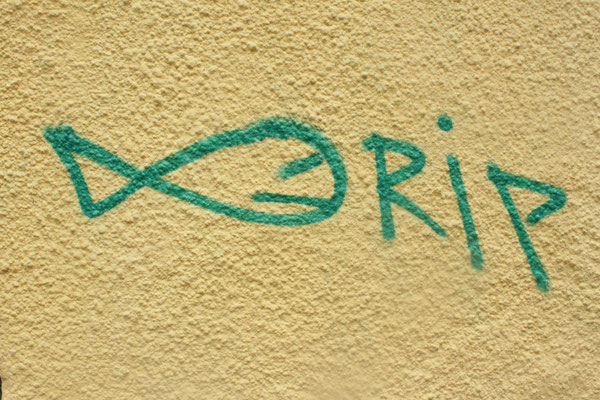
During the idea developement Phase in the Course, i had following ideas : - green police cars - food - logos - contrasts lots of green / no green - Photographing people with green wigs - circus (animals) - park - green neon Lights - mold - green graffiti - green balloon - distribute green cakes to people in Berlin (hotspots) - throw green glitter in the air and take pictures - flashmop - design your own green stickers ->glue to house walls and photograph - flower shops - green motifs(arrows ) - green figures
First official Task
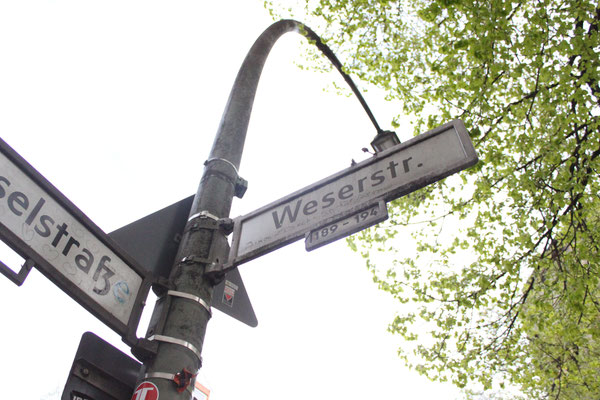
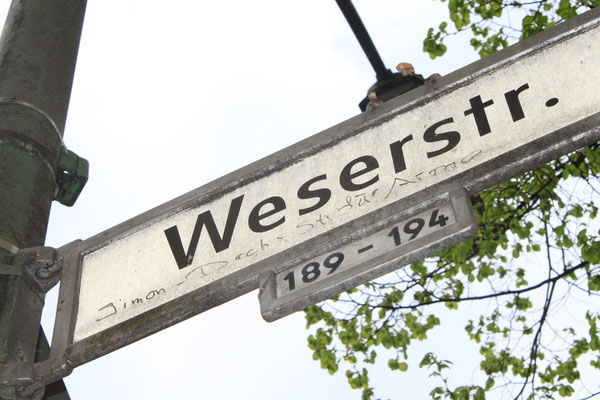
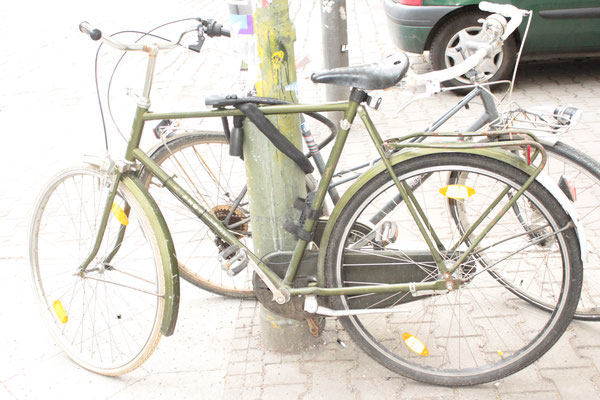
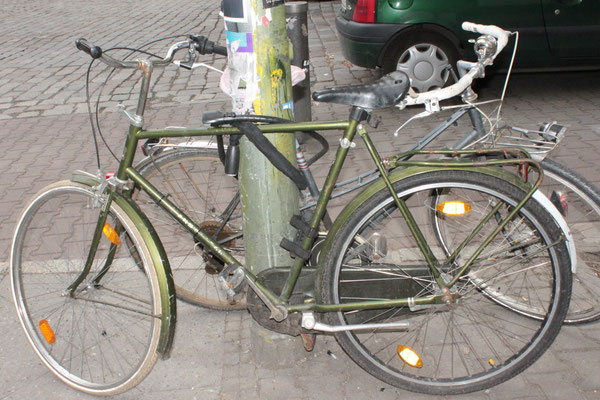
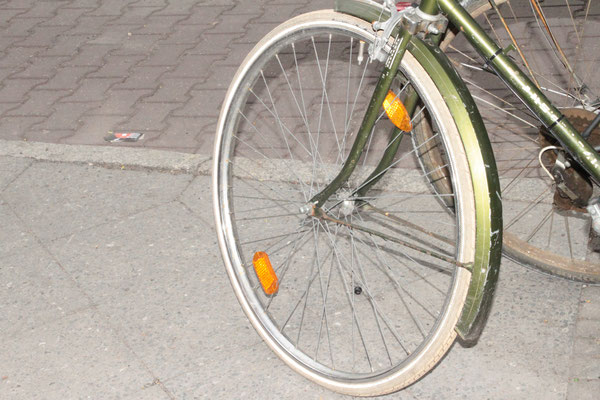
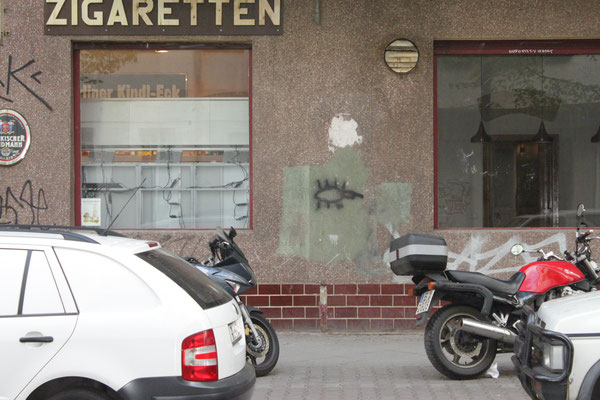
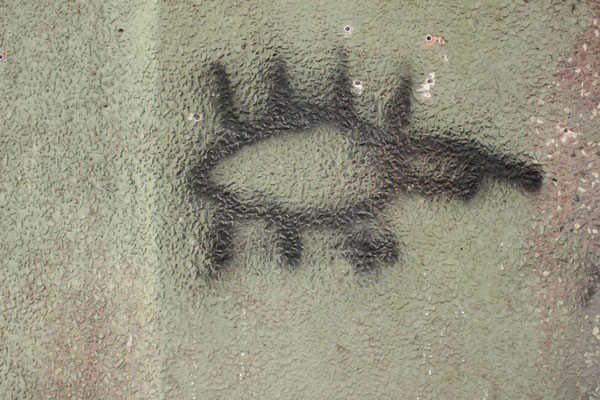
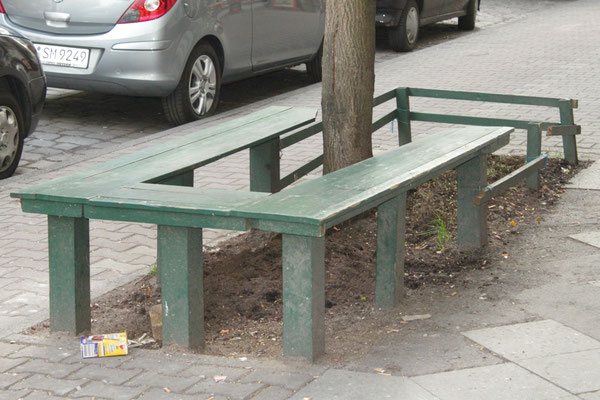
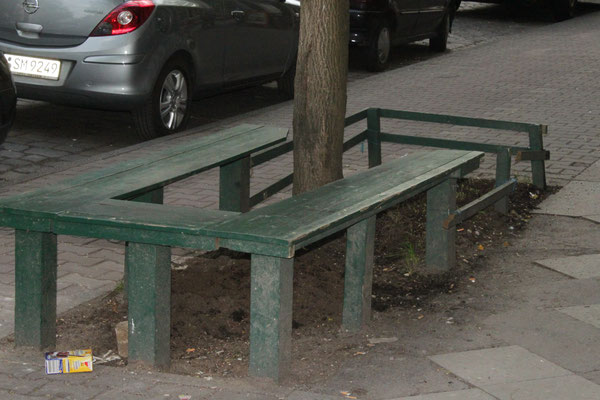
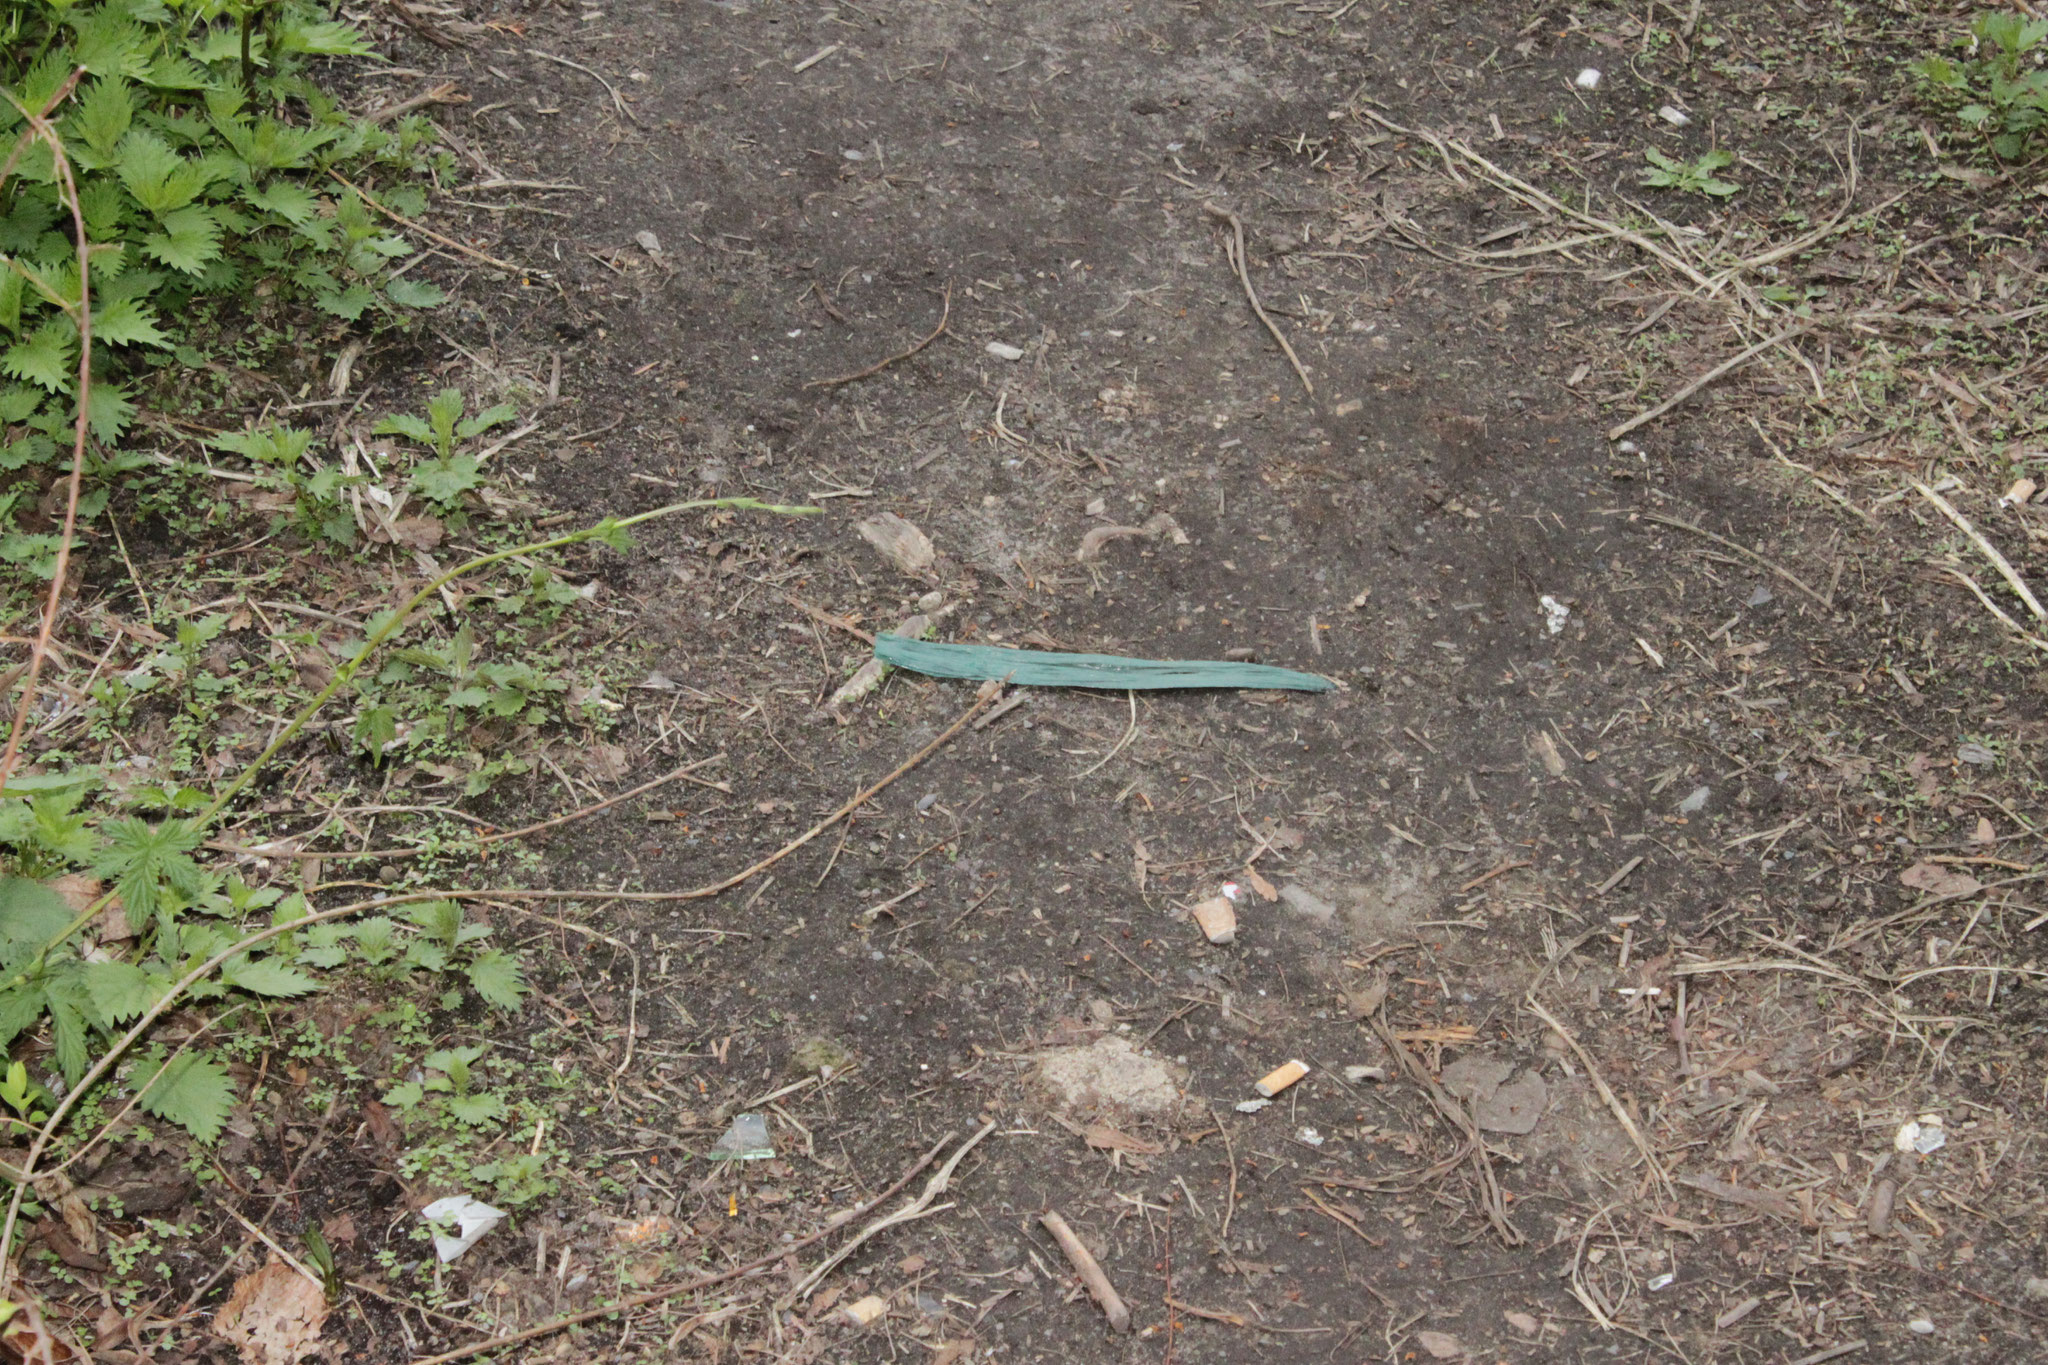
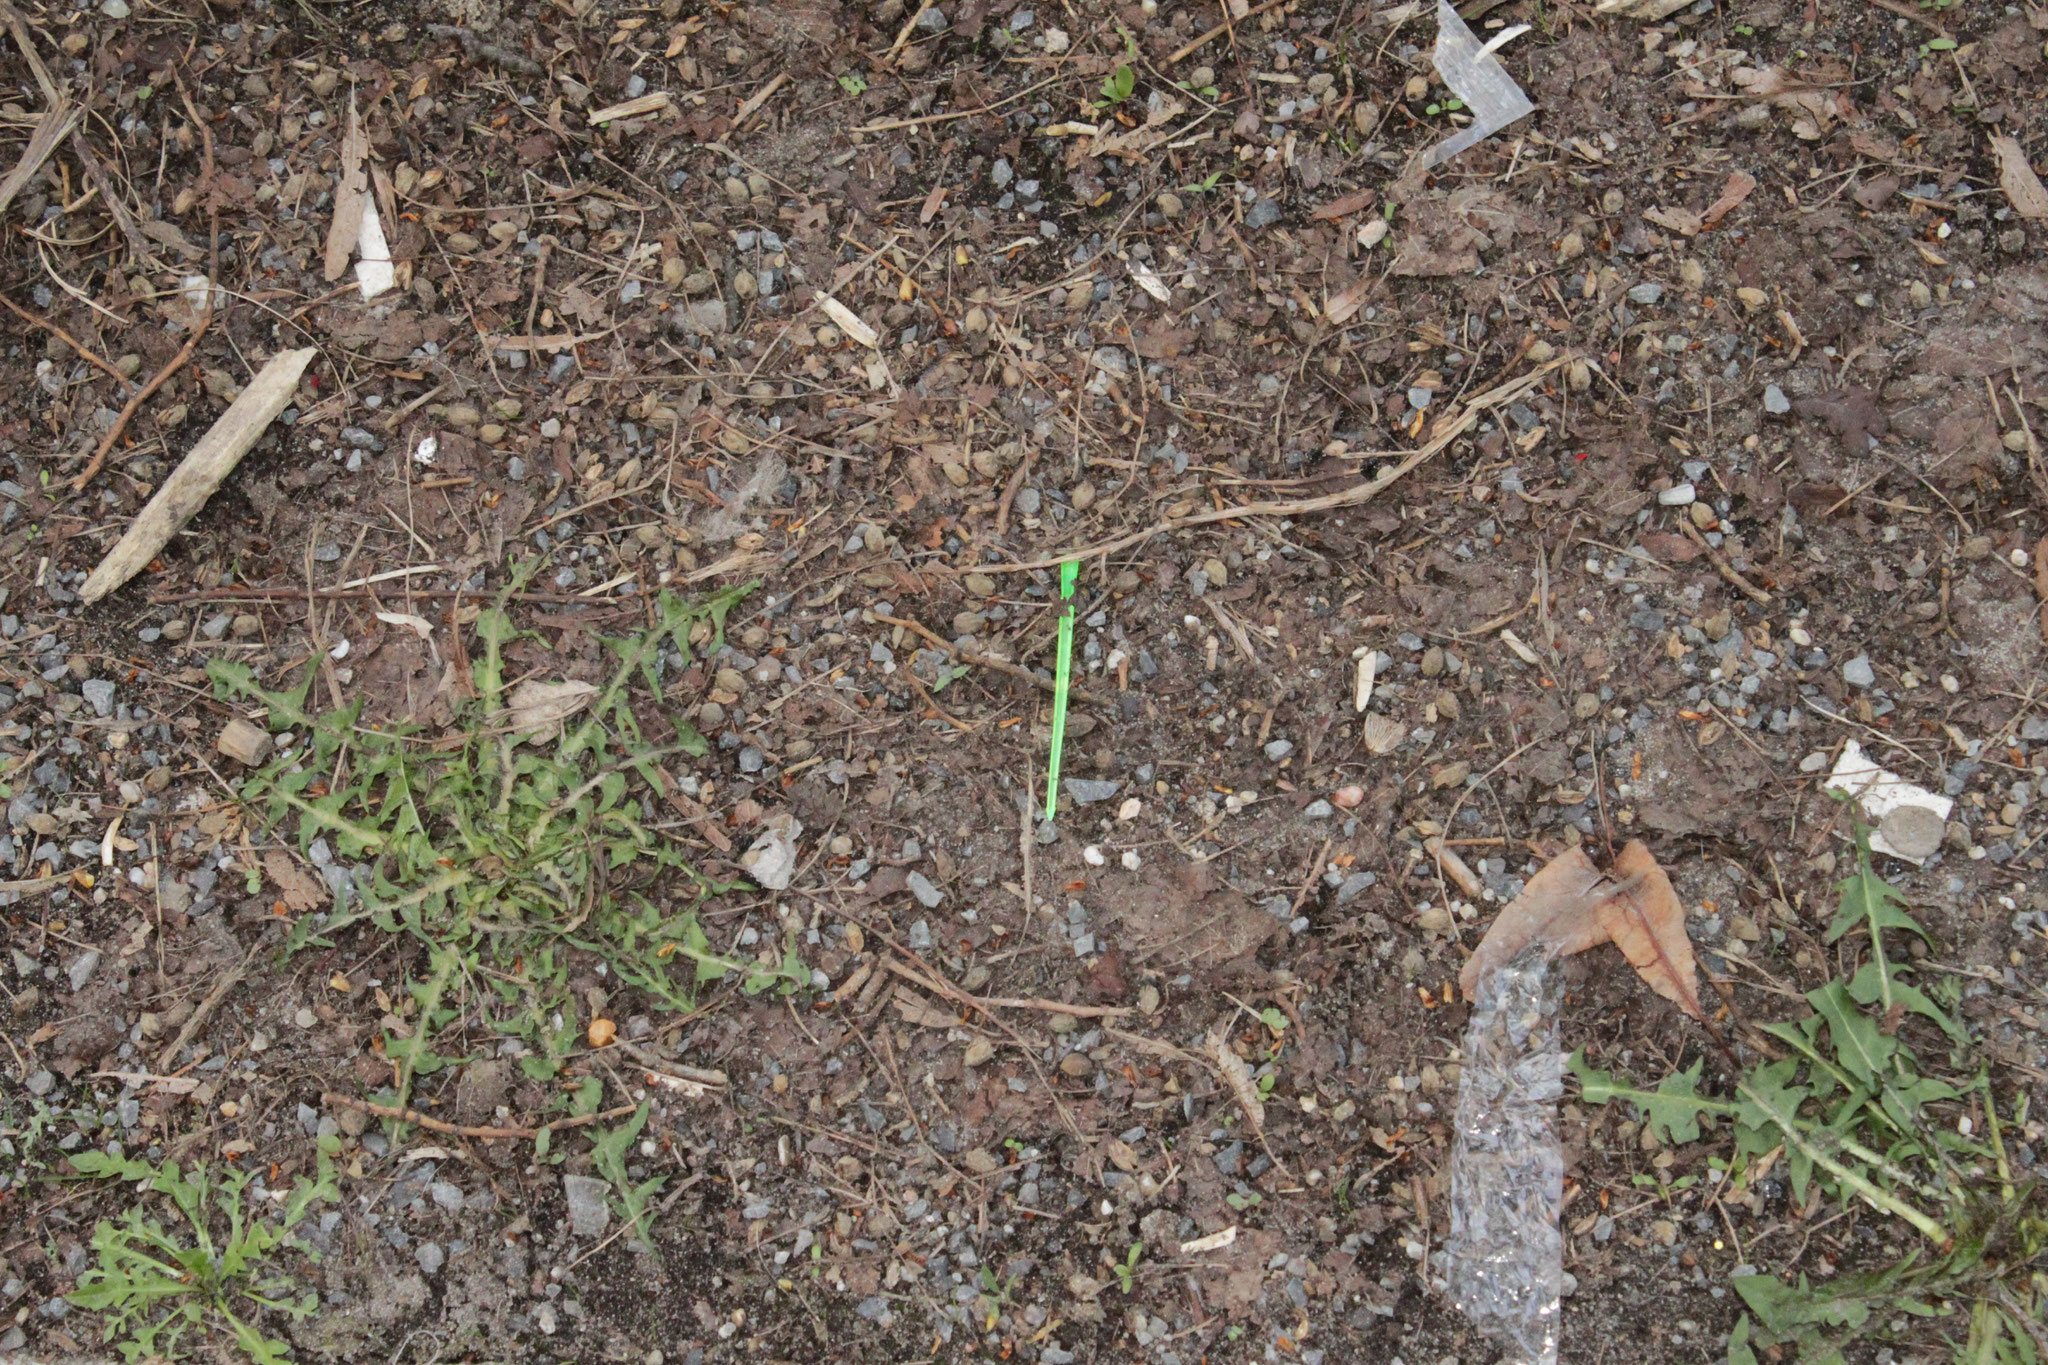
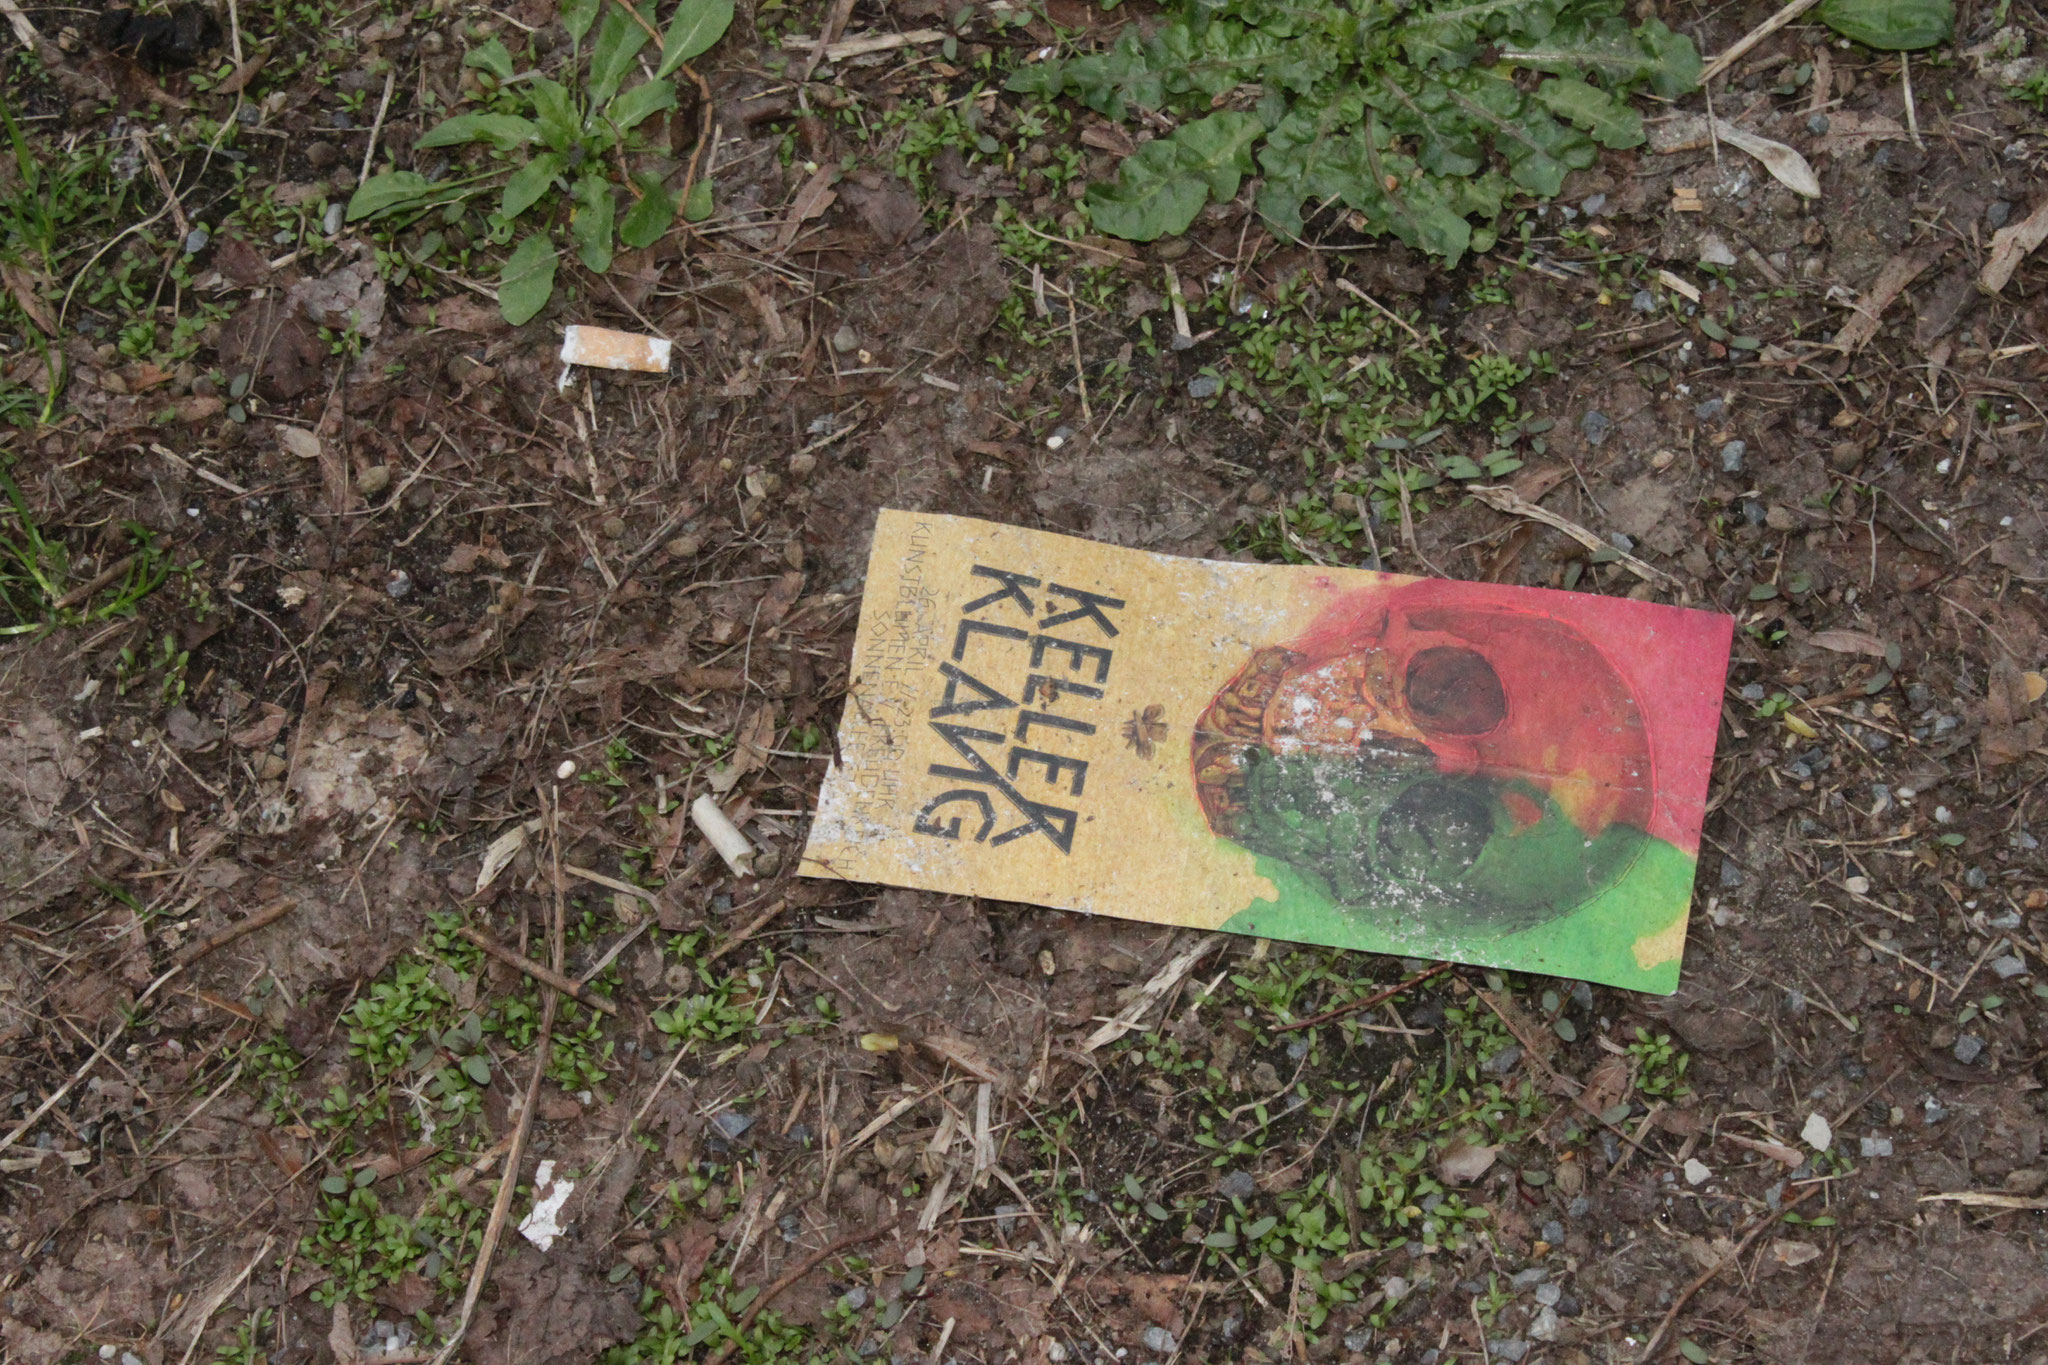
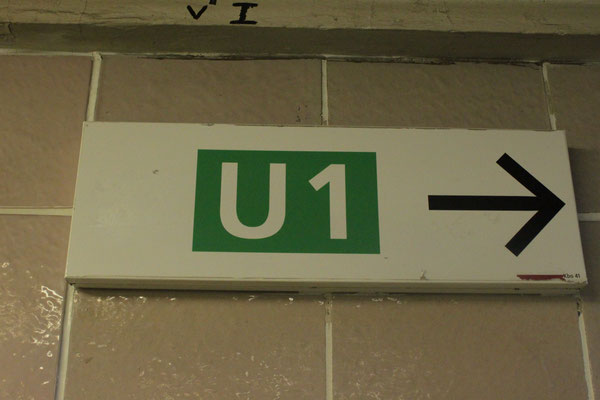
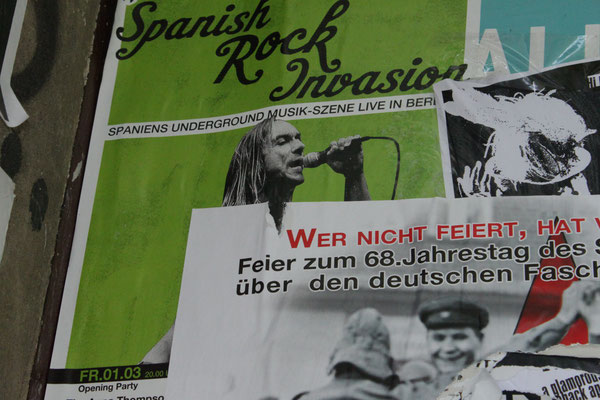
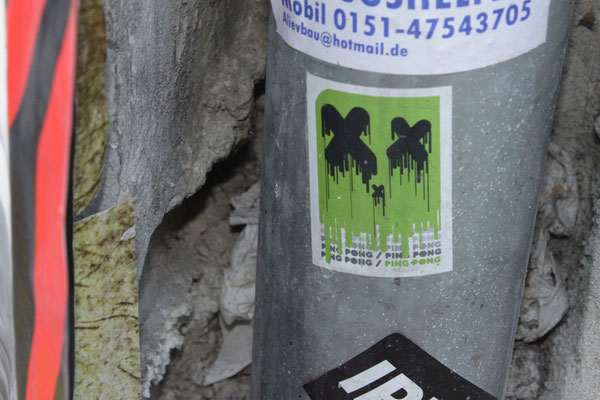
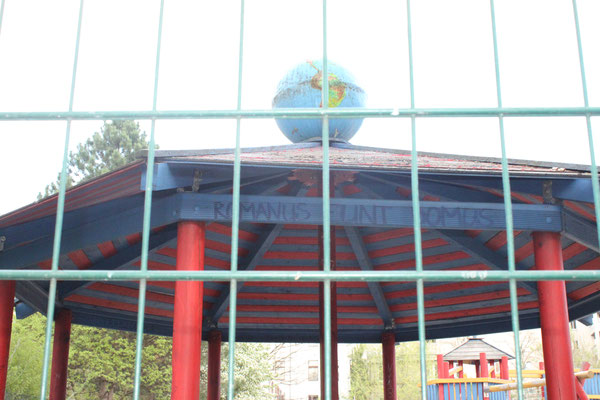
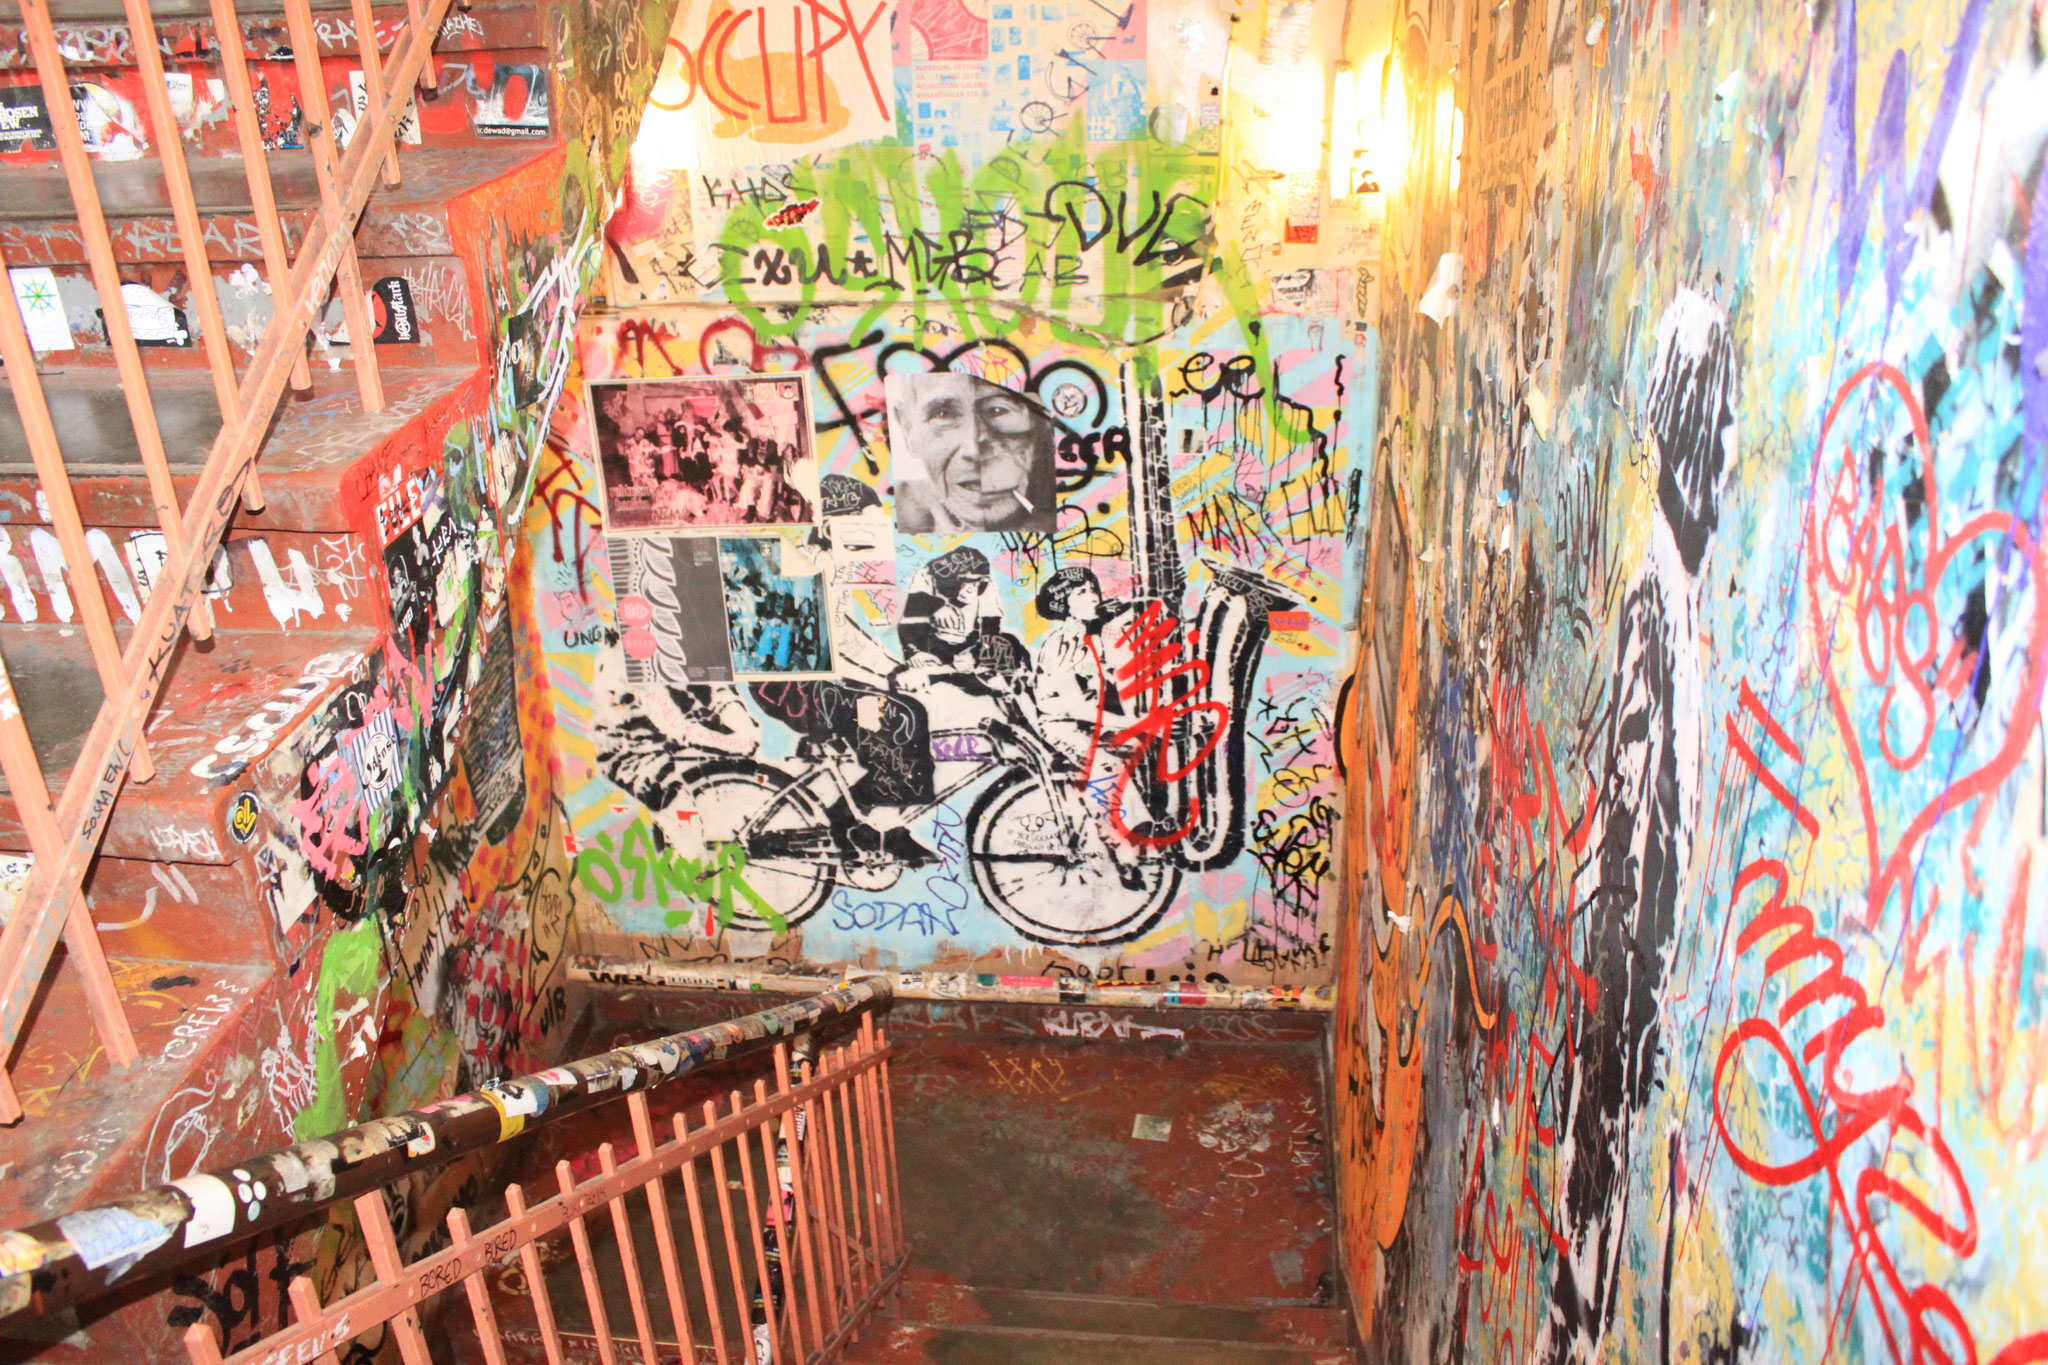
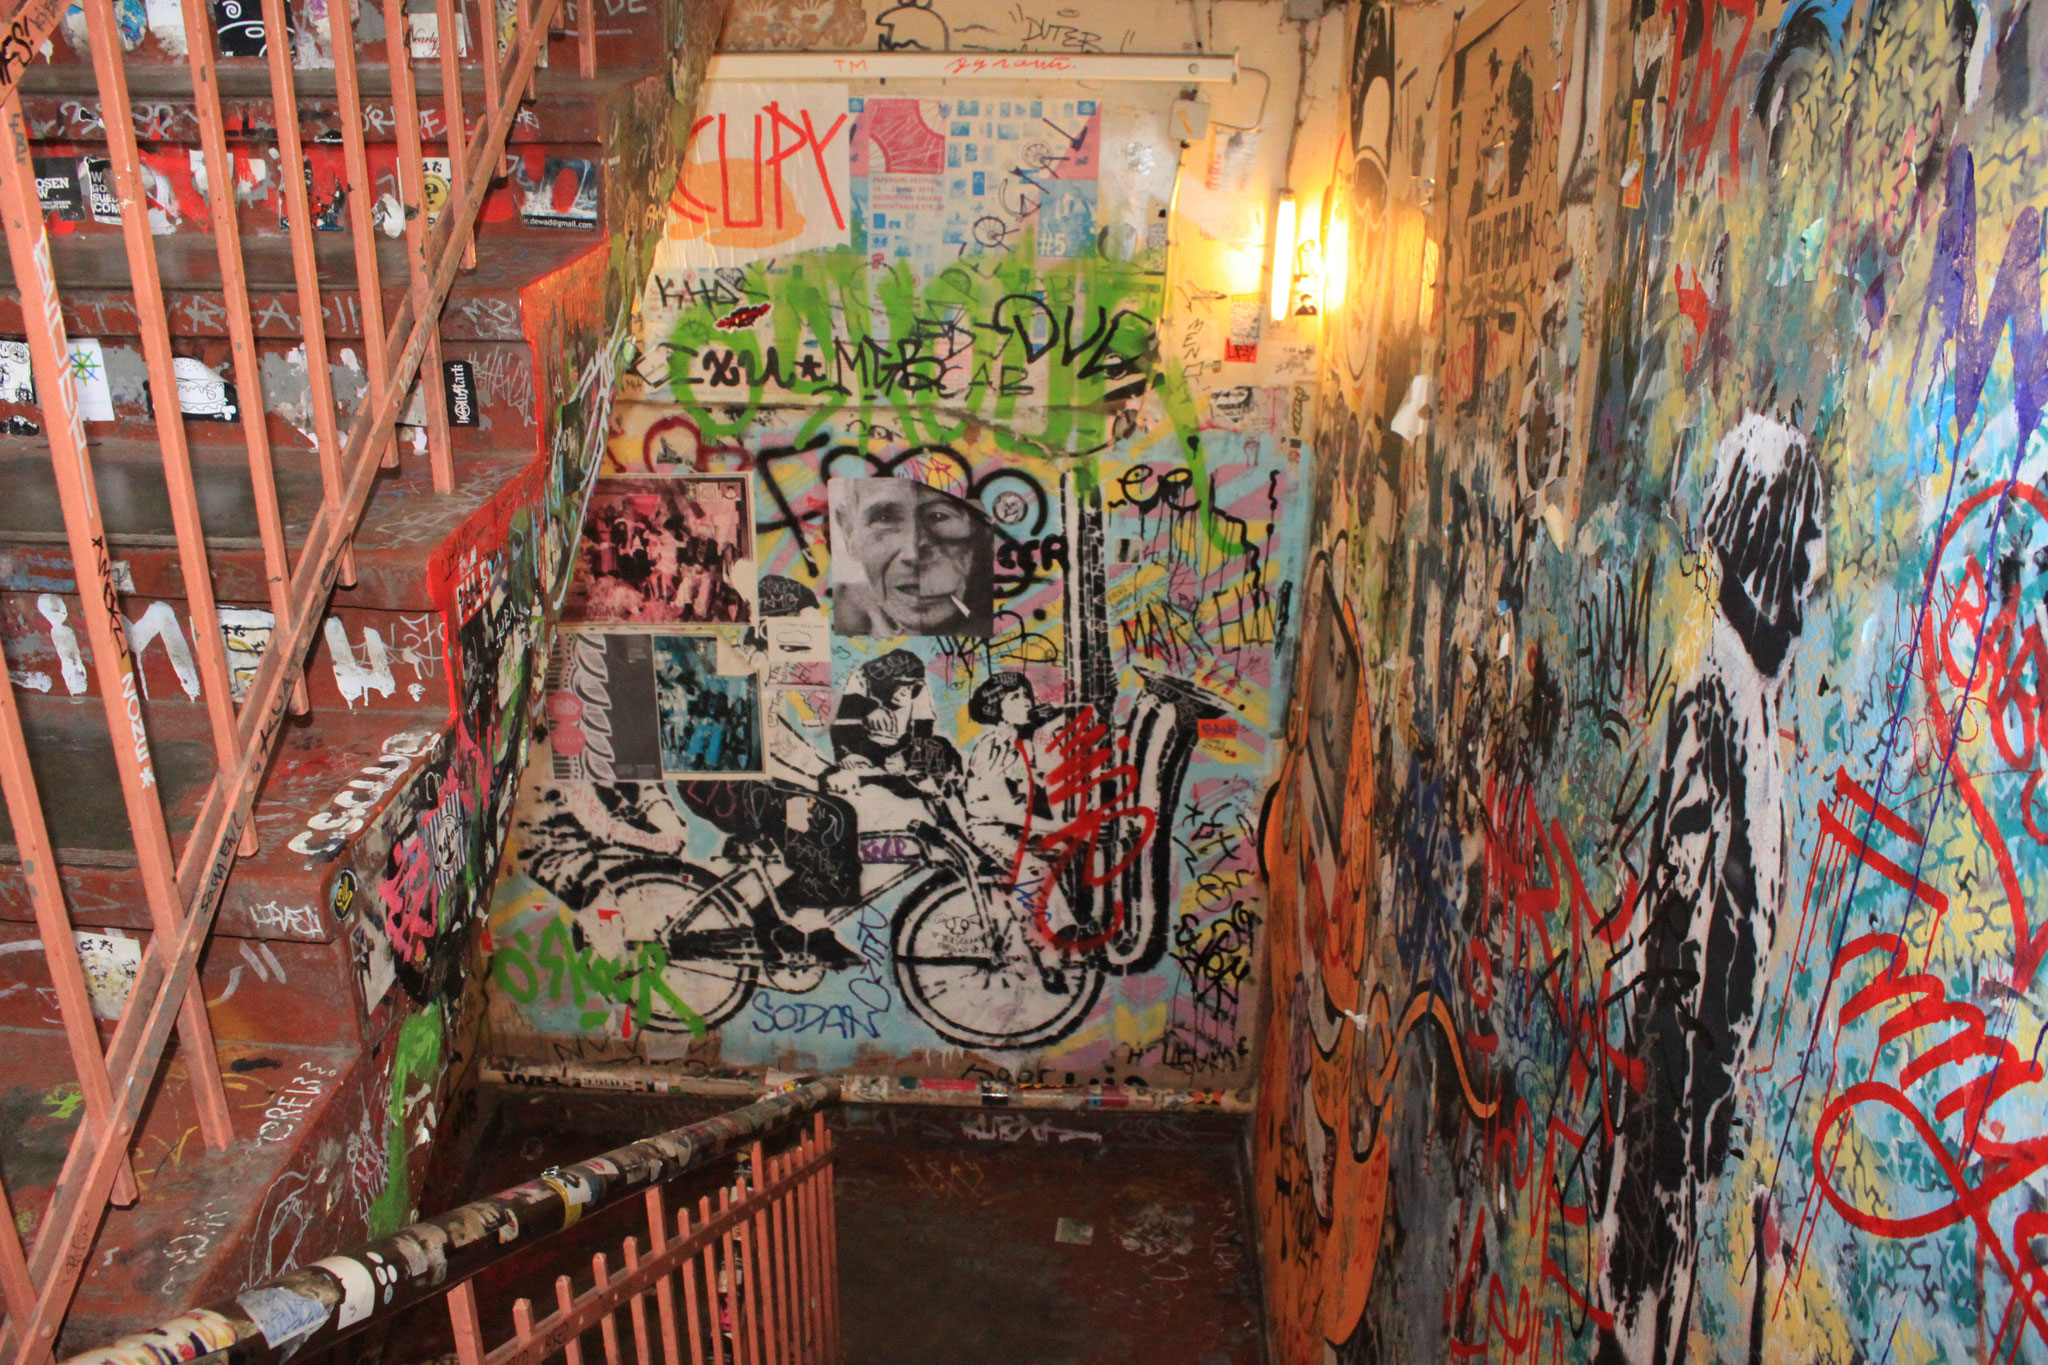
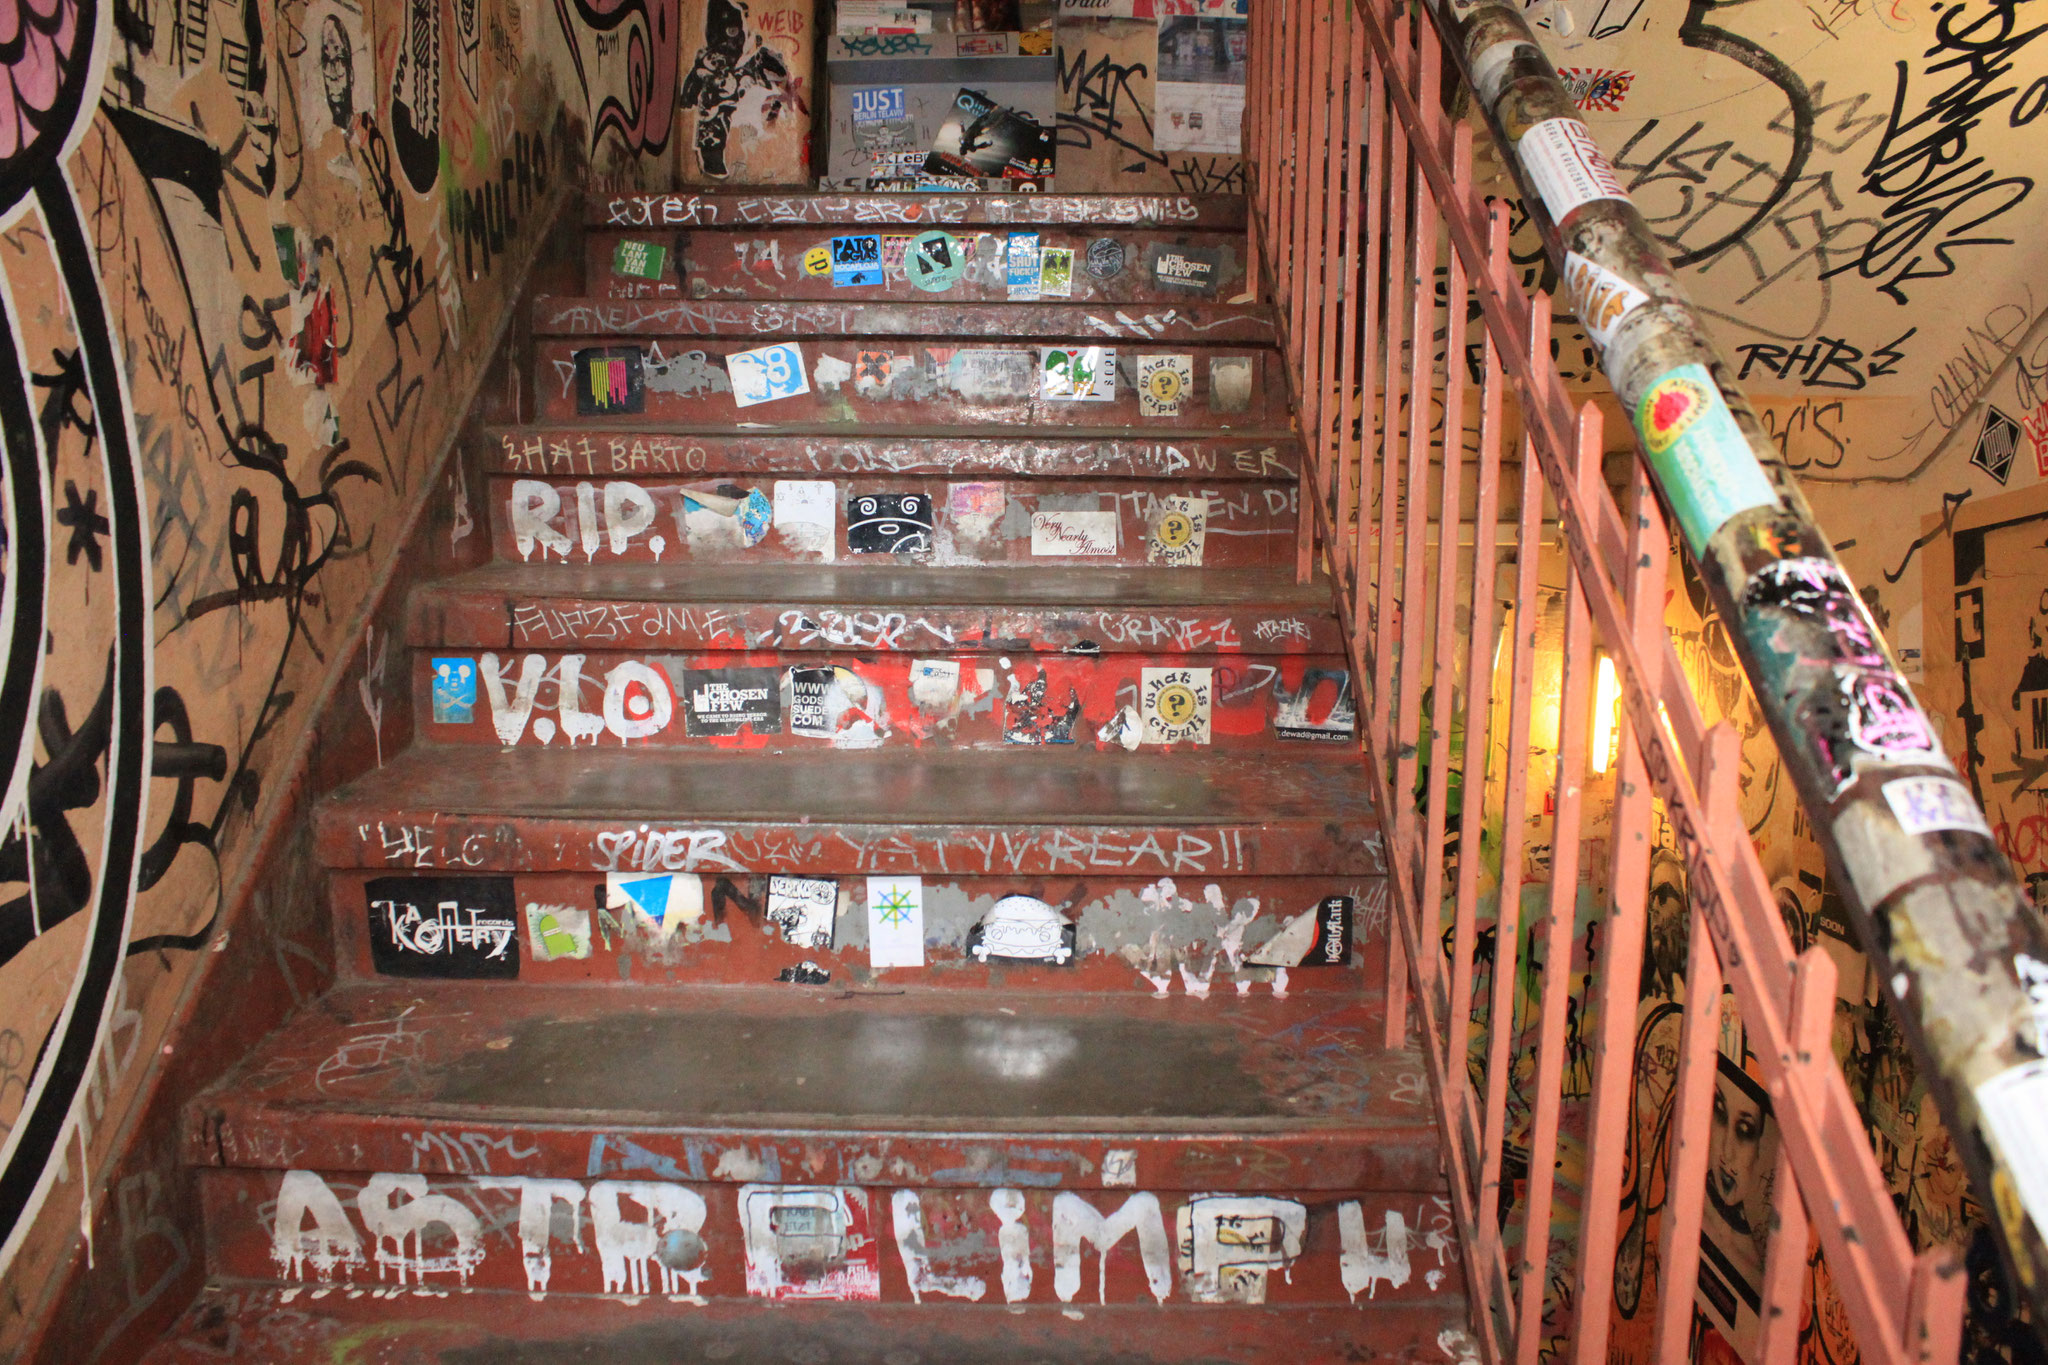
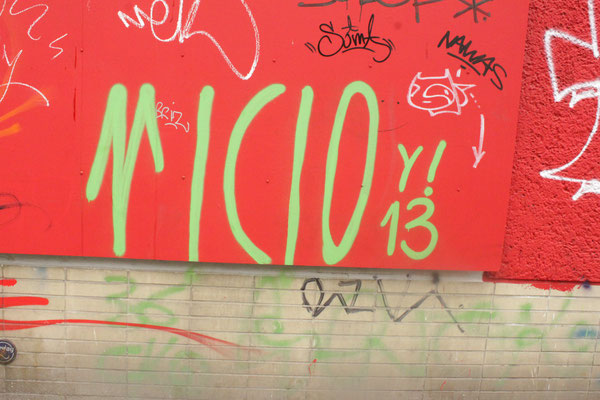
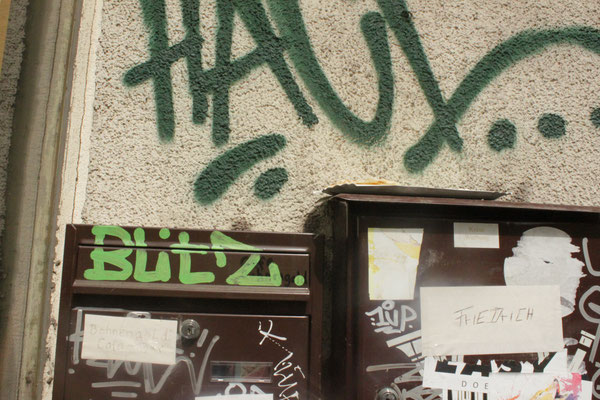
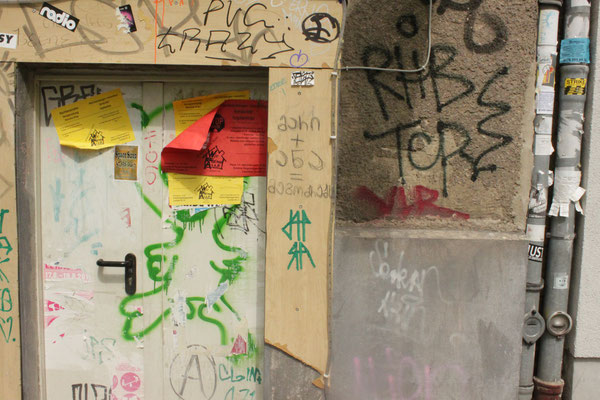
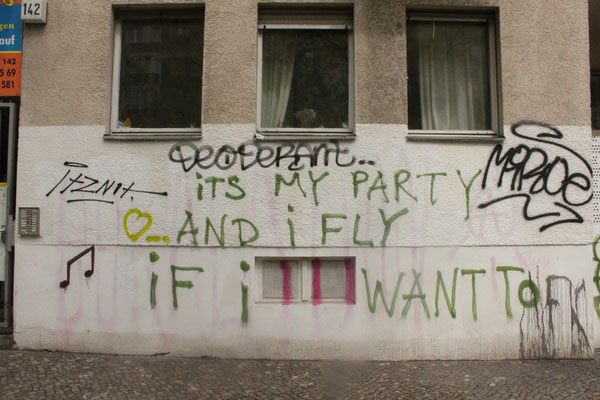
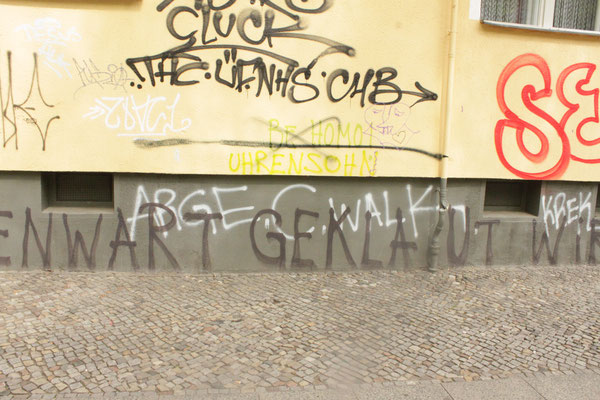
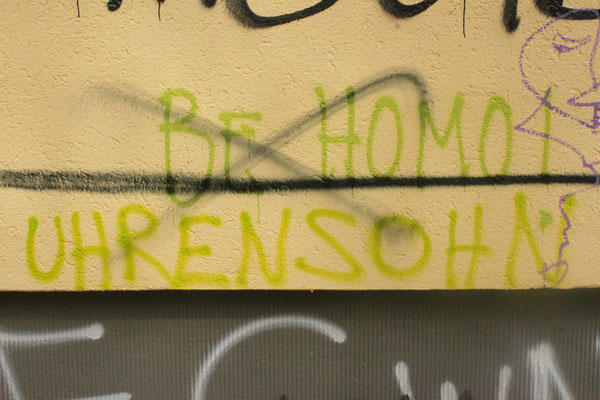
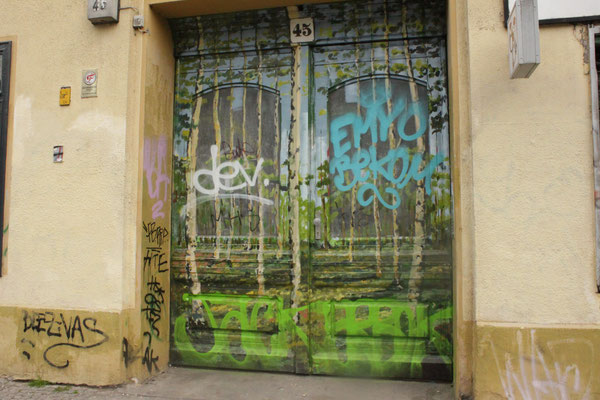
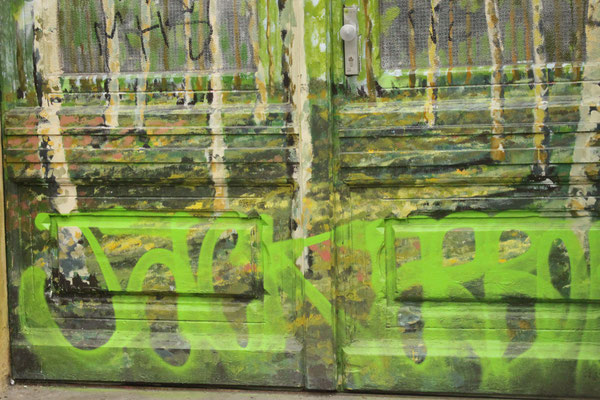
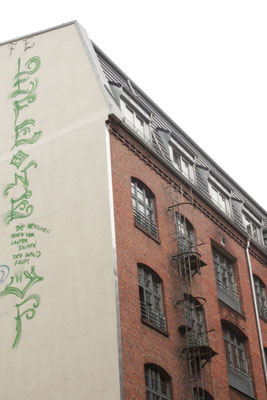
I decided to present "green graffiti" as the subject for the photo series, because for me one of the many features of a big city is graffiti on house walls, bridges, etc. In addition, you
can find very well different green tones of graffiti in a big city and analyze their effect. Since graffiti es for the most part is intended to advance and convey a statement to the viewer, be it
on social, political, etc. To draw attention to grievances or a person, it is interesting to see that the person has chosen the green color, since the color has a calming rather than an
aggressive effect. to photograph.
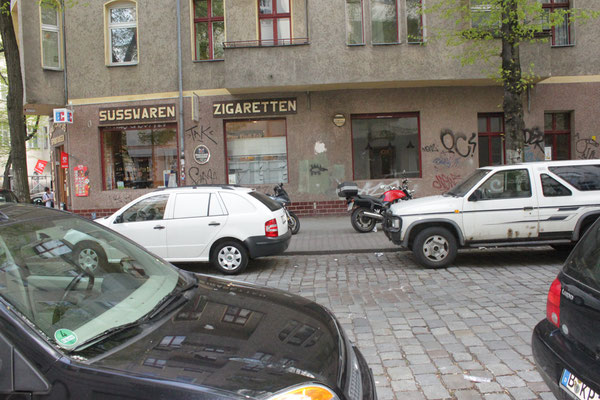
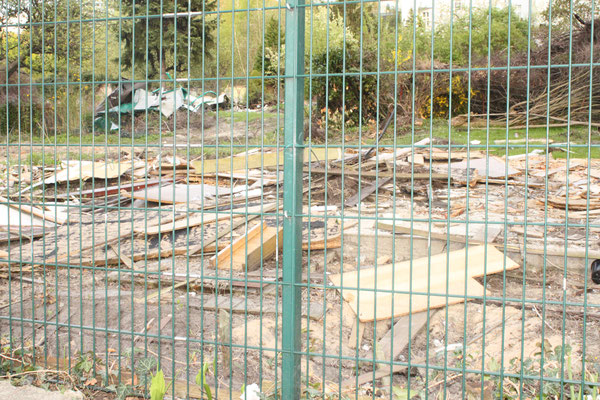
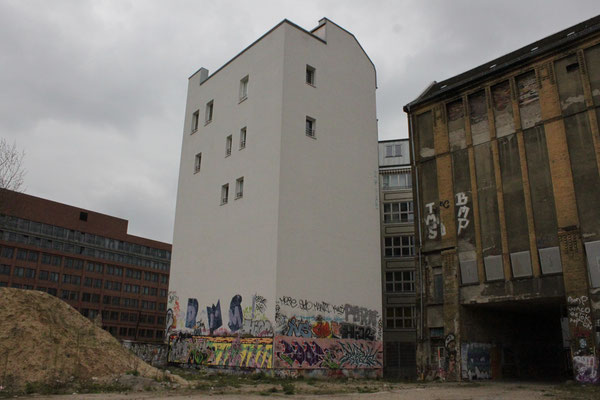
When planning the photos, I decided to take pictures in the afternoon, so that due to the light conditions you can photograph the pure color of the color of the graffiti without having to pay
much attention to different camera settings (flash etc.). In addition to normal roads, I also searched for old factory sites and "hotspots" such as Ostbahnhof in order to take pictures that were
suitable for the topic.
I have photographed at Hackescher Markt, Warsawer Straße,East Side Gallerie,Kottbusser Tor, Hermannplatz, Rosenthaler Platz,Weinmeisterstraße and in the Görlitzer Park.
For the photos I used the SLR camera Canon EOS 500D.
When I was taking pictures, I took pictures from a normal perspective, because I wanted to represent the "everyday" perspective on looking at graffiti.
I changed the ISO number depending on the lighting conditions and used the flash when necessary. In addition, I mostly used the focal length of 18 and 24 mm, shutter speed 1/125 and the aperture
number of f5.6.
Depending on the lighting conditions, I have changed the exposure series (AEB) 2 apertures in half or third levels.
When choosing the mode, I switched between daylight, shadow, cloudy and photographed in close-up in Picture Style Standard.


end result
Second Official Task
In the first image montage I used individual motifs from the photos, which I arranged and edited using the magic wand tool, so that a new image with different green graffiti tones is
created.
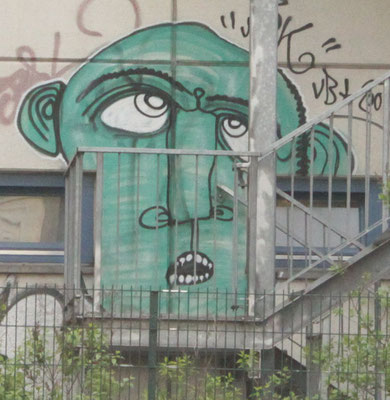
In the second image montage I have pictures that had faces as the main motif. created using changes in opacity. For me, it was about the connection between individuality and unity.
During the third image montage, As with the first image montage, I worked out individual motifs and connected them together. In addition, I used numbers to represent the "thinking style of the
robot".
In the fourth image montage I wanted to create a "surprise effect";namely, when the hand opens the broken refrigerator, a ghost appears.
Motion Design, Visual Design, Animation, Modelling
Review of the Project
The Topic of the Task was very Broad so there were a lot of space to create ideas, but also a high Chance to develop ideas that are not very original and i Kind of fell into that trap.
I think my choice to photograph green graffiti is not very original and seems like i did not much of a thinking process. Moreover, in some phtos the color green is not the focus so the task is half fulfilled because it represent the title but the color green should be the main focus/topic of the photographs.
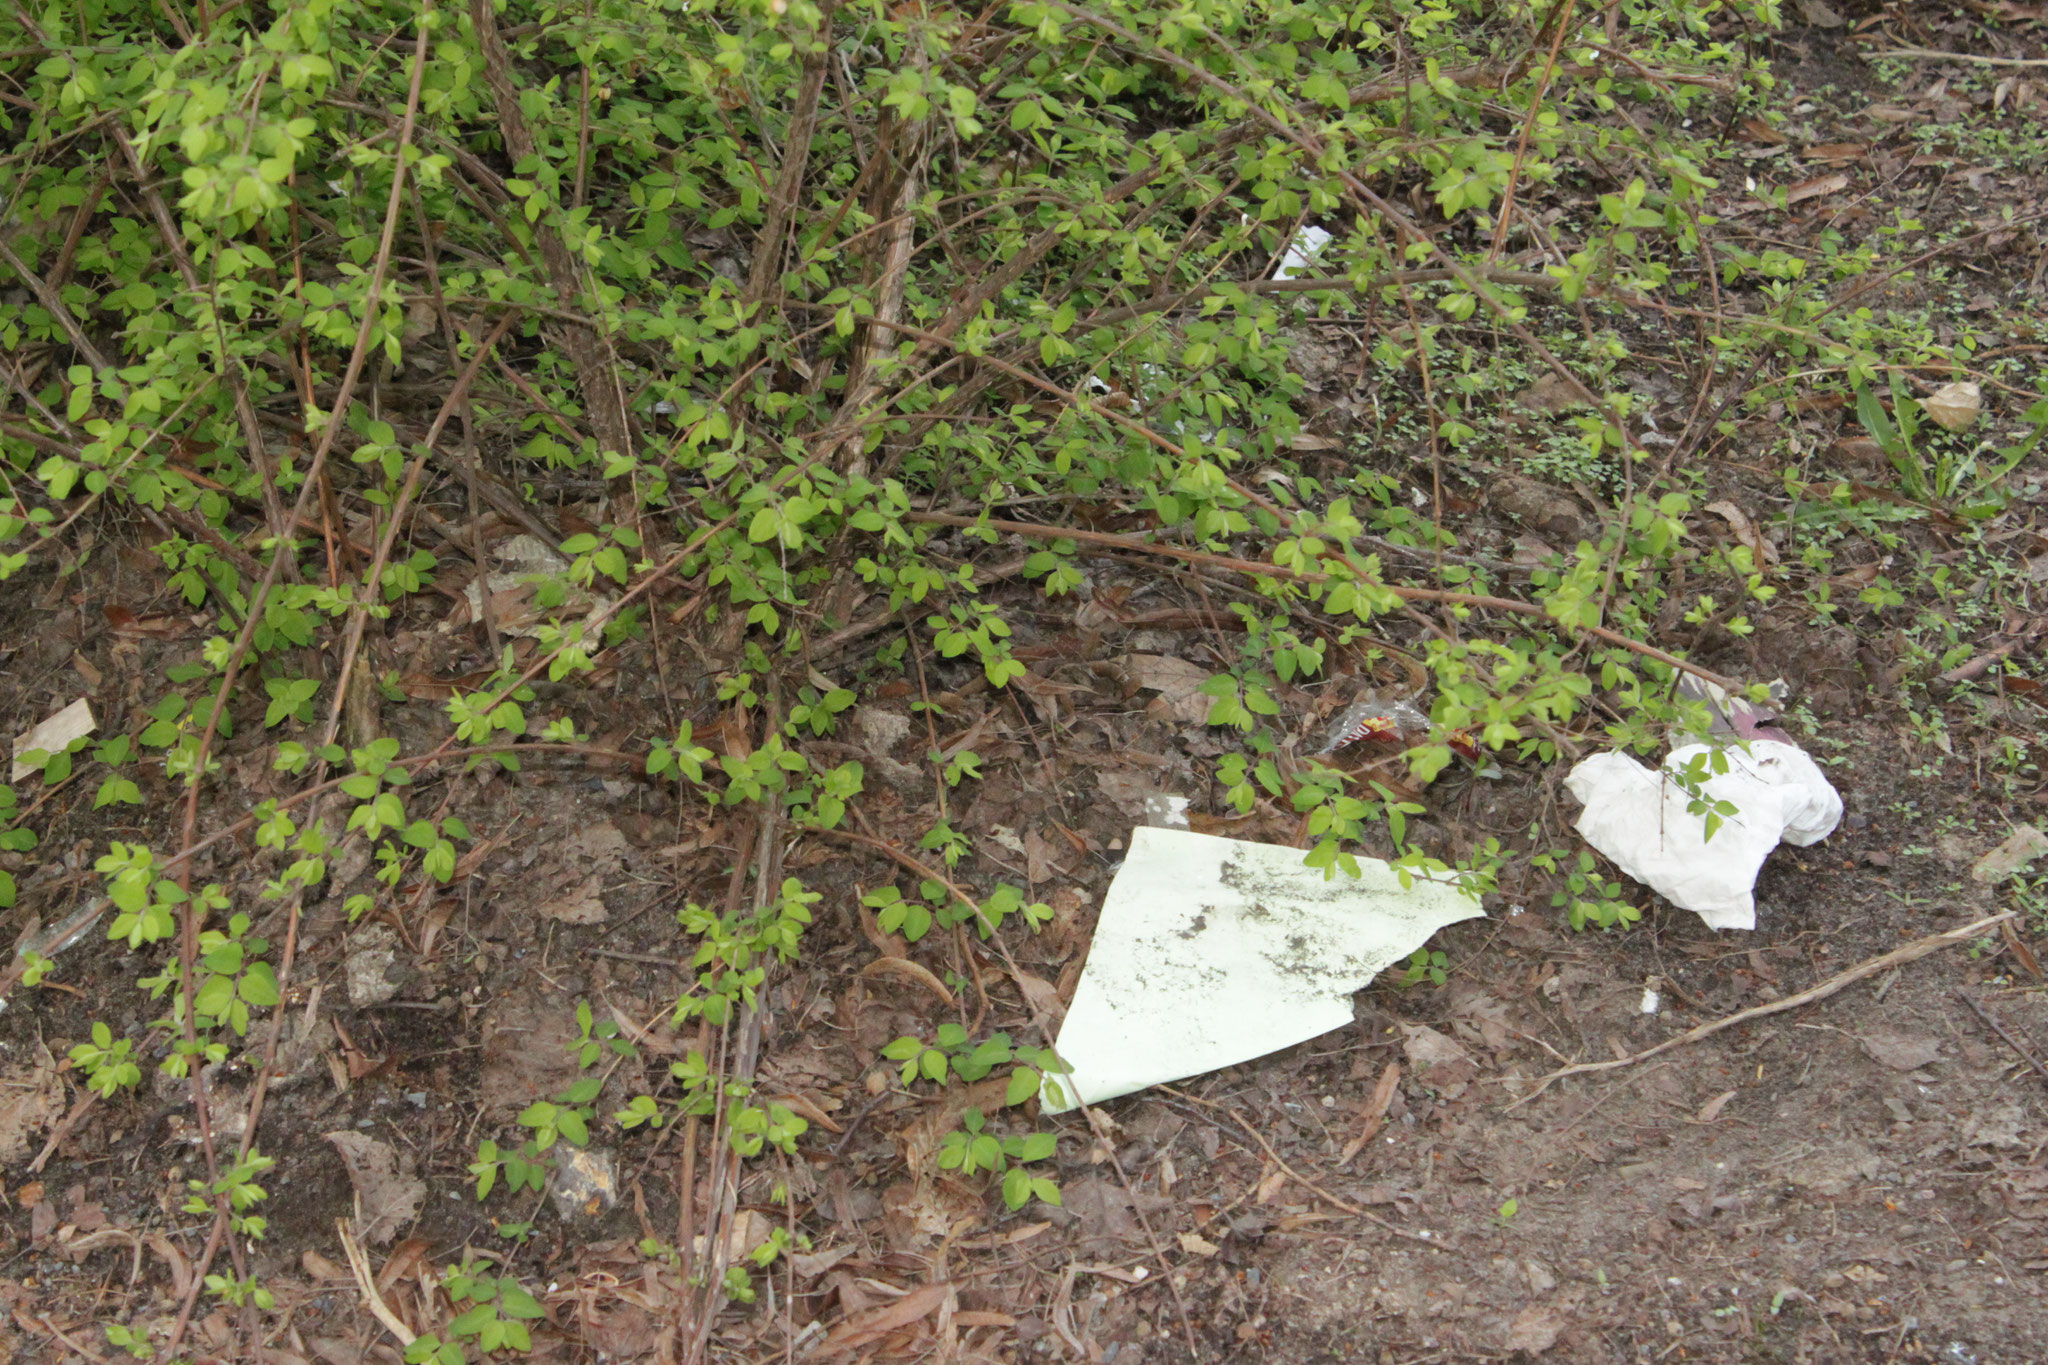
My point of view was to create a contrast betwee the associations with green - nature -and buildings - manmade. The contrast being organic and static.The contrast between creativity and abstraction,
In order to understand the message people need to know context that is not given by the photograph alone.
In a new try i would take more time in the ideation process in order to define a concrete message i want to convey and how to make it ckear in the photographs.
Late or not to late
Task
1. Theme
- production of an animation film, video or stop motion of approx. 60 - 120 seconds running time consisting of real recordings and/or animations (from the submodule Animation/Modeling) on the basis of a storyboard to a topic complex specified by the lecturers. The project work is a group work (2-6 members).
2. Task development of a storyboard based on the own clip concept
Video real sequences must be rotated using a digital video technique. The video can be mounted together with the animation sequences in a digital editing program (e.g. Premiere, Final Cut Pro). The image compositions must be completed with sound, right-hand music and if necessary, voice recordings. The filming with video cameras should be carried out in groups.
The task of the project work in the field of video and audio technology was to make a two-minute film, which includes the topic "Late or not to late". This video is intended to include animations as well as modeling objects.
Expose
The first task was to create an expose/storyboard for the video, which later should be transferred in Adobe Story, Adobe's scripting software. Groups should then be formed. Content of the exposé: protagonist sleeps; passes the street/u-/ and S-Bahn and realizes that he has only dreamed of everything. Anton Voigt and I then worked out the exposé.
Developement of the Video
Based on the exposes the storyboards were developed,presented and discussed.
The groups created schedules for the shooting of the video as well as continue working on the script and storyboard.
Animation
On animated an alarm clock with the help of my lecturer.
Animation the alarm clock
1.Designing/Creating Alarm clock+pointer in Adobe Illustrator
2.Adobe After Effects -> New Composition -> Import -> File(Alarm Clock)-> Customize to Computions
3.Import Pointer -> Move anchor point in center of the alarm clock ->Create animation with keyframes - > click on Expression "Rotation" -> insert loop Out("continue")
4.Reduce the respective keyframes of the animations of each pointer 5.Decforce to 25% at the last keyframe
Filming
On 25.06.2012 we filmed the subway sequence and the S-Bahn sequence For the filming of the film we borrowed from the university camera and tripod and immediately turned to the film. Our filming locations were U-Mehringdamm, S-Charlottenburg, Potsdam Drewitz and an apartment room of a group member. First of all, we shot the scenes at the U-Mehringdamm, where you can see the protagonist running down the subway shaft, running along the corridors and sprinting down the stairs where he just misses the subway. This shooting had to be stopped after a short time because the staff of the BVG had something against the fact that 3 students made recordings in a public place. Then we went to the S-Charlottenburg where we could shoot the scenes where the protagonist runs the way to the S-Bahn station in the I-perspective and arrives there the S-Bahn just leaves. Afterwards, the can scene was recorded, where the protagonist steps away from a can out of frustration, with the main actor capturing reproachful glances from passers-by. Since one group members had previously agreed to play the protagonist or was the only one who had no excuse, the wake-up scenes were carried out at his home. In these shots he was a cinematographer, director and leading actor in one and filmed the wake-up, running and tram scenes, receiving help for the exterior shots from a friend who led the camera. Since we only had the camera for two days, we made up for the scenes at Mehringdamm on the second day where we were fortunately not stopped by any BVG employees. Now that all the scenes had been recorded, it was necessary to select the corresponding shots and line them up together and then to find that the preproduction had been a little miscalculated in terms of the duration of the individual scenes. In short, about 90 seconds had to be shortened without making the film completely meaningless for the viewer. Scenes such as the corridor racing or the sprint to the S-Bahn were almost completely taken out along with many other scenes. After the movie was cut to the appropriate length, the watch animation was inserted into the wake-up scene using Adobe After Effects, rendered out and inserted back into the main film. Then the intro was also created in After Effects where the modeled alarm clock is used.In the intro, the main work was done with opacity. This was then also exhausted and inserted into the main film. Finally, the film was set to music in appropriate places. This includes all alarm clock noises, the intromelody, the bird's-eye-watering and background music. The film was finished.
modelling
On 4.06.2013 objects were started to be modelled for the project work.
On 18.06.2013 work continued on the individual projects. Our group started to model an alarm clock.
For modeling the watch I took a picture of a 2-bell alarm clock as a model. The first thing I did was re-recreated the body. This consists of a line that I had to rotate around the X-axis with which a 3-dimensional body was created. After that, the feet were on. These consist of a cylinder body, which I let run pointed at the end like a cone. Then I created a ball at the tip of the cone and then linked these two bodies so that they also have the same properties. After body and feet were present, I created the dial in Adobe Illustrator and then pulled it up on a flat plane in Autodesk and placed it on the front of the alarm body. Then I created the pointers in the form of rectangles and positioned them correctly. Then, using the timeline in Autodesk, I animated the hands so that they behave like an analalogist clock. Next I have modeled the numbers of the dial so that it looks better. In the last stage of the modeling process, I still positioned lights and provided all objects (body, foot, pointer, etc. ) with properties such as texture (metal), color and light reflection factor. Then I set the perspective in which the alarm clock should be visible and then I have exhausted the whole thing
Finale movie
Review of the project
The theme "Late or not to late" could be defined in a literal concrete way or in a more abstract way. We chose to work with the more concrete interpretation of that. The brainstorming and idea phase was fun and seeing a raw idea come into existing is always exciting. The issue that came after planning the filming lies on the filming rights that sometimes need to be dealt in a more unorthodox way to get a product. Because the official transport station are seemed to be public places to film but are owned by different public owned companies puts us in a very grey area legally. The process of editing, animation and modelling gave the clip a kind of a blur of two worlds of dreaming and reality that we humans often experience. I like the developement phase as well as the editing and animation creation .
Exhobition design, Brainstorming, Visual Design, Motion Design, Product Design, Art Creation
project "Trophies - From Collecting, Sorting, Arranging and Presenting"
1.Task : Written analysis of a predetermined or free topic, development of a concept (incl. old. solutions), design concept and implementation.
1.1) Scientific analysis of the task: Formulate the objectives of the project • What should be conveyed, what should be achieved? • What are the main goals of your project (communication, etc.)? • Which thematic areas are used (e.g. BenchMarking)?
• What comparable products are on the market?
2.) Conception
• strategy and idea-finding; Approach and alternatives
• Formulation of the operational idea and the creative core of the idea
• Formulation of design perspectives:
• Methods: Develop or select an appropriate storyboard, create a storyboard
• Develop a Structure or information architecture
• Which mode and which channels are selected - and why?
• Can usability be checked, e.g. by prototyping or consumer interviews?
• Creation of a detailed production plan incl. material and time budget
3.) Creative implementation: Visualization and production Methodical approach / Adequacy of tools (exemplary): • Analog techniques, software and standards • Formats and processes as well as production methods Cross-media or interdisciplinary aspects Development of design elements: • Typography and layout • Motion and sound design, animation, interaction design and style guide realization (exemplary) • Create sets and models • Realize Shootings, motion and sound production, • Create interactive elements and prototype testing • Test the results processally and improve them where necessary.
3.)Presentation : • Packaging and media roll out
4.) Reflection Written reflection includes: • Self-assessment of the project and its course • as well as criticism/improvement
1.) Scientific analysis of the task
- Scientific analysis of the task • What should be conveyed, what should be achieved?
The first part of the teaching project "Trophies – From Collecting, Sorting, Arranging and Presenting" deals with "the conception, development and implementation of an independent work on the given topic "(in group work) of the study course Mieden- und Communicationdesign (MKD) of the 2nd and 4th semesters (Sem.) Summer semester 2013 (SS 13 )
During this development, "various approaches" will be discussed, in which ways one can be introduced to this topic and work on the realization of the ideas for the exhibition object (content+design).
The second part will discuss the "processes of collecting, sorting and arranging" and (effects) of different forms of presentation "in order to examine the relationship between presentation and representation".
The students of the mkD 2nd and 4th semester study programme will work on this. the "curatorial concept" with :
-Arranging the works in the room
-overall design + appearance of the exhibition ( MKD 2.Sem.)
• What are the main goals of your project (communication, etc.)? The aim of the project "Trophies and Collecting" is to develop an exhibition of the group works of the MKD course of the 2nd and 4th semester. The main objectives of the project work are to introduce visitors to the topic of "trophies and collect" in various thematic areas, because this topic is in many areas such as (e.g.) hunting or fetish.
2.) Conception
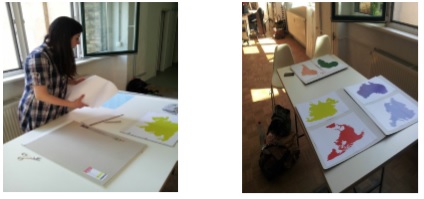
For the first introduction on "trophies and collecting", the lecturer asked for the study course MKD 2. and 4.Sem. SS 13 two personal objects that "represent us as a person or with whom we can identify." at the first hour on 19.03.2013. Then the study course MKD 2.Sem. and 4.Sem. place all objects on a table and consider in groups how these objects can be arranged and presented in a hypothetical exhibition.
My group group and decided to present the respective objects in different sized columns.
On April 2, 2013, the MKD 2nd and 4th Sem. created a mind map listing the different trophy types.
When creating the Mind Map, the question was asked more often whether everything could not be considered a trophy. Our Lecturer explained to the course that there are criteria to be able to designate an object as a trophy.
My ideas, which were also developed after the seminar, were: - looking for extraordinary trophies -> create a collage - personal / private: stage your own trophies/ edit etc. - History :Development of the trophy into a timeline / pedigree - collage of year numbers/time periods or words that are important for the development of the trophy - in a competition to photograph the winner - culture + art : a collage of famous works of art - an evaluation of works of art with trophies "competition among works of art" - academic titles in the form of a trophy - word "trophy" in films, magazines etc. - develop own competition and trophy - culture: different trophies from different cultures and countries n search and put it into a world map - own trophy for the MHMK - ornament for the MHMK - all previous projects of the study course MKD 2.and 4.Sem. Reassemble and stage (for example, one shows the individual work processes that led to a result) as a medium video/ collage/ poster etc./ quiz and let the visitors guess from which semesters the respective works come from - cultural significance of the trophy illustrated with personal objects - build own totem stake. In addition, the study course MKD 2. and 4.Sem. groups of two students each, each group consisting of a 2nd and 4th semester students.
My group consists of Cindy Nguyen and me. In addition, lecturer Louise Marbach informed the MKD course that the exhibition will be presented in room 203 (loft).
Cindy's nguyen's ideas were: - Further development of the idea on the topic " Development of the trophy ": to cover trophies over the years, so that visitors should first get their own picture of the trophies, e.g. Visitors draw their ideas of the trophies at the individual time periods on paper -> End of the exhibition Picture comparison -> possibly create a new trophy from the drawings
- Further development of the idea on the topic of culture: prepare various trophies on small pictures and visitors should guess which trophy belongs to which country - Further development of the idea on the topic of personal: depict trophies among personal objects - ten personal items that we personally consider as a trophy , collect and assemble into a new trophy - outline of a trophy drawn on a flip chart -> Visitors can add something to the outline -> new trophy
On April 17, 2013, the groups were to present their ideas for their exhibits. These ideas were presented by Cindy Nguyen and I. (See Appendix Fig.2) The idea with the map and the painted trophies has the students of the course MKD 2nd and 4th Sem. because this idea allows interaction with the visitor. The problem that this idea takes a lot of research time and how visitors get the solutions. Cindy Nguyen had the idea to represent the most popular sports of each continent with the help of a drawing doll, which we provide in the appropriate position and distinguishing feature and place them on different sized (wooden blocks) depending on their popularity. (See Appendix Figure 3)
These are the results of the questionnaire: (See file) Permanent exhibition 1.1:-"The past, present and future perspectives of the information society" 1.2.Communication in everyday life 2.1 former Postal Museum 2.2 Berlin-Mitte 2.3 linear clear guide/running path.opposite exhibition rooms,stairs/floors, turning right around atrium,tours
3.1 1st floor: impact on space and time through media/acceleration of the person, Goods and data traffic,protection of news, self-presentation of institutions and nations 2nd floor: change of the meaning of war and its perception by media , mass media,computer gallery 3.2. Mass (object accumulation),objects represent text, playful approach (e.g. robots) ,strict outline,objects not attached to its description text ,serial representation 3.4. 2/3 image /object,1/3 text 3.5 day View direction influenced by running direction
3.7 Direction is guided 4.1. all social classes 4.5Flyer to the special exhibition
Special exhibition 1.1 "TEMPO TEMPO! In the Race against Time" 1.2 Questions and Causes for the Increasing Acceleration of Western Everyday Life 2.3 in Two Large Spaces 3.1 Everyday Objects (Mobile Phone etc.)
3.2 Showcases: photos from everyday situations,objects on wooden plates, bordered by text - white round exhibition blocks with glass display cases, in glass display case + exhibition blocks ->Everyday objects : hanging objects Poster clock 3.5 artificial light, punctual, by approach to an exhibition object -> tube is illuminated from below 3.7 way freely selectable 4.1 all social classes
Our Lecturer handed over a list of important points needed to plan an exhibition 2nd and 4th Sem to the students of the study course. After that, all groups should present their further processing of the ideas. My group had the idea to use limb dolls to represent various popular sports around the world; if necessary, Sports equipment is also produced using modelling compound. (See Appendix Fig.3) In addition, the figures should wear jerseys of the best teams in the respective sports. Among the figures, the highest trophy should be on display
These articulated dolls are then to be placed on a world map. Lecturer Louise Marbach pointed out that the idea requires a lot of research work and that the exhibition object should also provide a statement on the subject of "trophies and collecting". She has suggested that we can implement my idea with the trophy handover in the form of thumb cinemas. She also informed us that each group has 30 euros available to realize their ideas.We decided on the idea of thumb cinemas.
The thumb cinemas should be bound into a "book" and the respective thumb cinemas should have the shape of a continent. We then sent lecturer Luise Marbach an e-mail with our idea explanation. (see e-mail May 15, 2013 at 1:42 pm ) Lecturer Luise Marbach noted in the e-mail of May 15, 2013 2:09 pm that it is difficult to tie the thumb cinemas in continent form.
She has suggested the following steps: 1. Search for suitable films/sequences 2. Concrete considerations for the design of the map and thumb cinemas 3. Presentation form
On May 16, 2013, our lecturer gave the students of the 2nd and 4th Semester courses. sent an e-mail, which again lists the most important information of the exhibition room/date, budget etc.
On May 24, 2013, our lecturer gave the students of the 2nd and 4th Sem. sent an e-mail listing the "History of the Museum and questions about the presentation of exhibits/exhibition design". (see e-mail from 24.05.203)
On May 28, 2013, the individual group works were discussed individually with each group with lecturer Louise Marbach. In our sum, she made the following comments as a comment: 1st Academy Awards or sport, because the two themes have no real connection. Luise Marbach recommends that we stay at Sport.
2. for each continent a thumb cinema should be created 3. Use own graphic form for the images 4. Choose suitable paper for the thumb cinemas 5. inform about adhesive and book bindings 6. Define the specific form of the exhibition (table size/shape, continent size/colour, etc.) 7. Budget
On the following points, Cindy and I have decided on the following: 1. Sport 3. Pictures should look like drawn/painted 4. Copy paper of the MHMK 7. 6 bindings for 6 thumb cinemas = 60€ 100 pages per thumb cinema = 20€ x 6 ____________ 180€ Based on this calculation, we sent lecturer Louise Marbach an e-mail with the budget calculation and possible solutions.
One of the solutions was to tie the thumb cinemas themselves using a glue for adhesive binding and the use of the copy paper of the MHMK.
Glue for adhesive binding=16,95€ colorful, some thicker paper for the cover pages, which also serve as reinforcement= 5-10€ (see e-mail of May 29, 2013 at 7:01 pm ) Lecturer Luise Marbach made the following remarks in the e-mail of 31.05.2013: -135 g strong printing paper -4 pictures on an A4 sheet order 25 sheets /
- not every thumb cinema needs to set 100 pages -size of the images - two images on one arc (of two different sequences), stick to one binding and then cut apart
Cindy Nguyen and I have finally decided on these points: final design: 6 thumb cinemas, 6 continents of cardboard with respective fastenings The thumb cinemas are to be connected to the continents with the help of nylon threads.
- Size of thumb cinemas: 9 x 13 x 5cm - size of continents A3 - 2 x tables of the MHMK (size:75x160x 80cm ) - all thumb cinemas 53 sheets Cost plan: 250 sheets 135g printing paper= 16 euro + 5 bindings = 25 euro
3.)Creative implementation: visualization and production
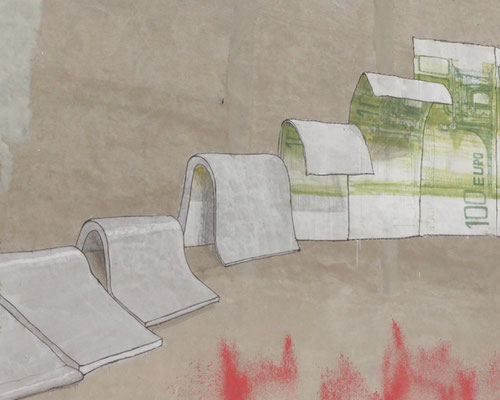
Creation of thumb cinemas
1.Download the videos used for the thumb cinemas 2.Videos in Adobe After Effect (a compositing and animation software from The Adobe Systems) open 3.Effects and default windows -> Filter 4.Xilisoft Video Converter -> Convert videos to images 5. Typography - Helvetica New - Creating the Continents in Adobe Illustrator Cs6
Following Topics are presented in the thumb cinemas
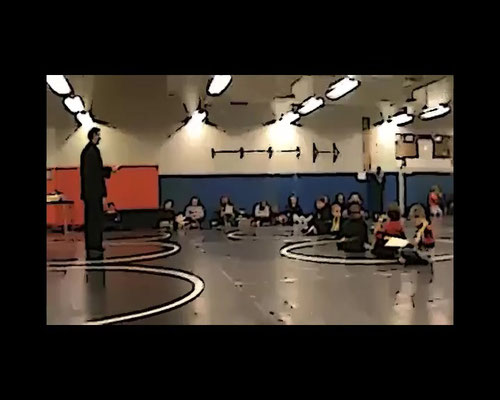
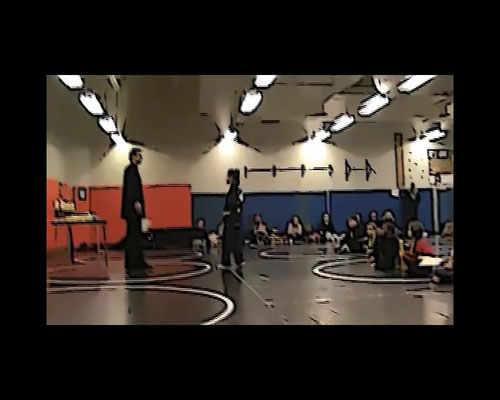
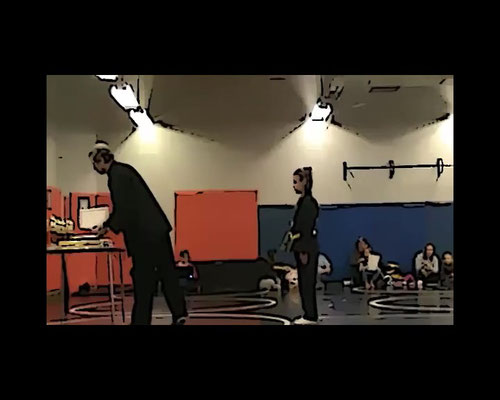
1.Asia - Karate
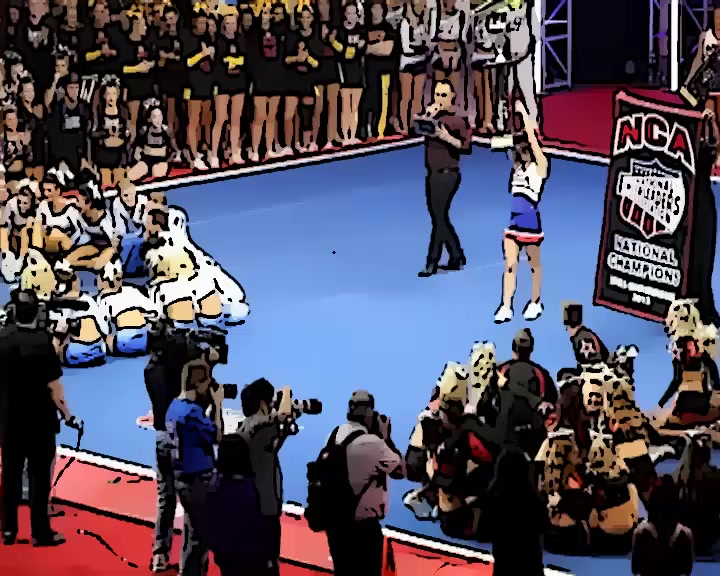
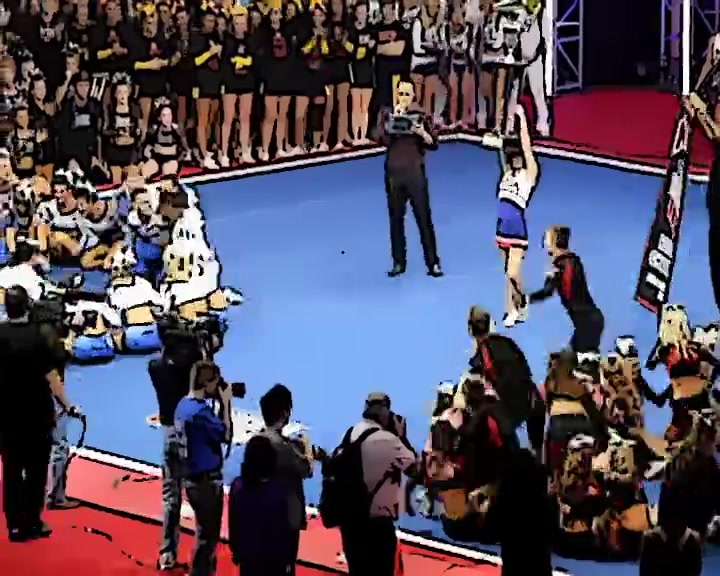
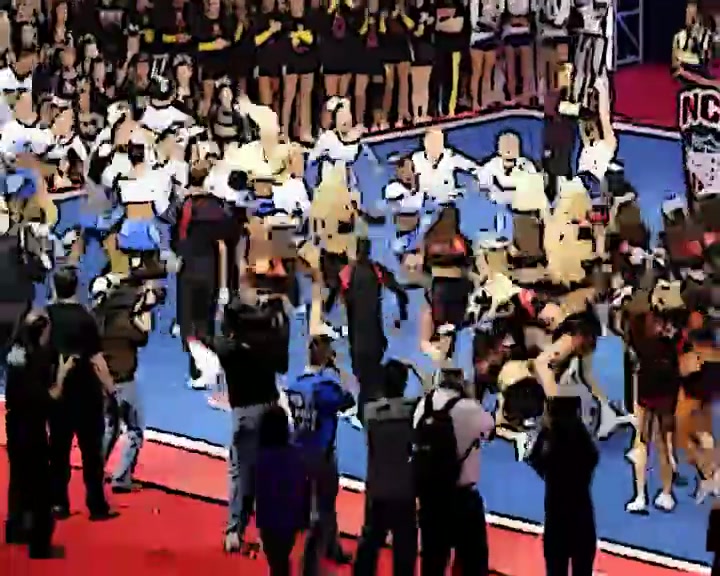
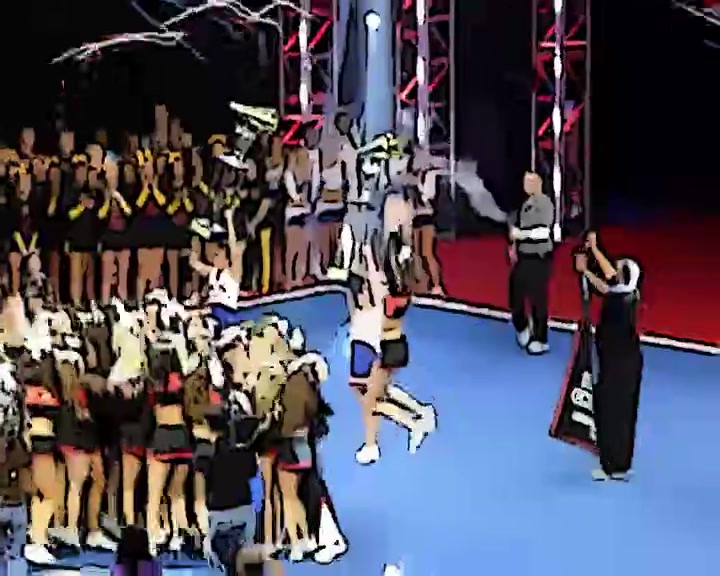
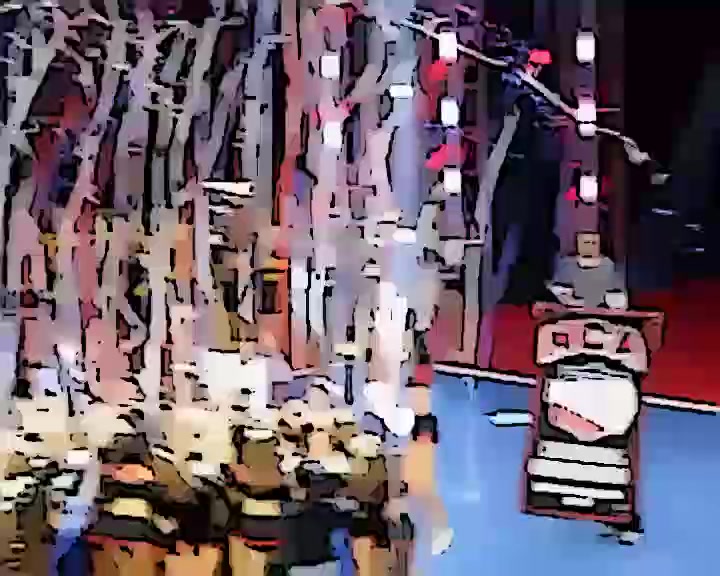
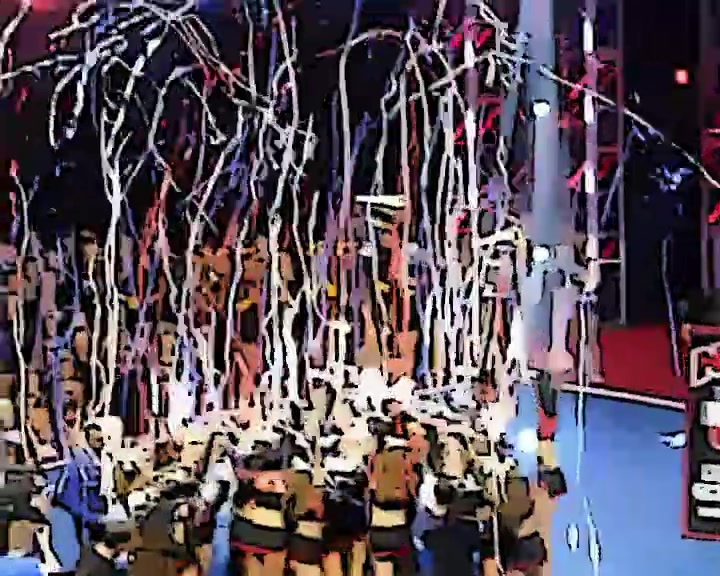
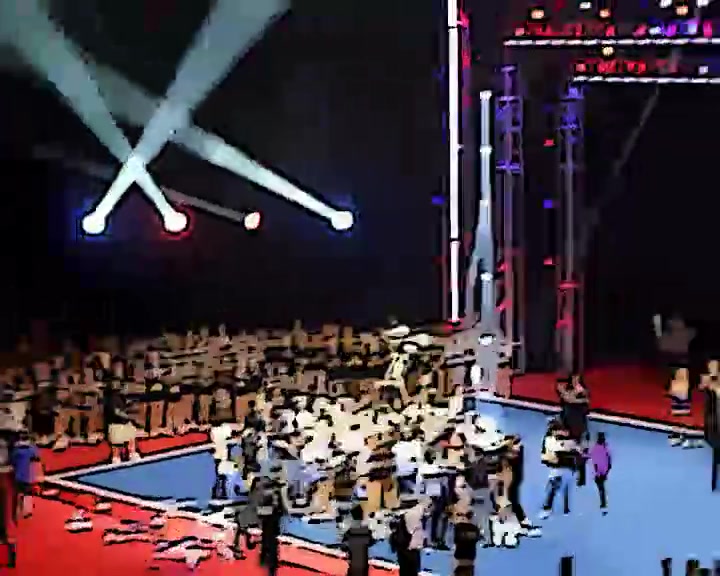
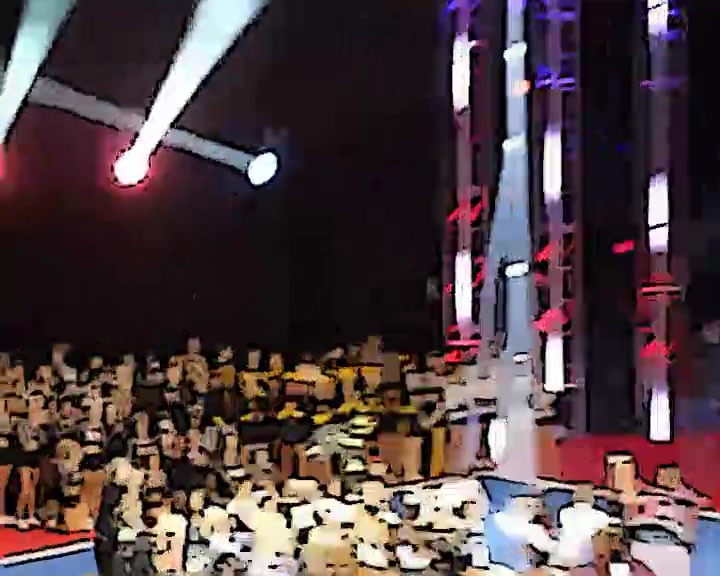
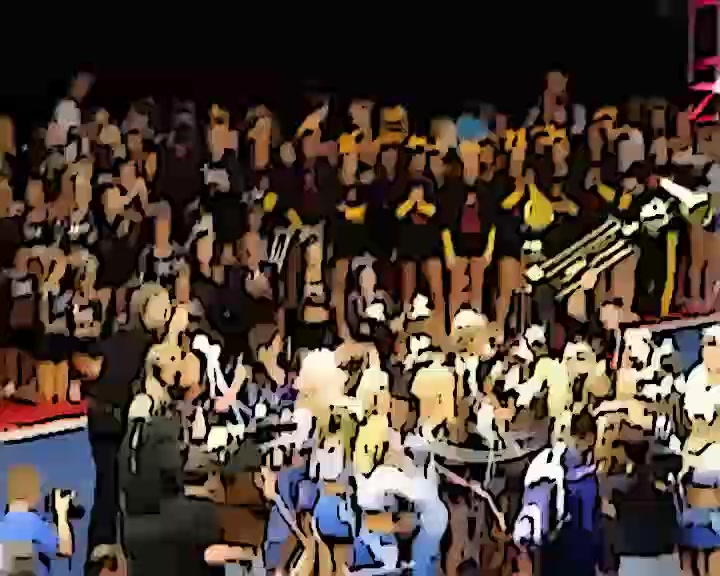
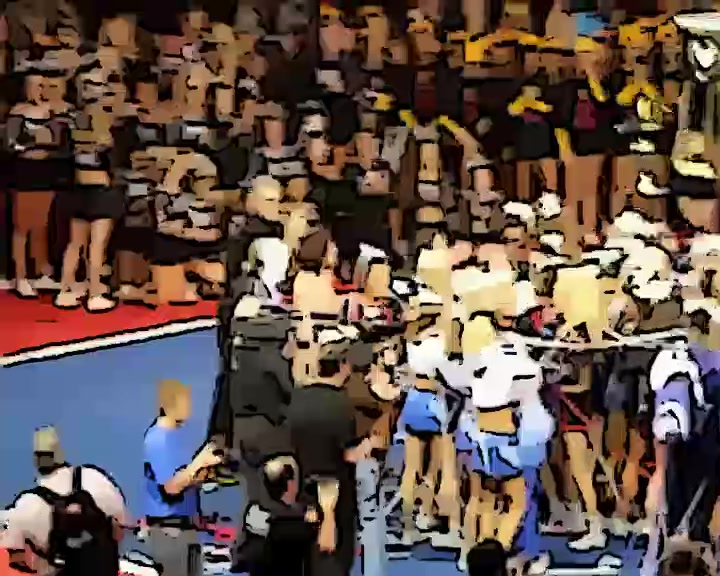
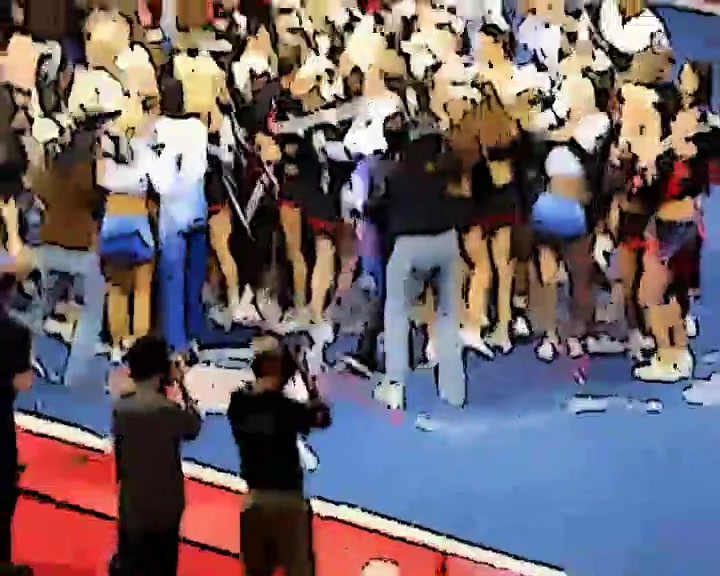
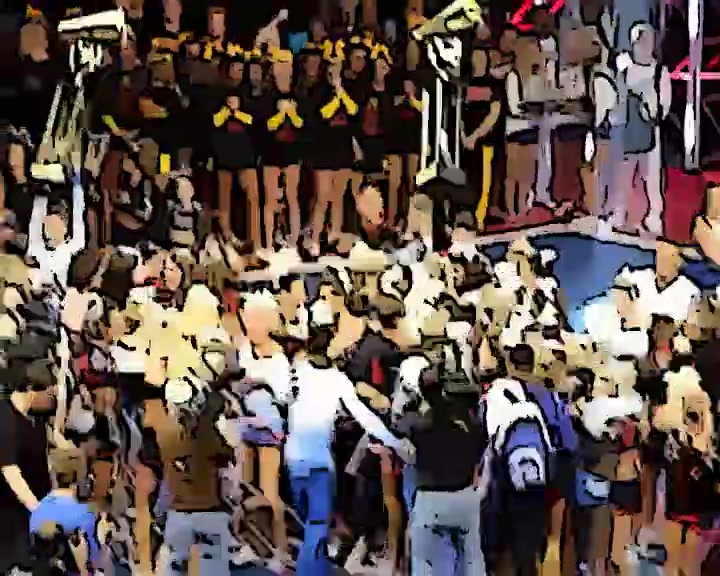
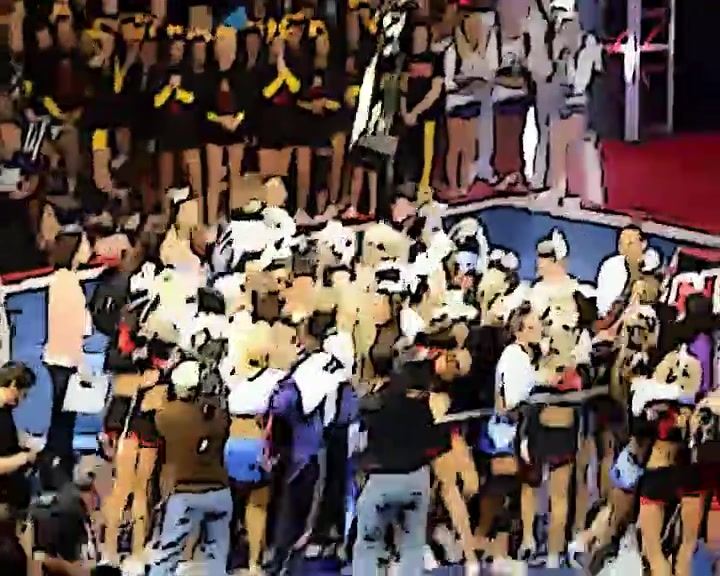
2.America - Cheerleading
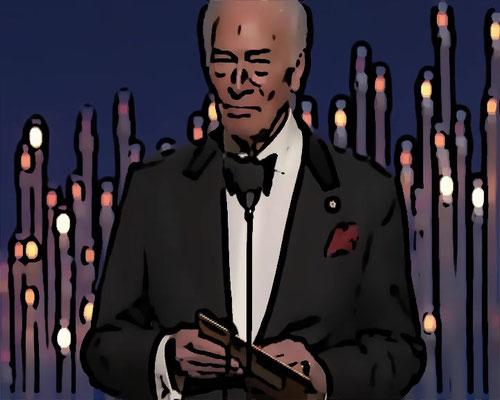
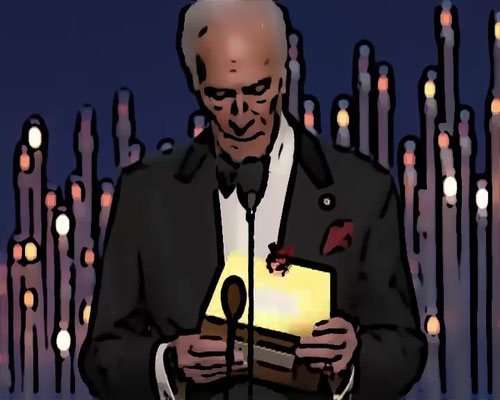
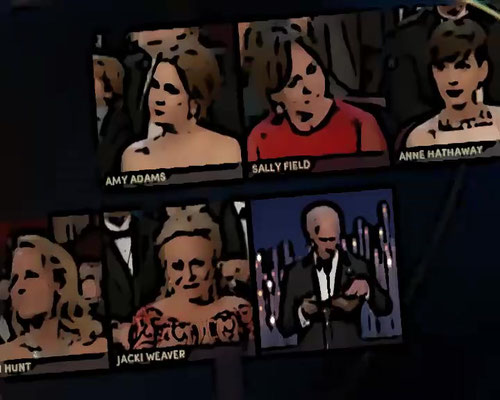
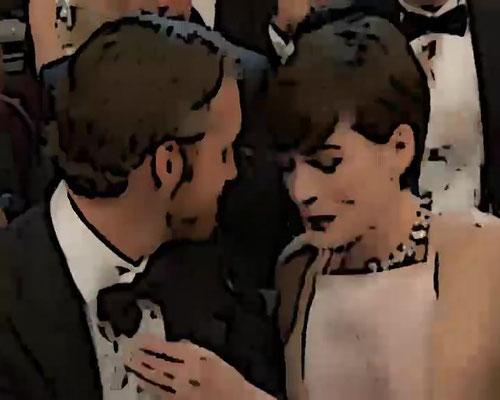
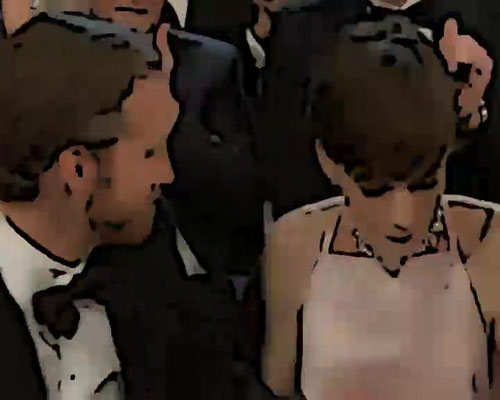
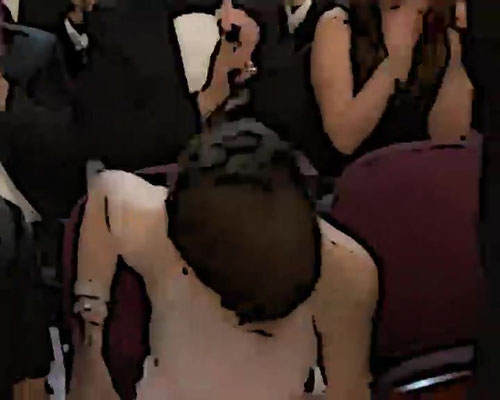
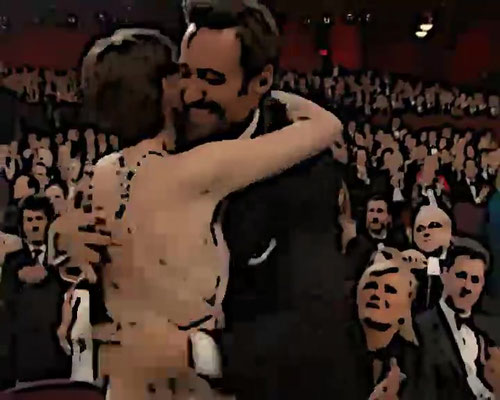
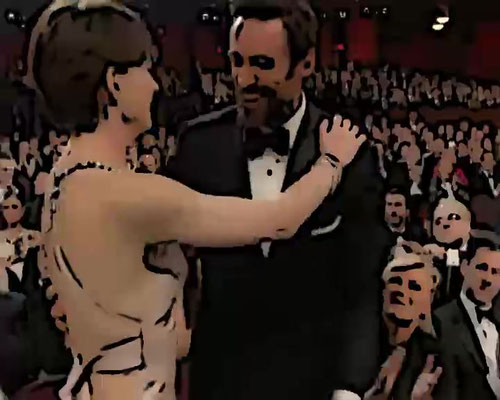
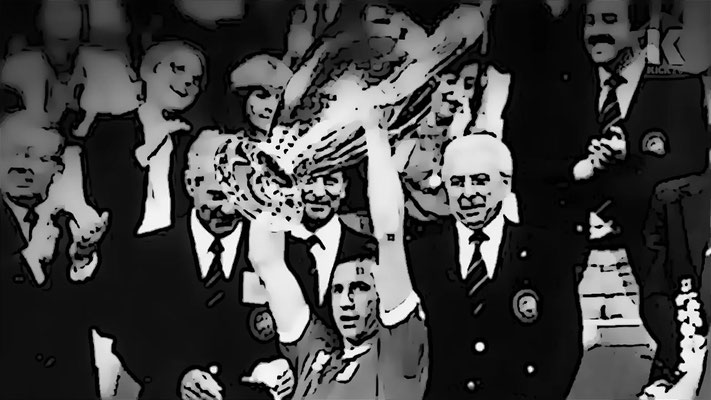
3.America - Oscars
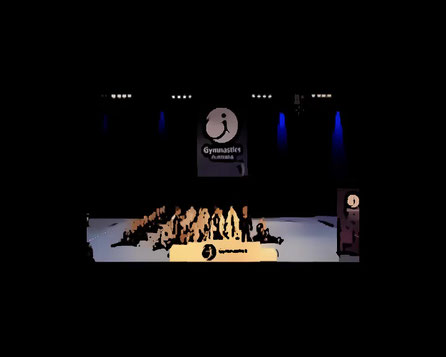
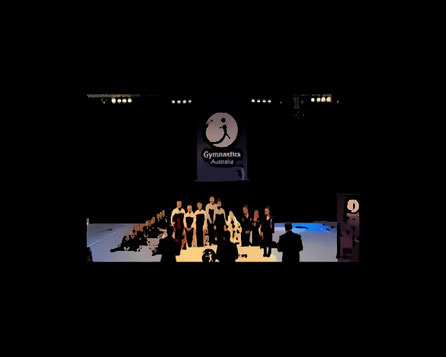
4.Australia - Gymnastics
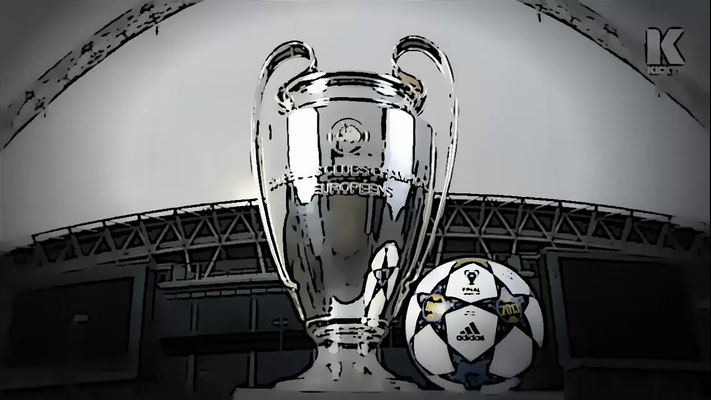
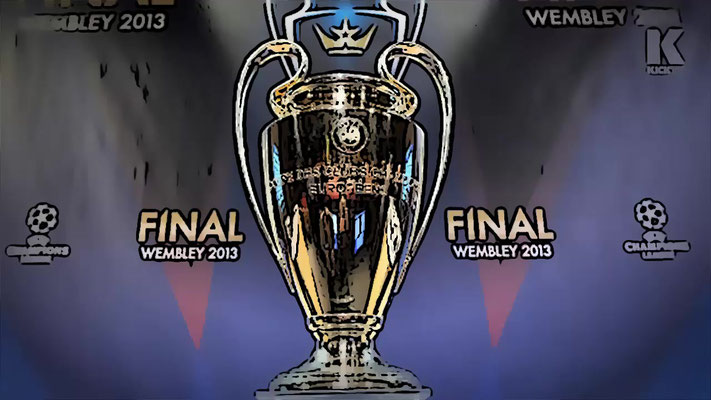
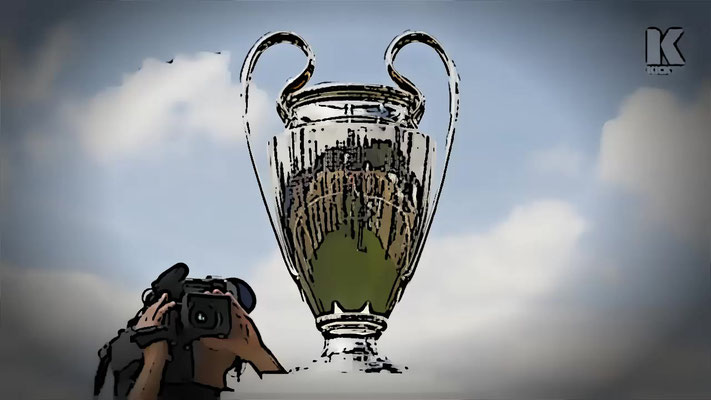
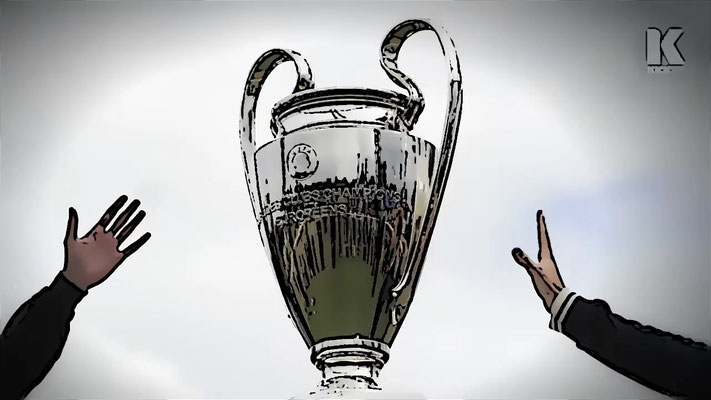
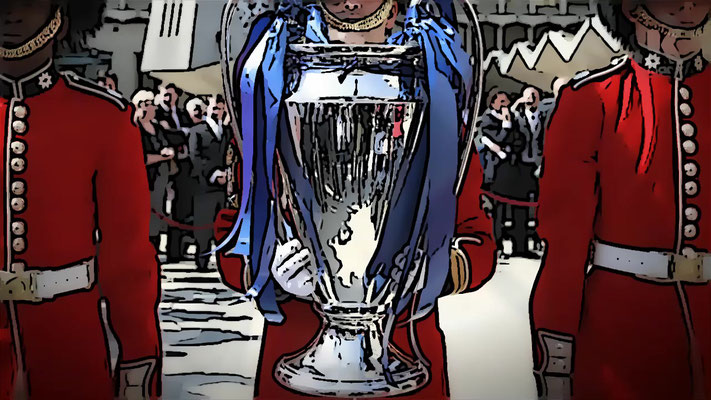
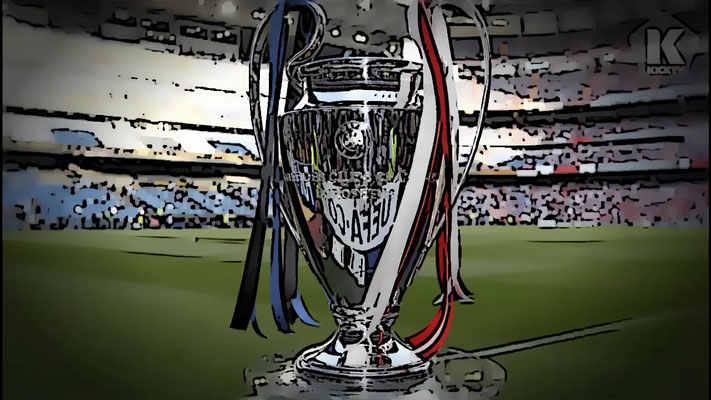
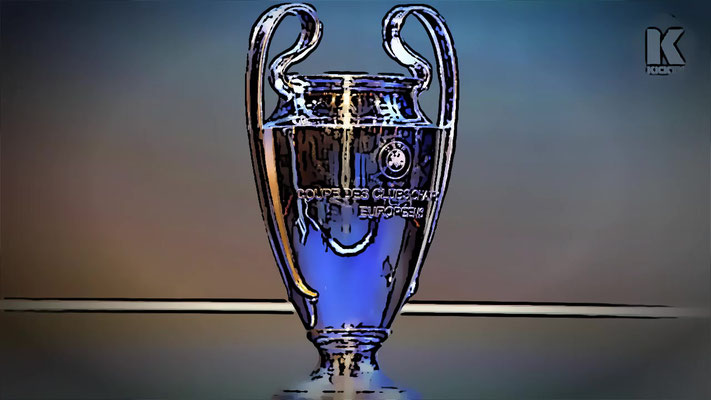
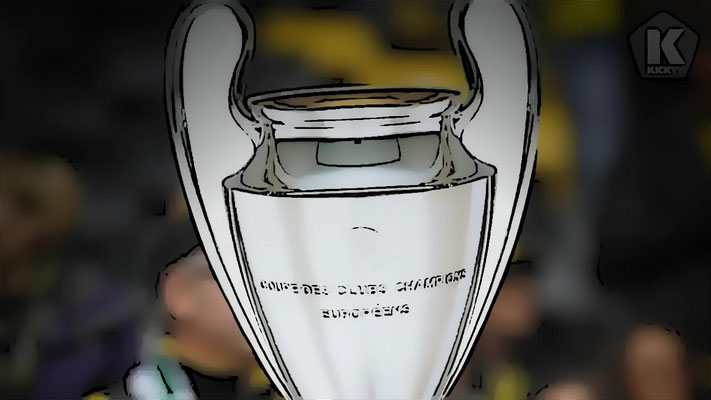
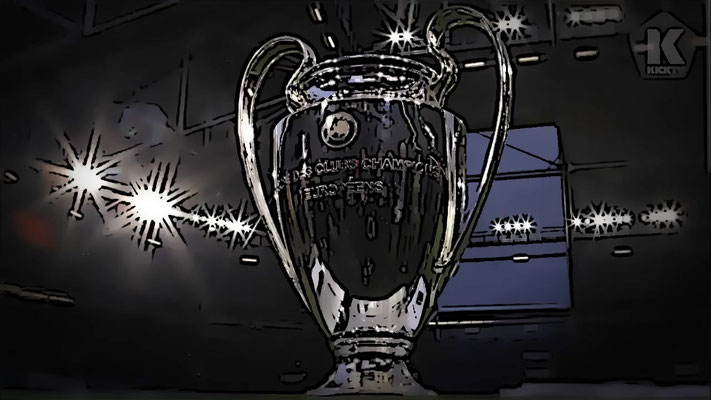
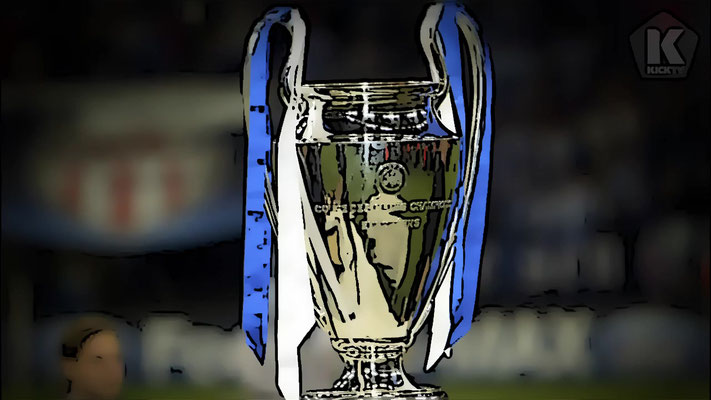
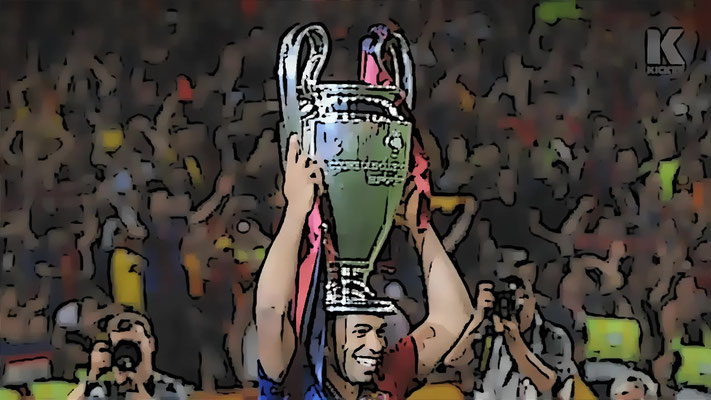
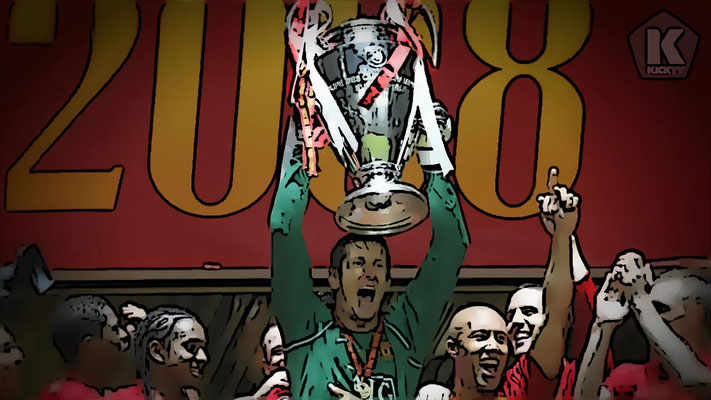
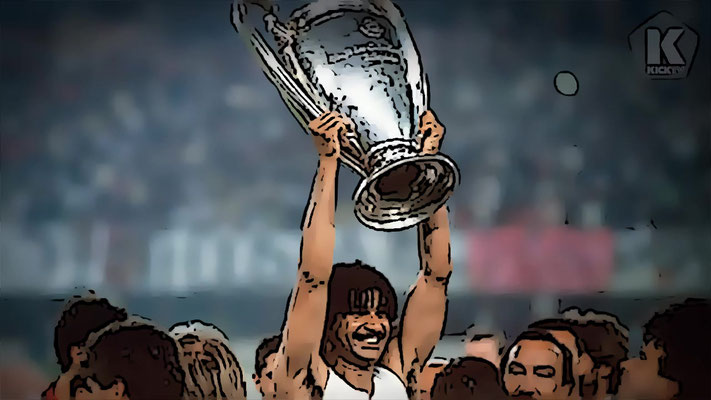
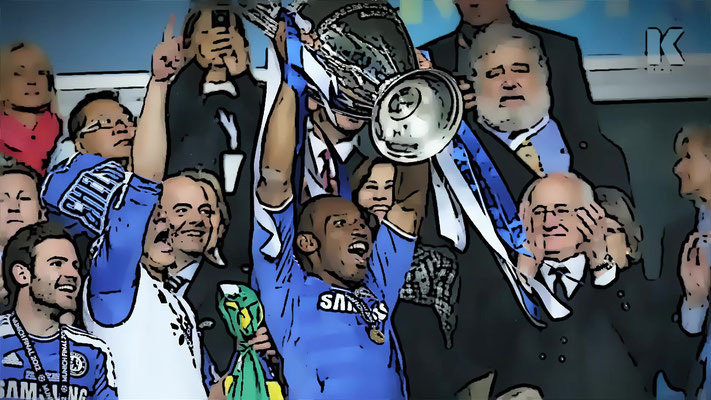
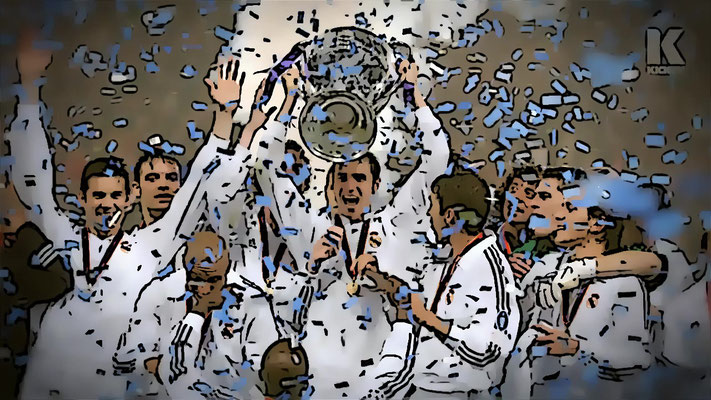
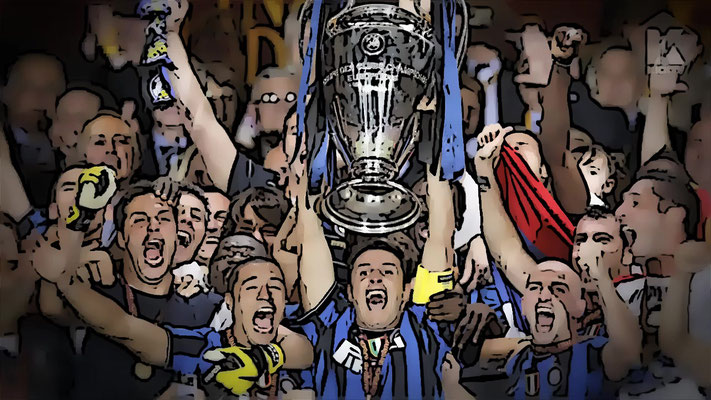
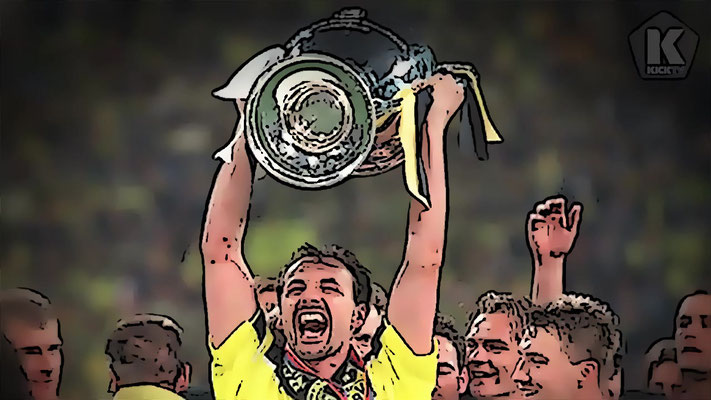
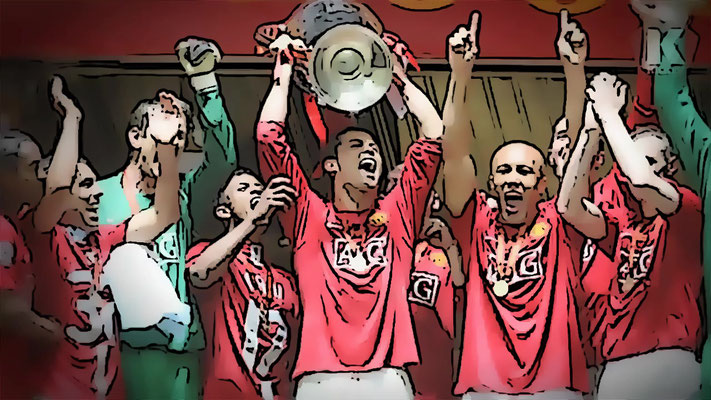
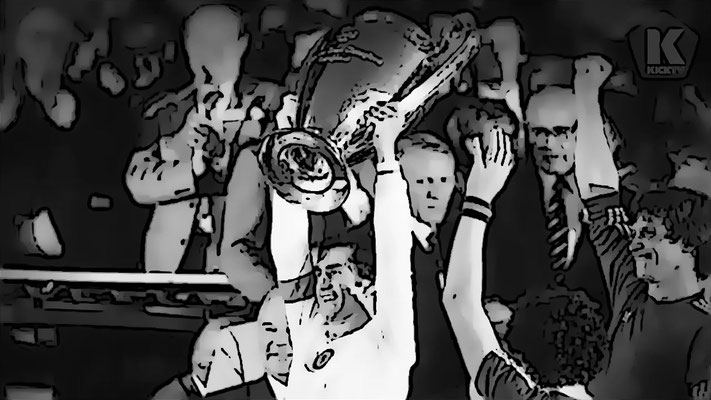
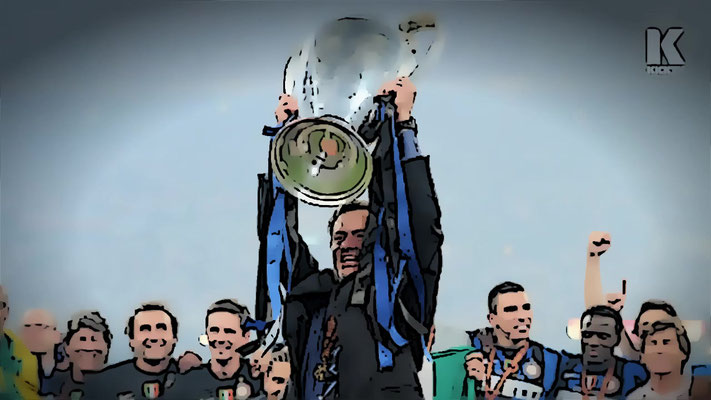
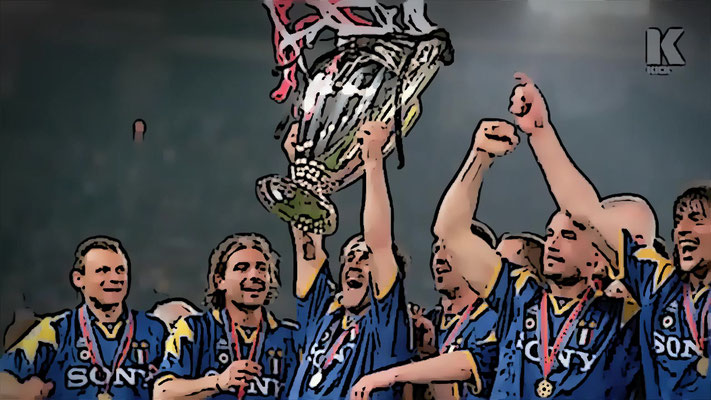
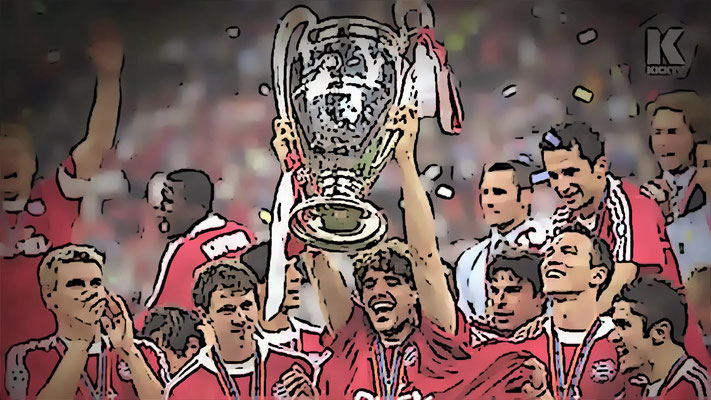
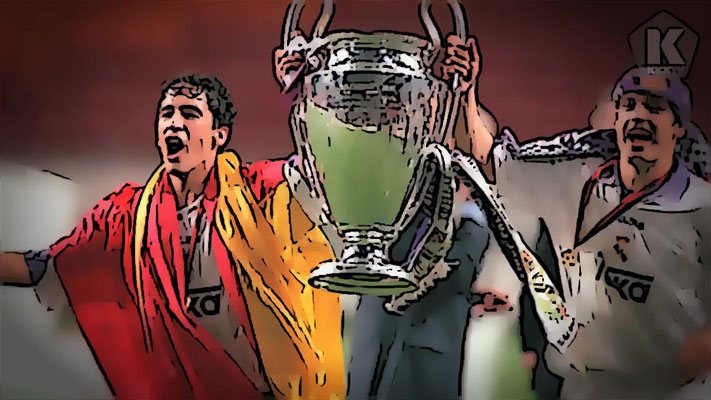
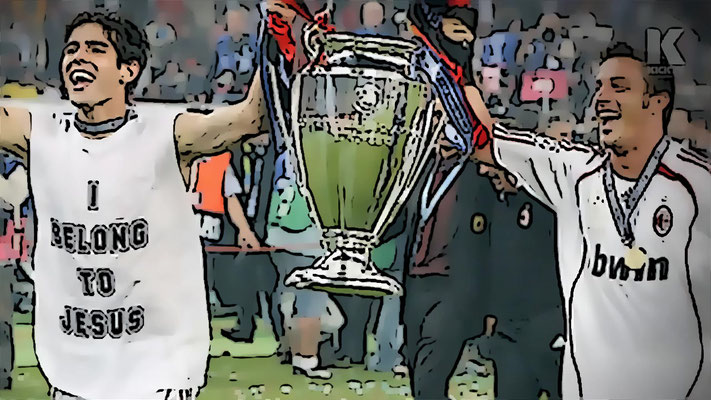
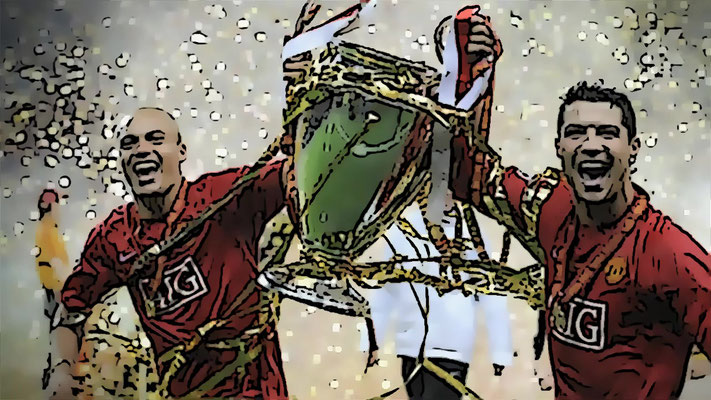
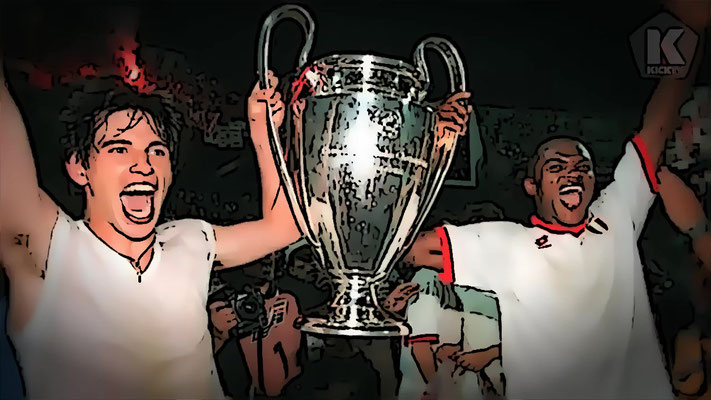
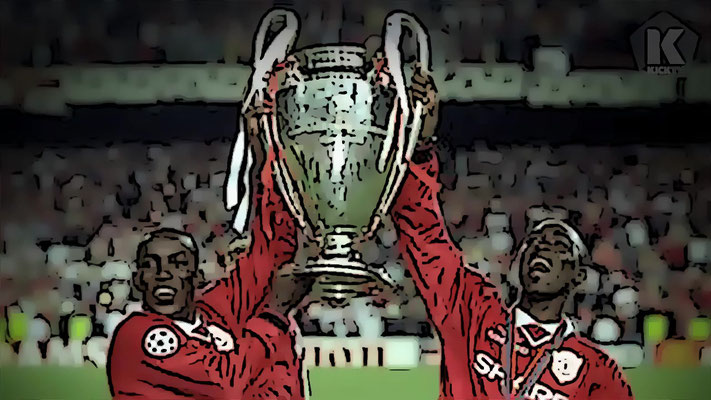
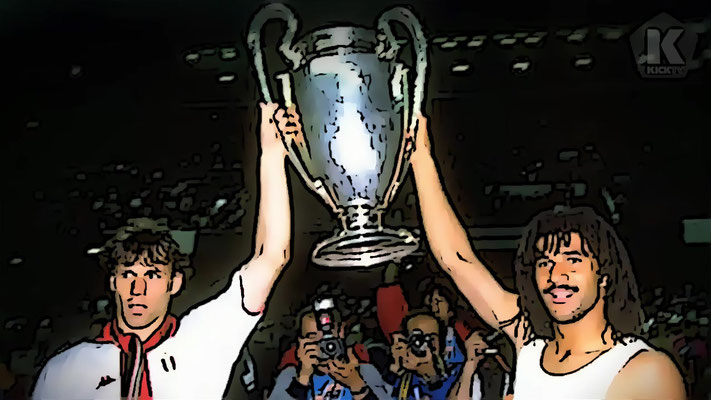
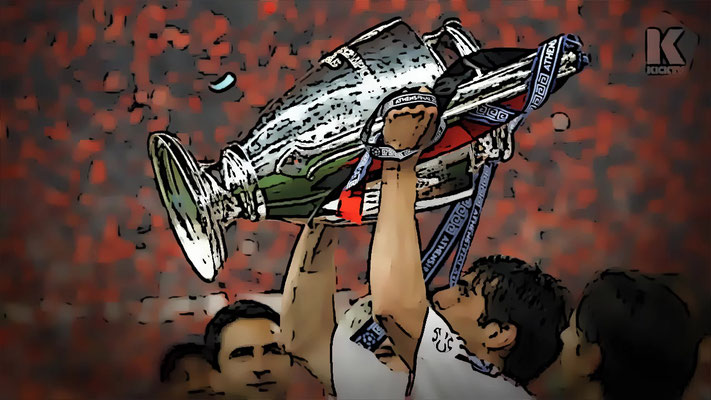
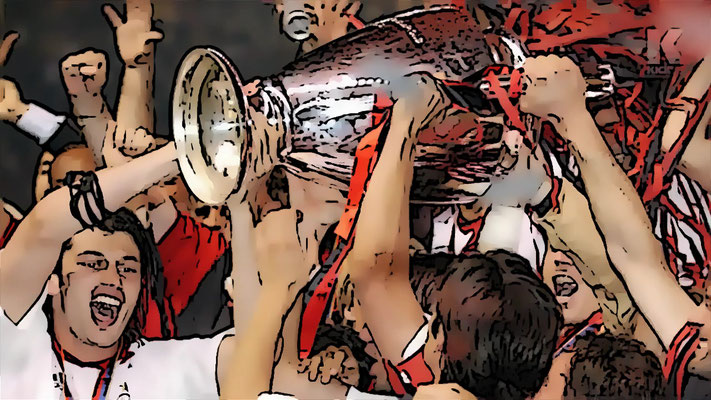
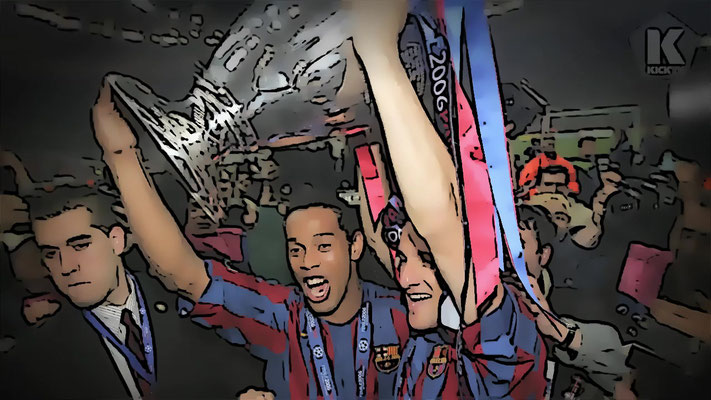
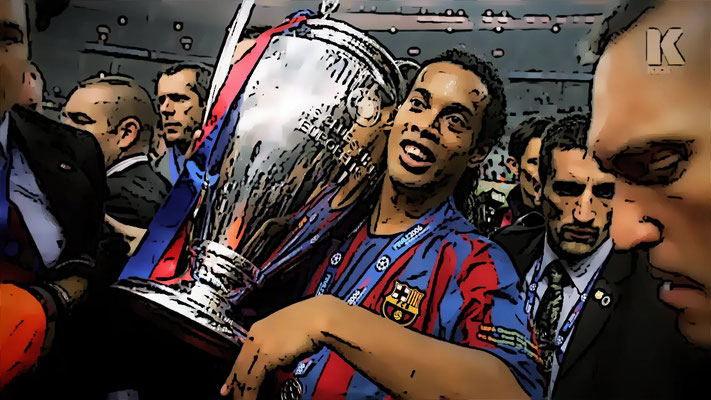
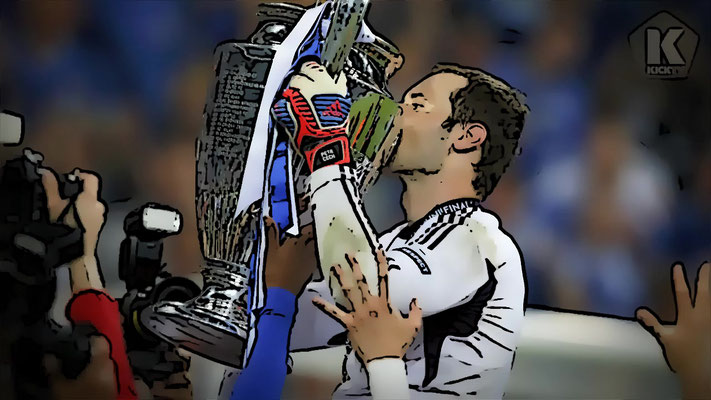
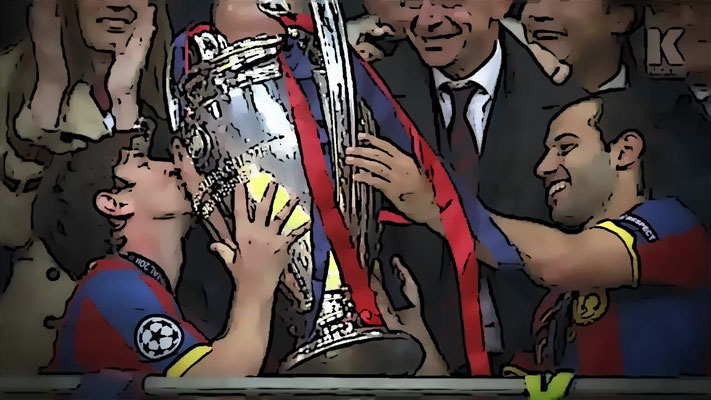
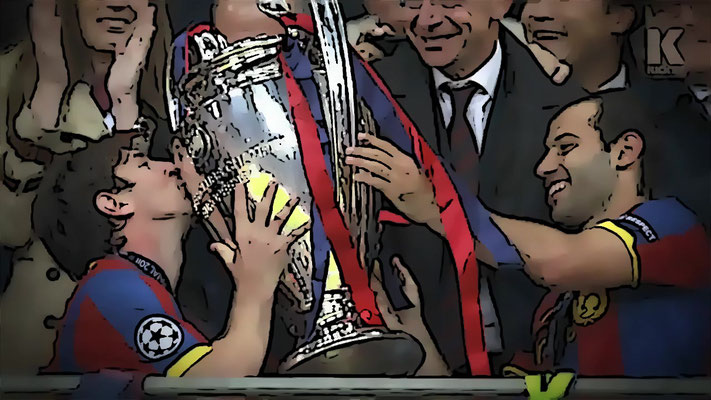
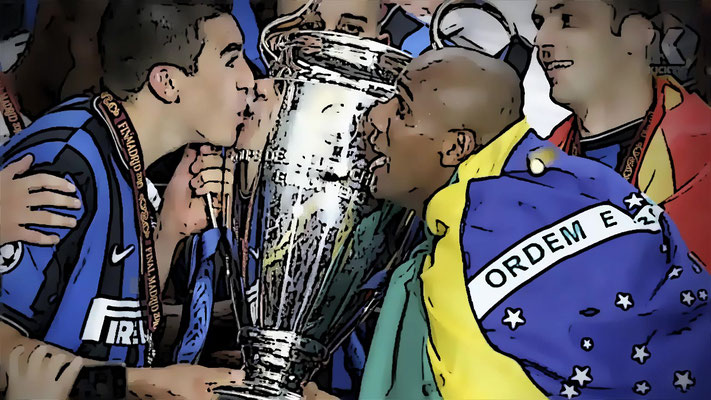
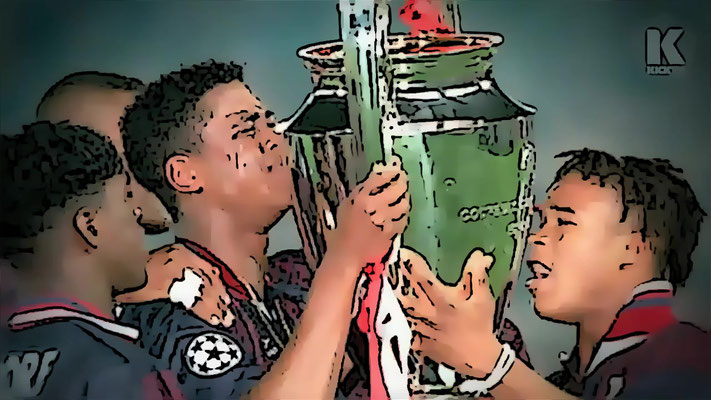
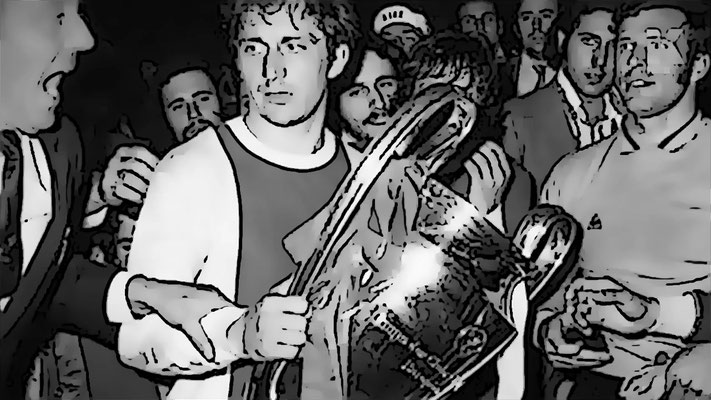
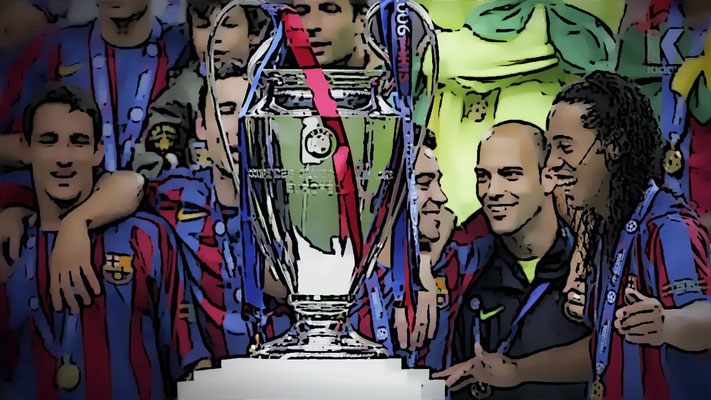
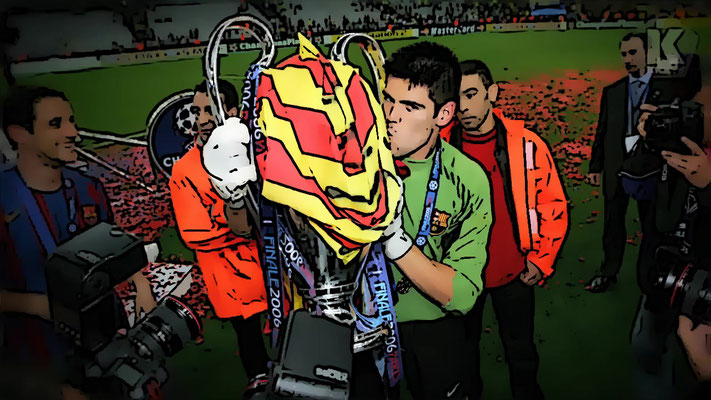
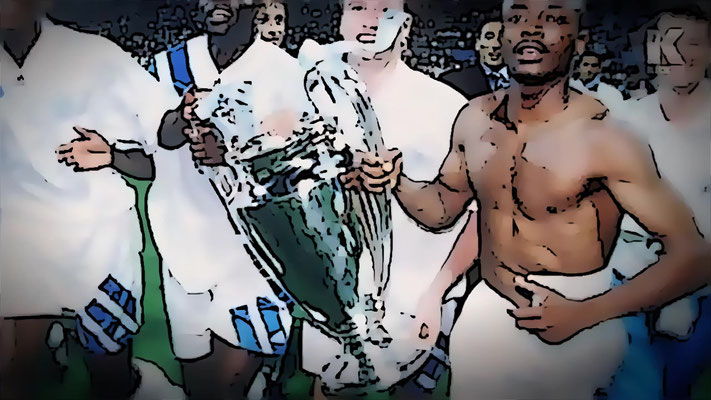
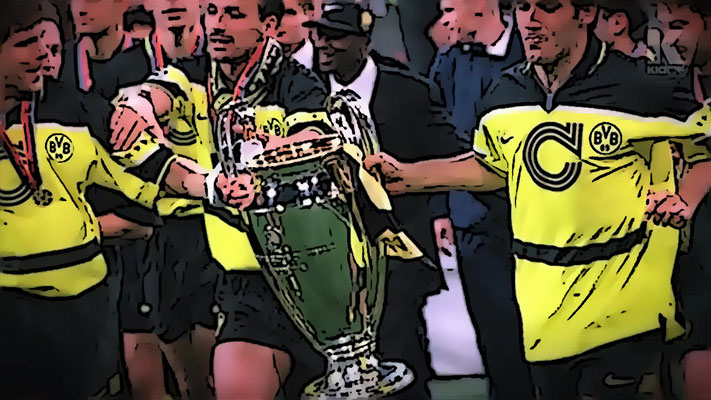
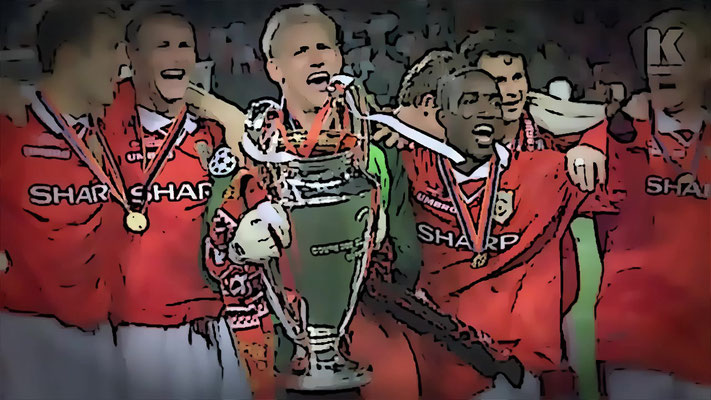
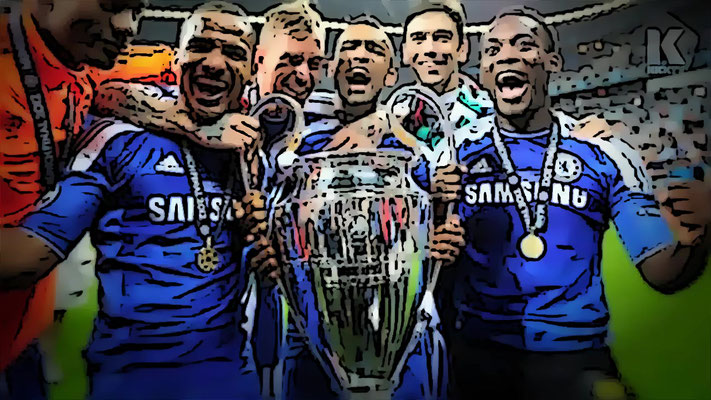
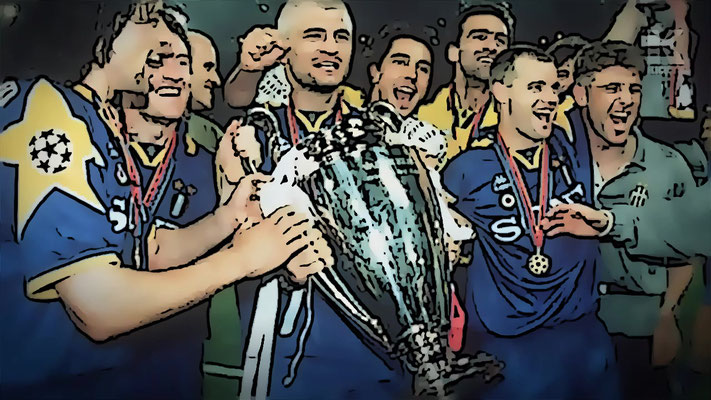
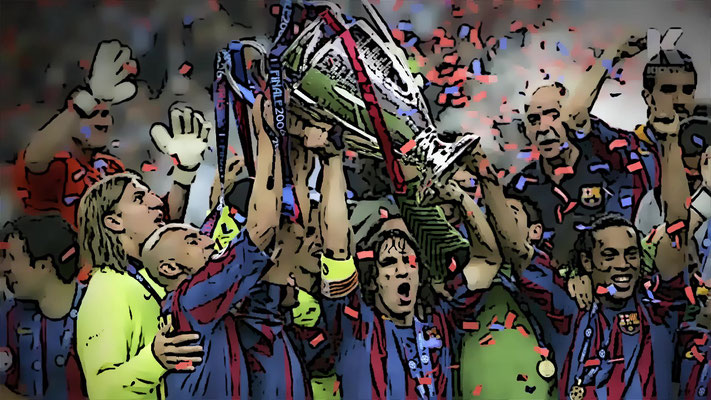
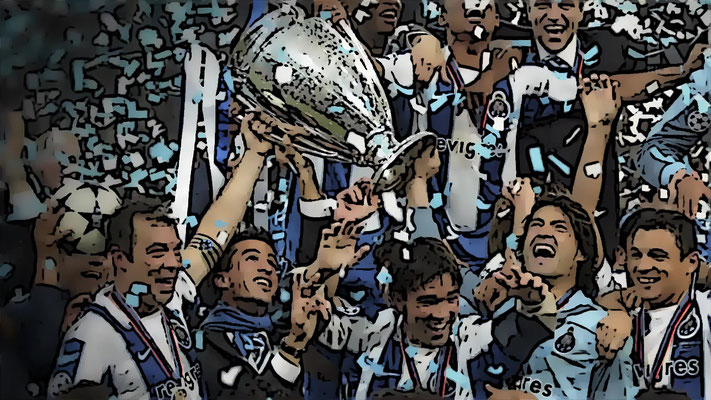
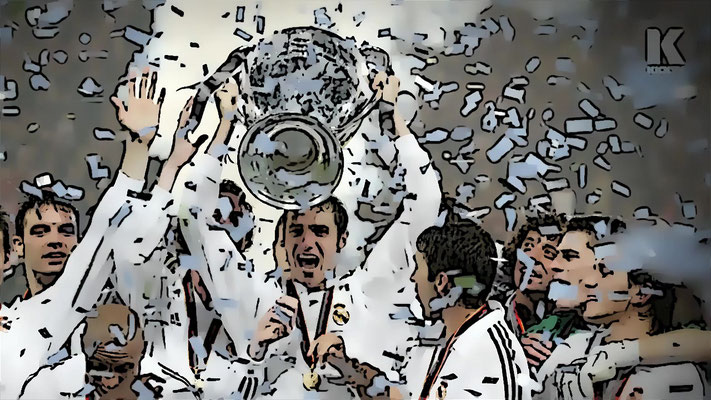
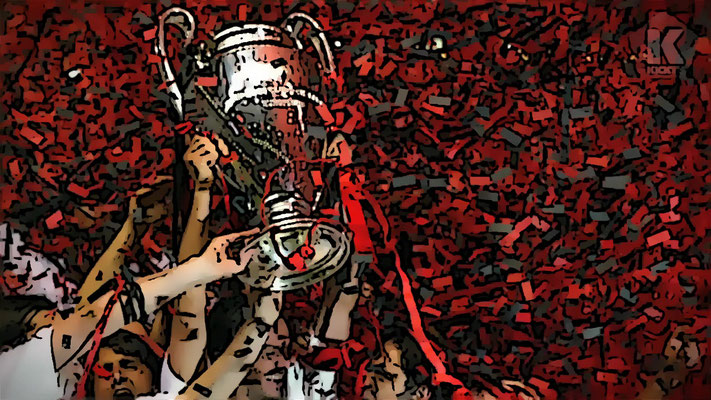
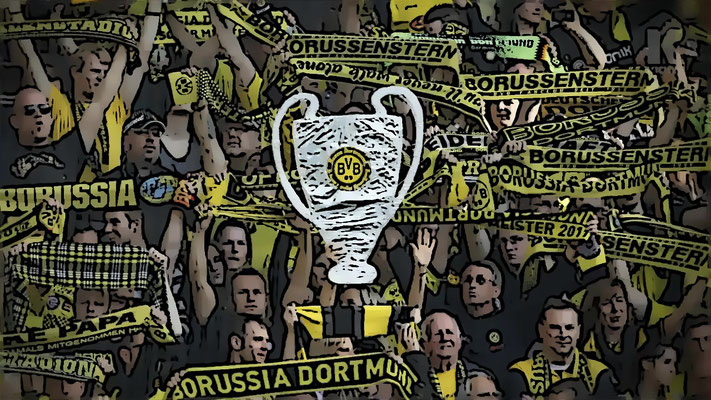
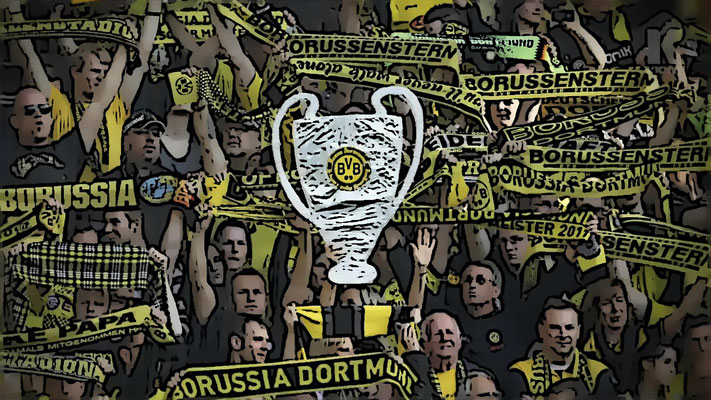
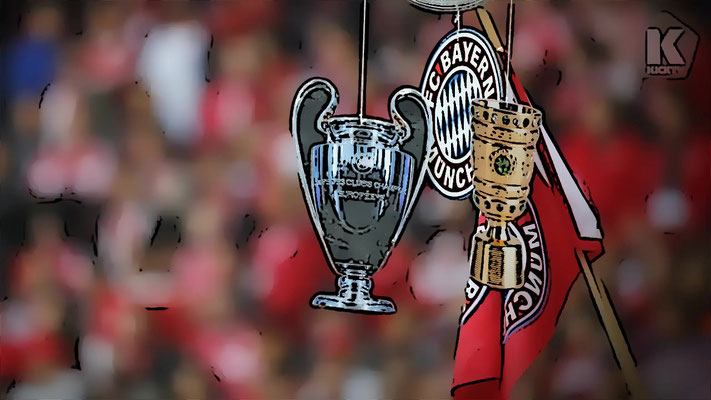
5.Europe - Soccer
The Videos shown below are my first atempts to figure out effects that could be used for a flipbook. The images are the endresult in the flipbooks.
Asia - Karate

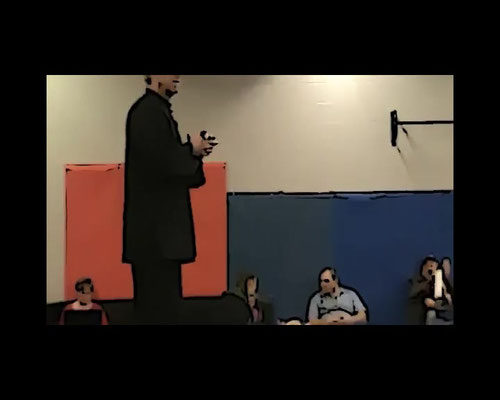
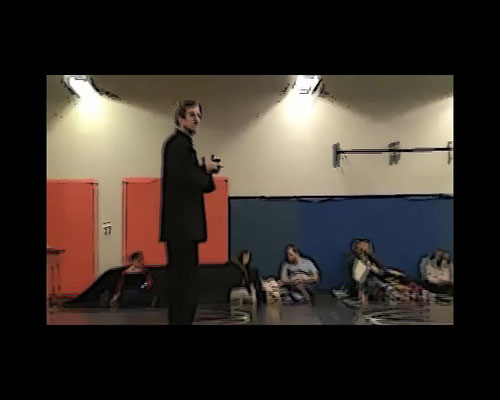
America - Cheerleading


America - Oscars
Australia - Gymnastics
Europe - Soccer


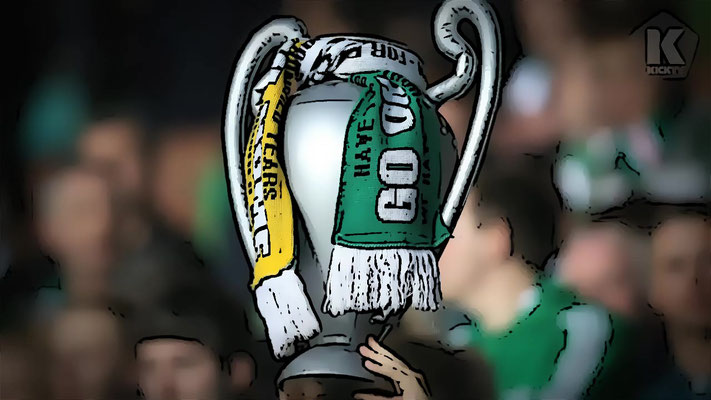
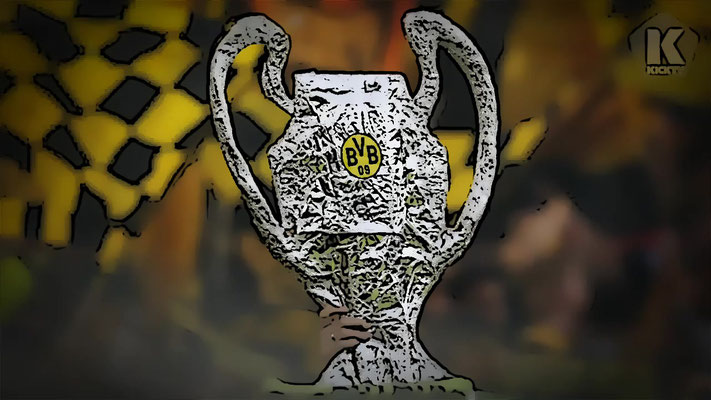
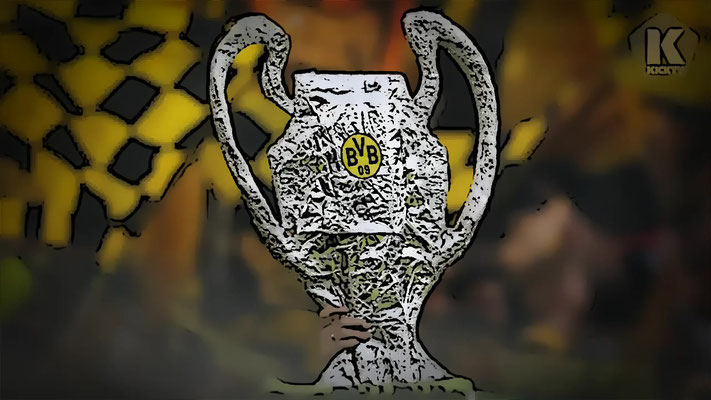
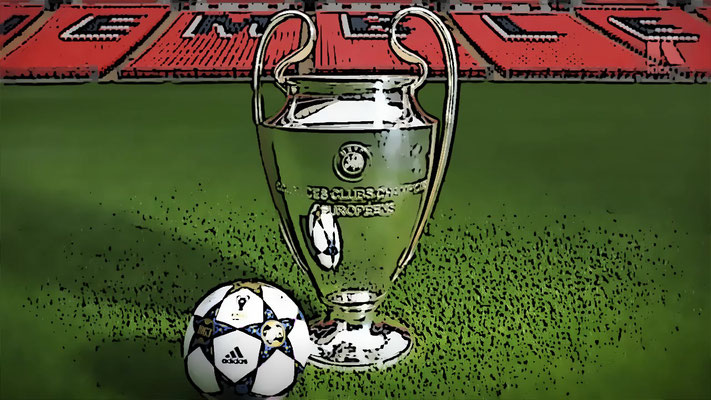
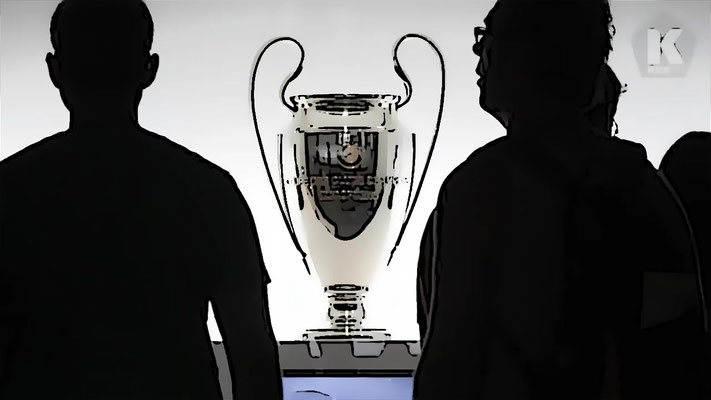


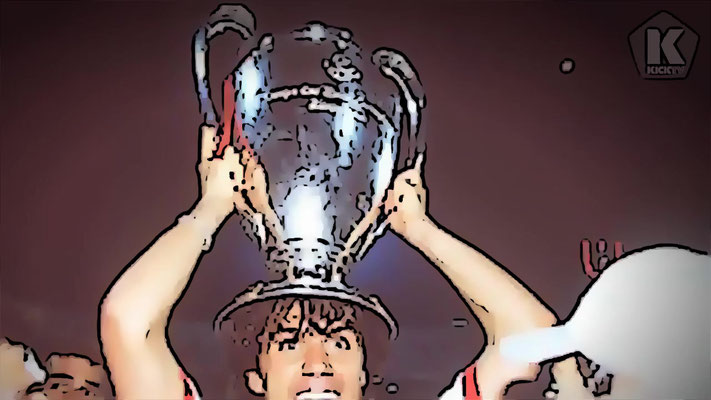

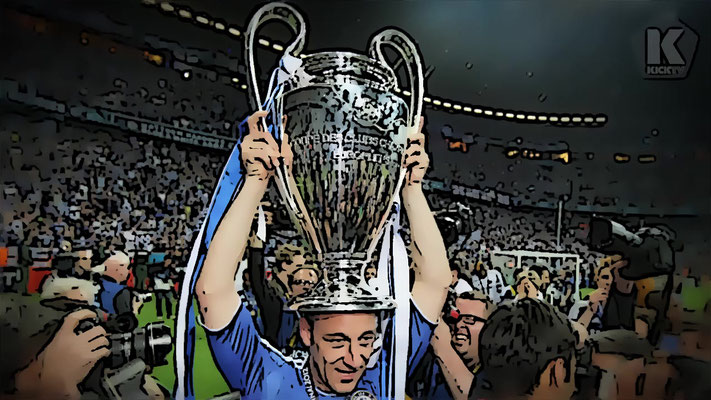
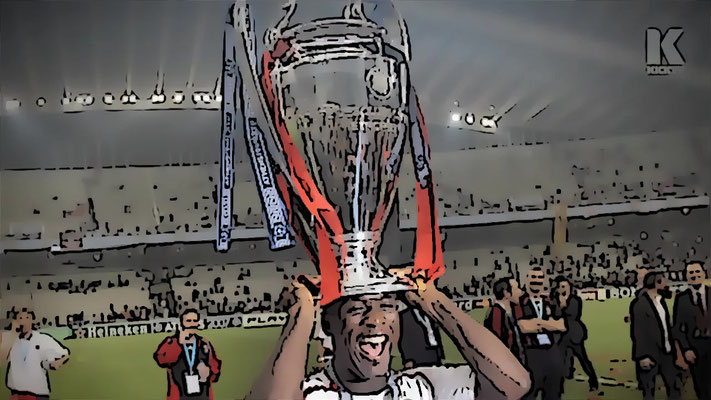
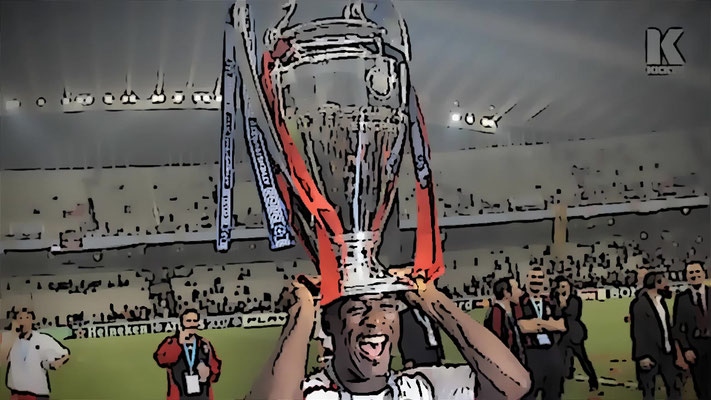

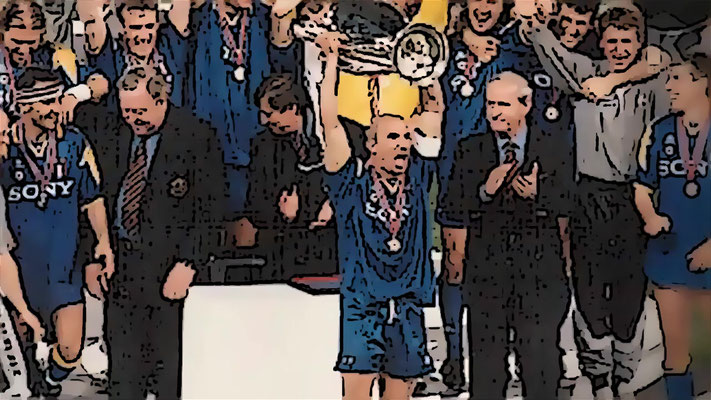
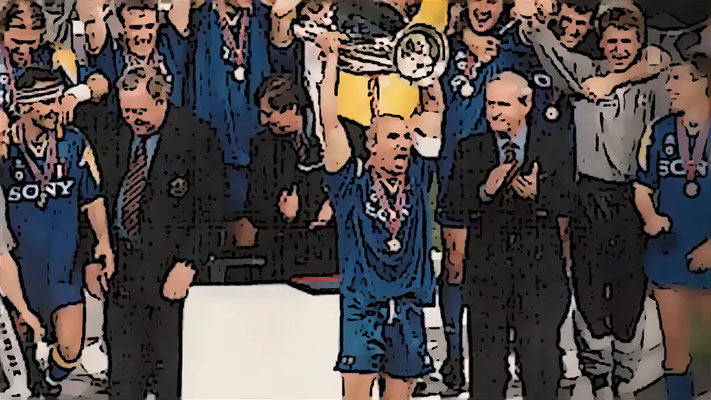
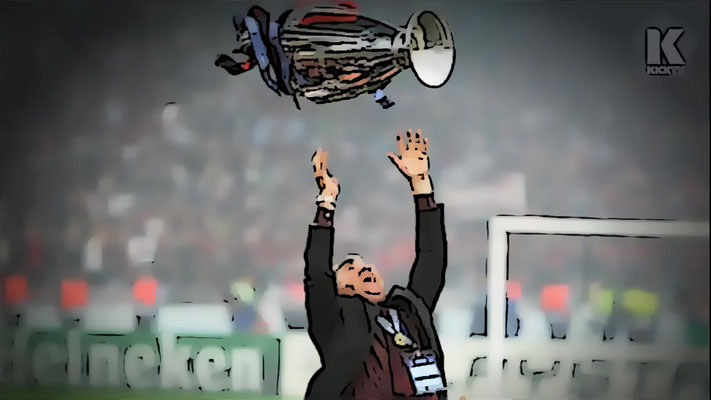
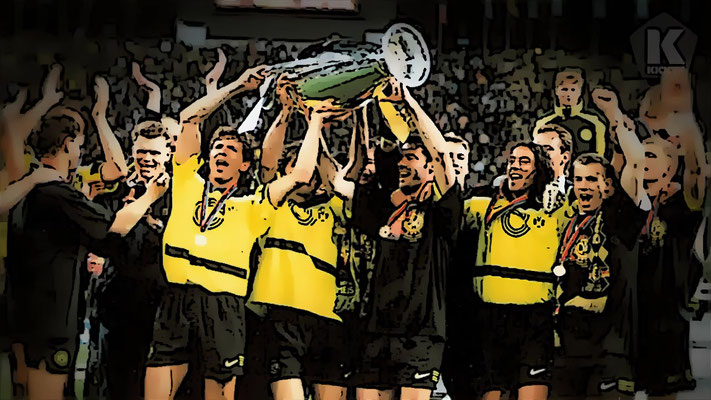


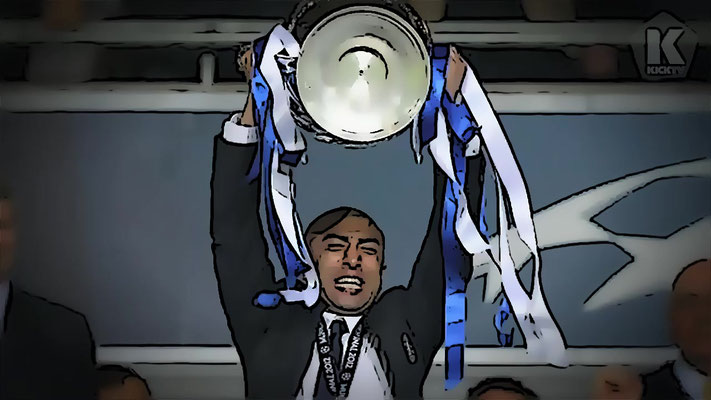

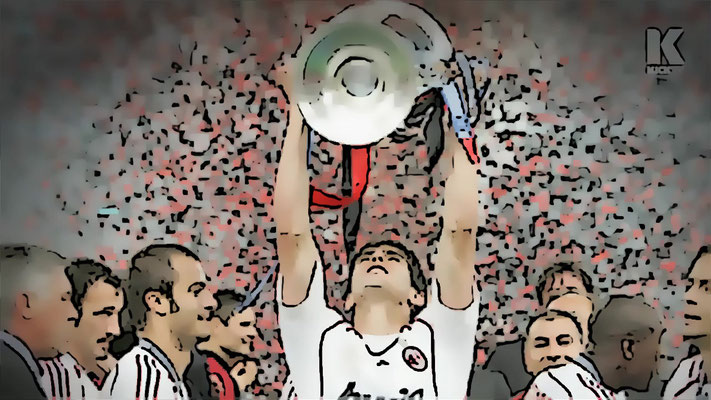

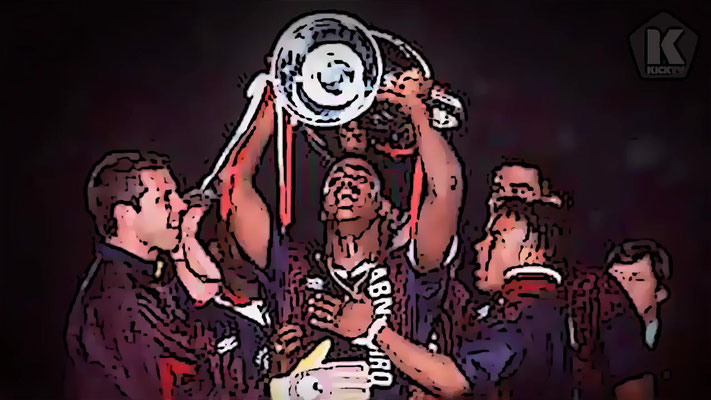
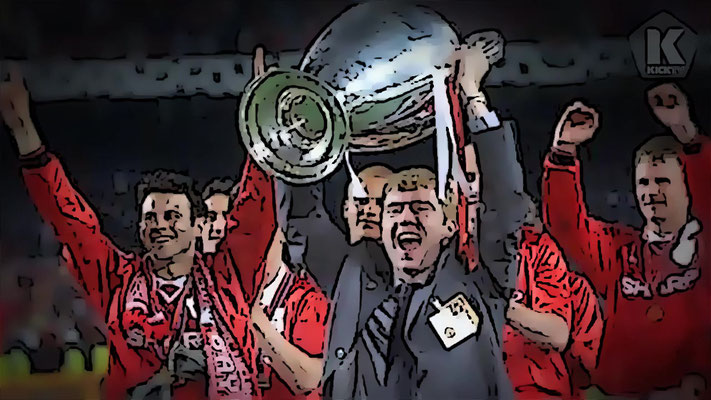


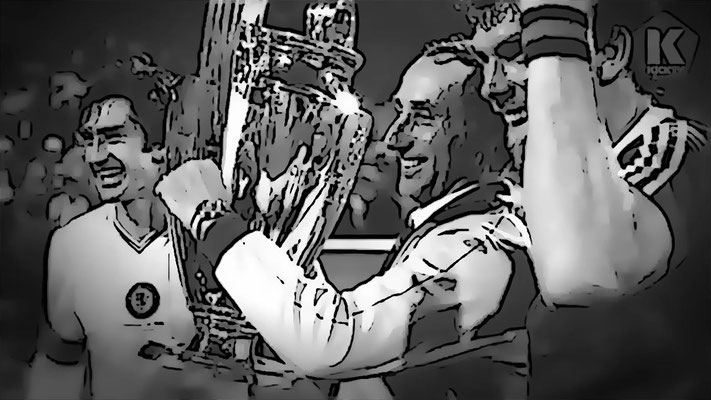
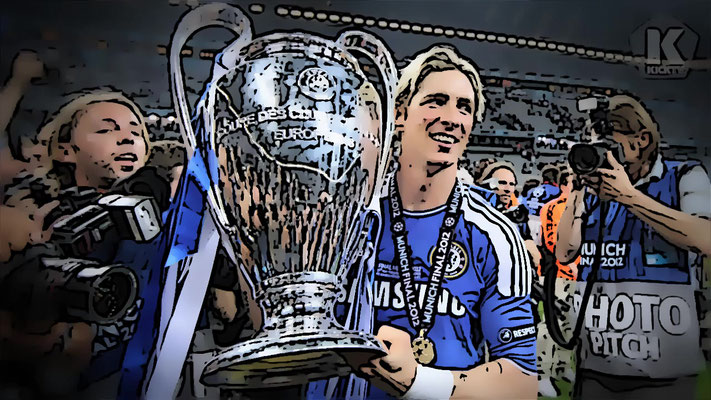
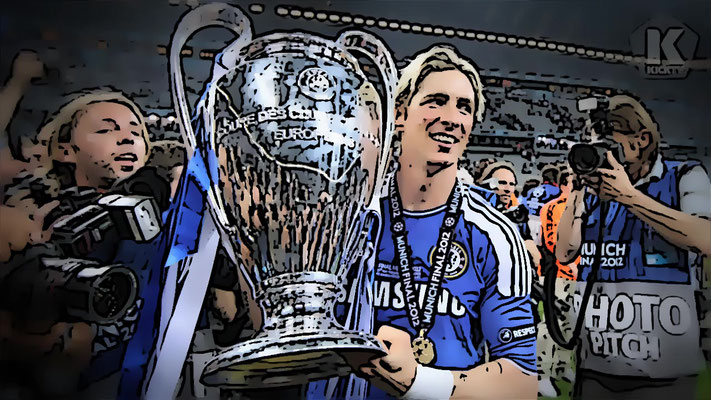
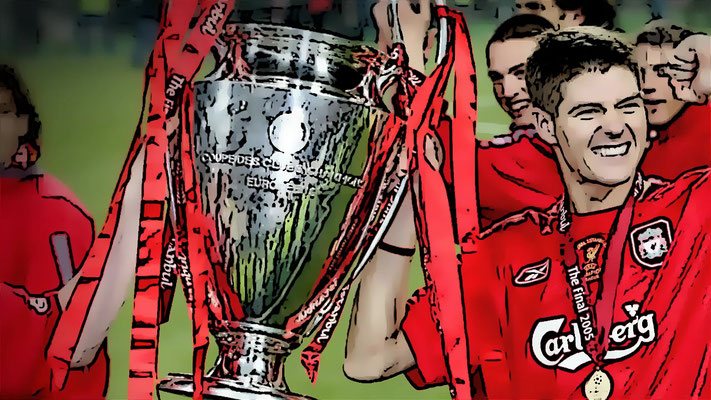
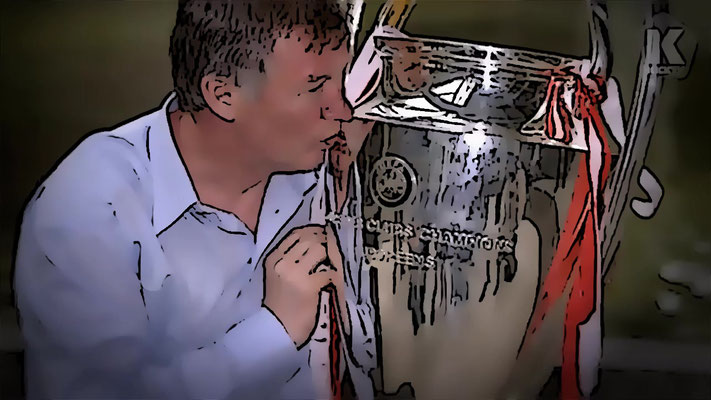

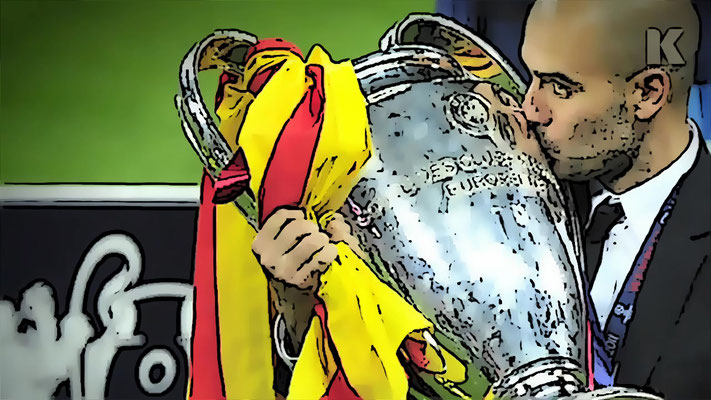

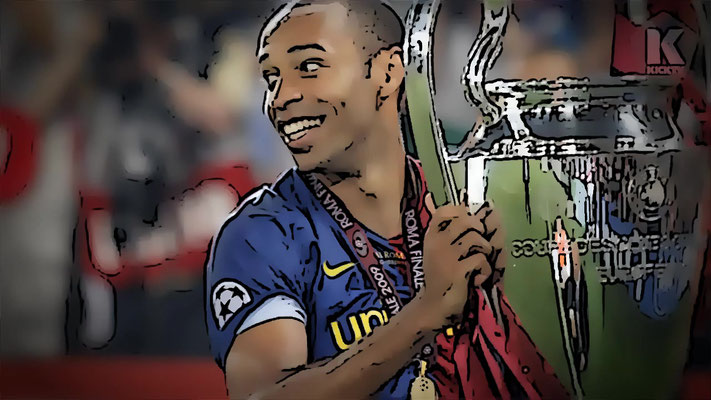
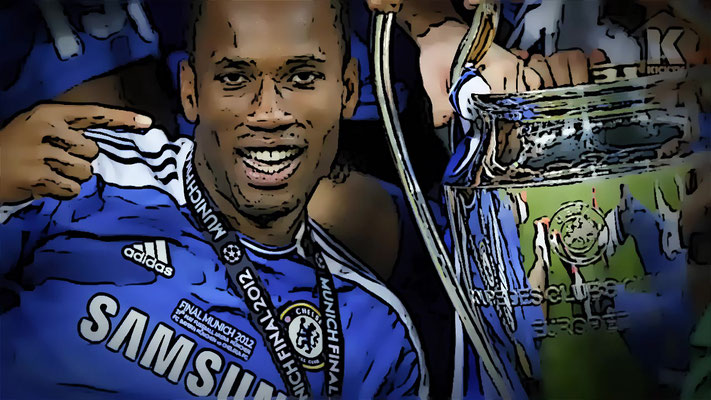

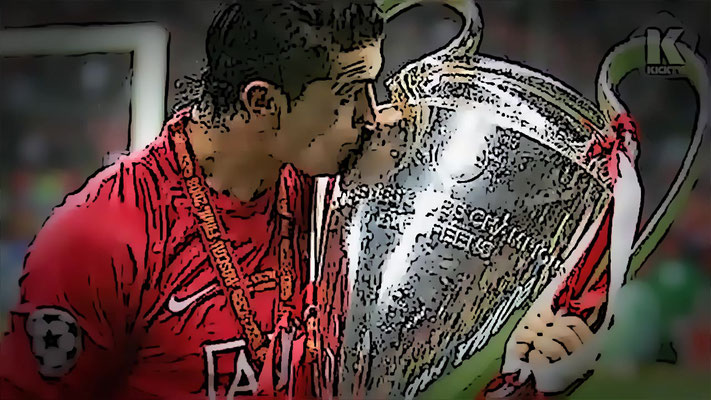

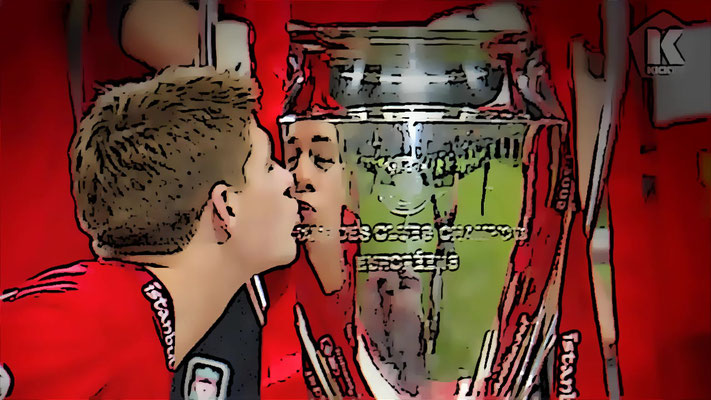

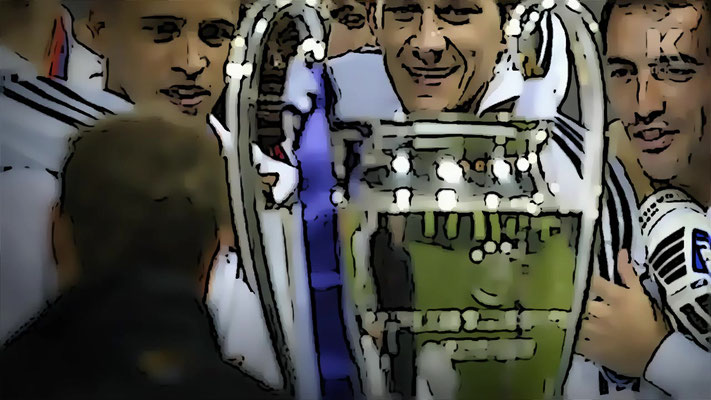
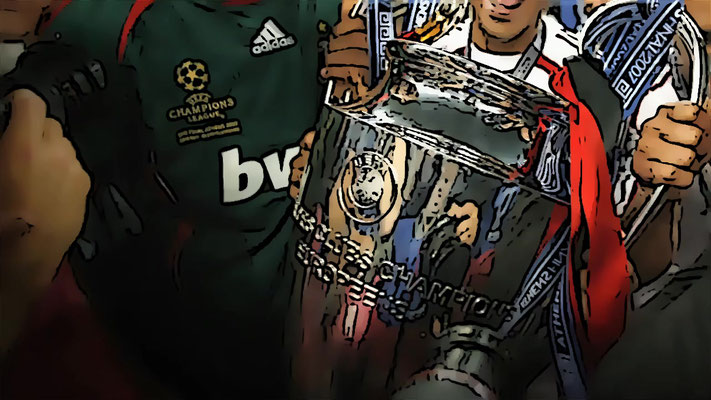


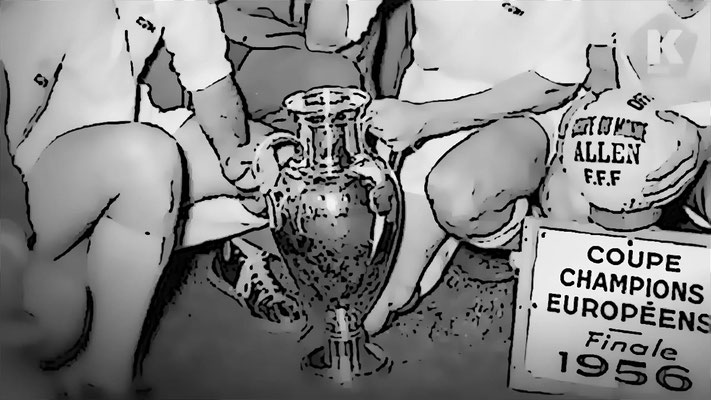
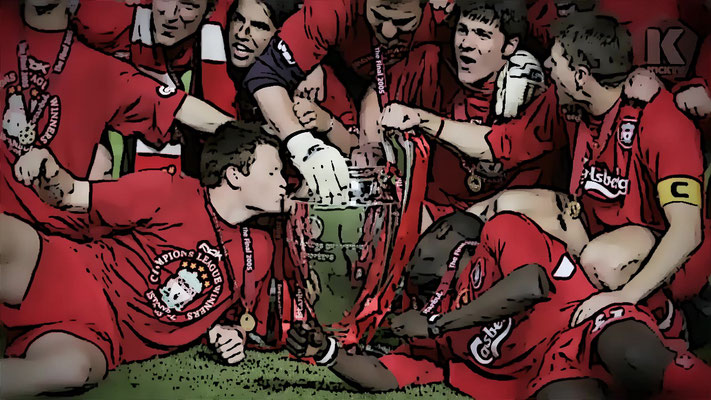

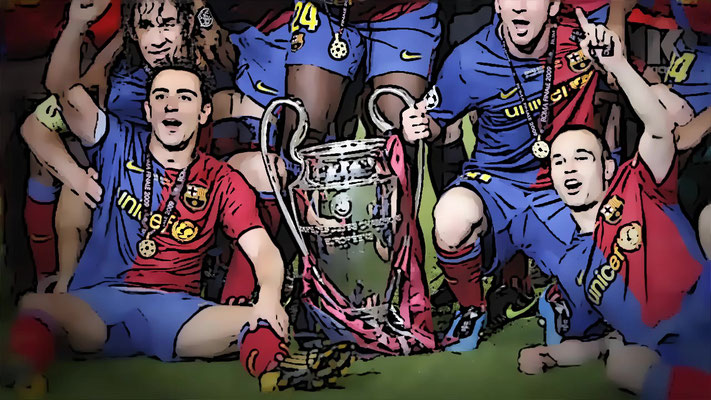
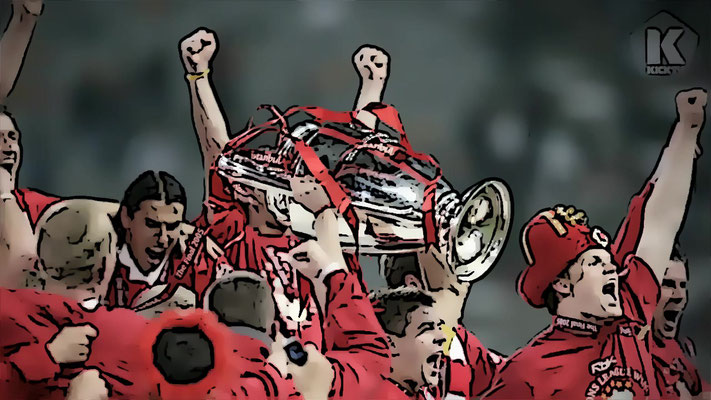


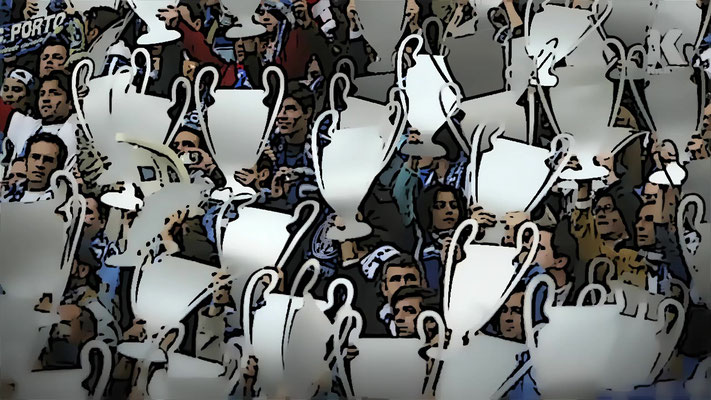
On 11.06.2013 the course MKD 2nd and 4th Sem. continued to work with lecturer on the ideas of the exhibition objects. My Project partner and I chose the title "feeling of a champion" because we want to represent the emotions of a winner of a competition. In addition, we have chosen a table , because this is sufficient for our exhibition object. In the end, the course MKD 2nd and 4th Sem. talked about the opening of the exhibition: - 19.06.2013 at 2 p.m. - student gives a short opening speech - Drinks - Music from the 4th semesters of the MKD - students are working as contact persons for their work during the exhibition
In addition, the exhibition structure was discussed
By e-mail our lecturer has sent the students of the course MKD 2nd and 4th Sem. informed about the plan of the exhibition setup/opening.
Procedure: - Clearing the room - Construction, realization of the individual works and construction of the presentation areas (base) - Arranging the works - Final hanging - Cleaning room - Preparing opening
At the opening of the exhibition, "each group should now say 2-3 sentences about their project":
-What is the concrete theme of the work? -Why did you decide to implement it in the form of the work in the exhibition?
On 17.06.2013 work was done on the exhibits in the loft and the exhibition was partially built up. I worked on the continents for the thumb cinemas. I have taken the following steps:
1.double-sided tape to cut to the continent size on the cardboard:
2.peel off the blue foil and attach it to cardboard (be sure to clean the glue with a soft cloth) and peel off the blue foil
2. Glue continents onto the cardboard (watch out: paint the continents smoothly on the cardboard with a soft cloth)
3. Cut out continents with a cutter
On 18.06.2013 the fortifications for the continents were built as follows:
Dummies built by the continents of America and Africa -> then cut out a piece of cardboard strips (8.6 cm x 14.4 cm ) for storing the thumb cinemas ->a gap of the same length and 4mm width cut horizontally into the dummy -> cut a triangle with individual widths and Length measurements adapted to the continents (for measuring dimensions: continents with cardboard lying on a ruler and measuring the length of the distance of the lowest point of the continent and the cardboard strip and the highest point of the height of the continent.Measure with another line as well) - then draw a 3mm wide gap into the cardboard strip with a pen (while the cardboard strip is still in the continent) - cut out the gap with a cutter knife ->put in the triangle - glue together with hot glue .Then the thumb cinemas on the continents were positioned in a natural position on a table.
In addition, a map of the exhibition objects was drawn up.
Opening of the exhibition
The exhibition was then opened about 14 a.m. by the course leader MKD and the lecturer also said a few words about the development of the exhibition as well as the students of the course MKD 2. and 4.Sem. have explained the idea-finding and intention of their exhibition objects.
Reflection
Although the project "feeling of a champion" represents different trophies, the statement lies in the similarity of the emotions from the winners of the different competitions. The project is easy to understand and minimalistic. The images of the thumb cinemas are in black and white and of the same size to obtain a continuous and uniform image. The colour of the continents and thumb cinemas form a unity, but also the individual, because each continent and thumb cinema have different colours. The different sports also address the cultural background of the continents.
Nevertheless, one should have paid more attention to the size of the continents and the fortifications for the continents,because not all thumb cinemas were suitable for the continents and not all fortifications correctly. In addition, various thumb cinemas were not recognizable correctly,
Corporate Identity, Visual Design, Exhibition Design, Marketing, Branding,
Corperate IDentity of the Exhibition
Task
In the course Information and Communication Design 2 we dealt with the topic of corporate design (in further explanations called "CD") under the task of developing this for an exhibition. A name, a logo, a flyer and a poster will be designed for this purpose.
Concept
Under the aspects of colour, form and typography, we as a team designed a CD for our exhibition, which we will design in the course"Teaching Project 1".
First briefing
The first briefing took place on 20.03.2013, in which we received a introduction to the topic "Collection & Trophies". When explaining the terms, under the aspects: "What is a trophy?", "What is a collection?" and "How do you develop a CD out of it?", we found that there is a wide range of topics to create a corresponding CD.
Design - Analysis
On the basis of exhibitions, we learned what possibilities there are for designing our own exhibition, such as designing our own path system in our CD or dividing the room with light effects in order to avoid a path system, etc.
The first briefing took place at Ralf Röttjer on 20.03.2013, in which we received a introduction to the topic "Collection &
Trophies". When explaining the terms, under the aspects: "What is a trophy?", "What is a collection?" and "How do you develop a CD out of it?", we found that there is a wide range of topics to
create a corresponding CD.
In this design element, we were inspired by the purist room separation design. We adjusted it accordingly for our conditions on a room-sharing scale. White thin partitions, which we built in collaboration with our lecturer from strong white cardboard boards and let them hang from the ceiling in order to reduce the space for our relatively small exhibition.
The interactive exhibition was reflected in the exhibits "Kinderschatz" and "Like a BOSS". The idea of interaction manifested itself in the conception very early on, so that from the beginning attention was taken to implement one.
This corporate design gave us the inspiring idea of taking our media away from poster design and bringing us to further conclusions such as path systems, light settings, paper bags or games. In addition, we came to the conclusion to split and reshape our logo - origamilike.
This redesigned typography inspired our ultimate logo design, which does not have a completely redesigned font system. Nevertheless, we wanted to present a new interesting typography for the corporate design of our exhibition.
These lighting settings developed - although not so modern - in the exhibition group "Kinderschatz". In a dark ceiling cave with its own lighting system in the form of flashlights, we created an environment of childlikeSpirit, which, thanks to the light, also developed into an experience for the visitors. With the initiative of the visitors to be able to illuminate the exhibition objects themselves and thus offer a certain degree of self-initiative, the lighting system was placed on a completely different level.
The responsive design for digital media gave us the idea to fold our flyer. Firstly because of the idea of origami and secondly because of giving the visitor more freedom of discovery. You have to open it first to get more information. The responsive design plays with the display in the smallest or largest space, in order to address the user on different devices. That's how we came up with the idea of building our flyer.
The exhibition title "Skinn" with its doubling of the letters inspired us to our final corporate design, at where we doubled our word "Xtranym" several times and changed some duplications in size. Ralf Röttjer then listed the individual components of the design to be developed for flyers, etc.
The list consists of: - Cooperate Design : Appearance - Lettering - Figurative signs - Exhibition poster / flyer - Design information design - Entrance ticket - Object labeling - Icon - Website - Animation - Advertising
We use the other meetings to clarify the question and to elaborate it.
Name of the exhibition
On April 3, 2013, Ralf Röttjer briefly presented further exhibition forms to the MKD 2.Sem course. In order to develop attractive ideas and concepts, the students initially used the technique of brainstorming. All suggestions are collected and recorded on a blackboard, whiteboard or sheet paper. We used this technique for the first time in name-finding and obtained many different results, such as "The Life of The Does," or "Xtranonym" .
Then the course of study should develop the name for the exhibition. In the first round, the course was to write five names using brainstorming on five stickers. The names that received the most votes were then selected. In the second round, three names were to be developed based on our selection and in this selection round each had three votes for the selection of the names. and last round, the name suggestion "Xtranym" was chosen.
Corperate Design
After the exhibition name was chosen, the course was intended to develop initial ideas for corperate design.
On 17 April 2013, the 2nd semester presented their corperate design proposals. This was my design proposal.
As a result, each student had to distribute three votes for each of the proposals. The decision for the Corperate Design was decided in two selection rounds.
The decision for the Corperate Design was decided in two selection rounds. Then the corperate design should be further developed., based the further development and the basic framework of other students were then used for logo development.
I am really really , Really,REALLY sorry to brake your reading cycle at the beginning, but if a provider has limitations which you realized to late (also because of the laziness of having to controll to much subpages - 35 pages exact and i really do not know whether the provider has the capacity of that much of subpages makes this issue not any less complicated). I hope that you warm human heart and feels a little amount of empathy for an alien, who tries to work with human technologies.